How to Clean Gym Mats in 10 Easy Steps
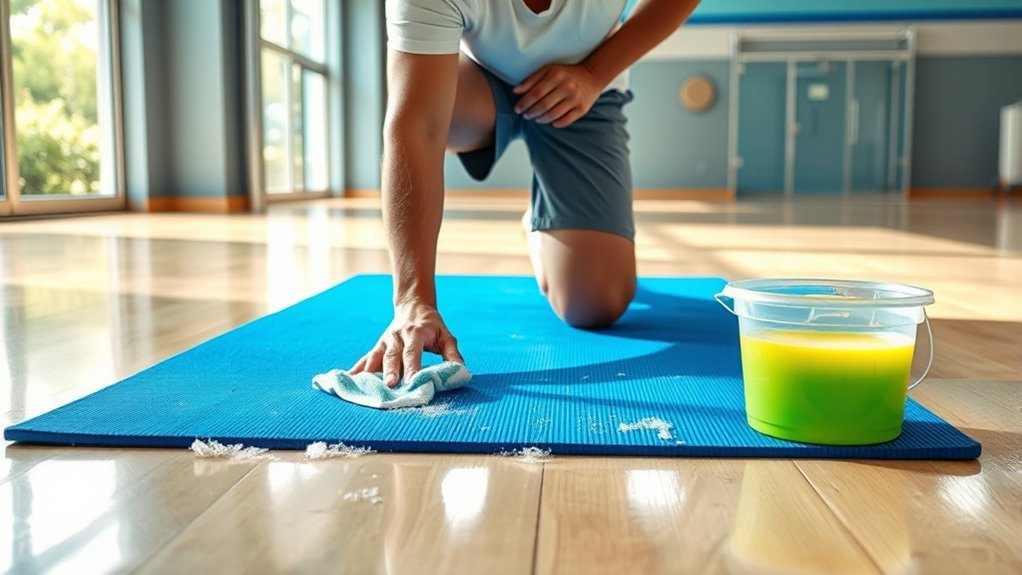
To clean your gym mats in 10 easy steps, start by gathering cleaning supplies like warm water, mild detergent, and a soft brush. These essentials will help you tackle dirt and sweat effectively.
Next, clear the mat area completely.
Then, sweep or vacuum to remove loose debris. This prep step makes the cleaning process much smoother.
Apply the cleaning solution evenly across the mats and scrub gently. Don’t rush—be thorough to get rid of grime.
After scrubbing, rinse thoroughly to remove all soap residue. Make sure no detergent is left behind because it can make mats slippery.
Dry your mats completely in a well-ventilated spot. This prevents mold and mildew from forming.
Finally, disinfect the mats to kill bacteria and keep them hygienic. Regularly maintaining a cleaning schedule will keep your mats fresh and safe for use.
Keep going to discover how to make this process even easier and more efficient!
Key Takeaways
– Clear the gym area and remove all equipment to ensure thorough cleaning and proper ventilation.
This step helps you get to every corner of the mats without any obstacles in the way.
– Sweep or vacuum mats to eliminate loose dirt, dust, and debris before deep cleaning.
Getting rid of the surface grime first makes the deeper cleaning more effective.
– Apply a mild detergent or specialized cleaner with a soft brush or sponge to gently scrub away stains.
Be gentle to avoid damaging the mat material while still tackling those stubborn spots.
– Rinse mats thoroughly with clean water and dry completely in sunlight or a ventilated space to prevent mold.
Make sure they’re fully dry before using them again, or you might end up with mildew.
– Disinfect mats regularly using appropriate solutions and maintain a cleaning schedule for hygiene and mat longevity.
Keeping up with this routine not only protects your health but also helps your mats last longer.
Gather Cleaning Supplies

Before you begin cleaning your gym mats, gather all the necessary supplies to make the process efficient and thorough. You’ll need a bucket, warm water, and a mild detergent or gym mat cleaner to tackle dirt and sweat.
Gather your bucket, warm water, and mild detergent before cleaning your gym mats for an efficient, thorough process.
Have a soft-bristle brush or a sponge ready to scrub stubborn spots without damaging the surface. Keep microfiber cloths or clean towels nearby for wiping and drying.
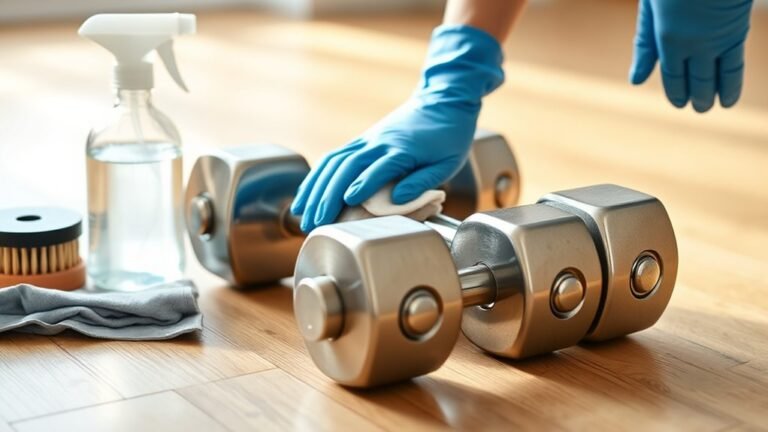
Don’t forget gloves to protect your hands from chemicals and bacteria. If you prefer natural cleaners, a vinegar and water solution works well.
Ultimately, confirm you have access to a spray bottle for easy application. Having all these items at hand saves time and ensures you clean your mats effectively, maintaining hygiene and extending their lifespan.
Clear the Gym Mat Area
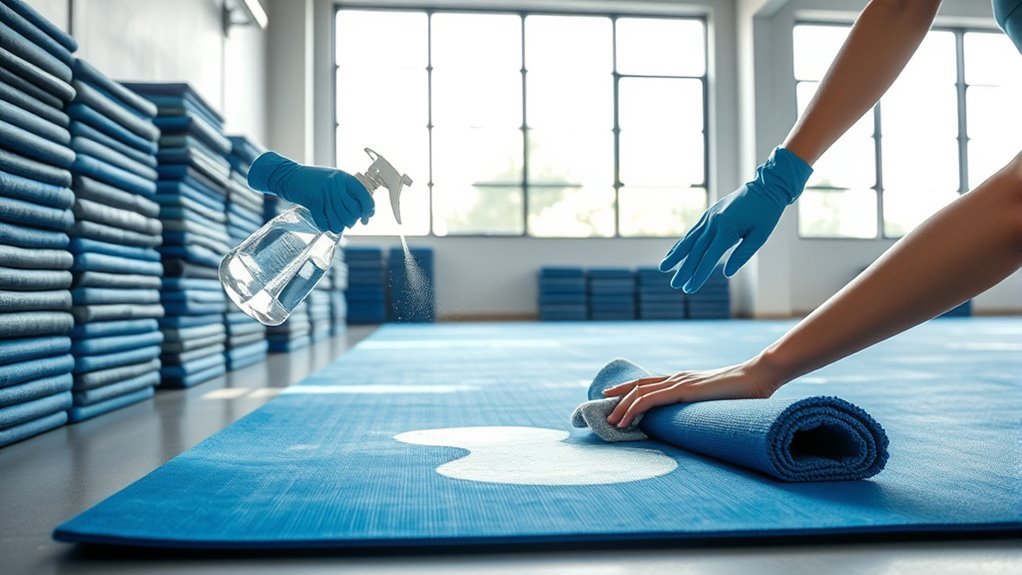
Before you start cleaning, move any equipment away from the gym mats to create enough space. Make sure to clear off dust and debris so you’re working on a clean surface.
Also, open windows or turn on fans to keep the area well-ventilated while you clean. This way, you’ll stay comfortable and the air will stay fresh.
Remove Surrounding Equipment
Although it might seem tedious, removing all surrounding equipment is essential to give you full access to the gym mats and prevent any damage during cleaning.
By clearing the area, you’ll avoid accidentally knocking over weights or scratching surfaces. Plus, it makes the cleaning process smoother and more efficient.
Start by moving dumbbells and free weights to a safe spot.
Also, move benches and chairs away from the mat edges, and pick up any loose accessories like jump ropes or towels.
Taking these steps not only protects your equipment but also creates a clean, open space where you can focus on thoroughly cleaning the mats without interruptions.
This way, you ensure both your safety and the longevity of your gym gear.
Clear Debris and Dust
Once you’ve cleared the surrounding equipment, focus on removing any debris and dust from the gym mats. Start by using a soft-bristle broom or a handheld vacuum to sweep off loose dirt, hair, and dust particles.
Take your time to cover the entire surface thoroughly, paying attention to corners and seams where debris tends to accumulate. If you spot any sticky residue or dried spots, gently scrape them off with a plastic scraper before sweeping.
Avoid using harsh brushes that might damage the mat’s surface. Clearing away debris not only keeps the mats clean but also helps prevent grime buildup, making your next cleaning steps more effective.
This simple step ensures a fresh foundation to maintain hygienic and safe workout spaces.
Ensure Adequate Ventilation
Since proper airflow helps prevent moisture buildup and odors, you should clear the gym mat area to guarantee adequate ventilation. Start by moving any nearby equipment, bags, or other items away from the mats. This creates space for air to circulate freely and helps your mats dry faster after cleaning.
Good ventilation also reduces the risk of mold and mildew, keeping your workout environment fresh and safe.
To assure excellent airflow:
- Open windows or doors to let in fresh air and encourage cross-ventilation.
- Use fans to speed up drying and maintain a breeze around the mats.
- Avoid stacking mats or blocking vents, which traps moisture underneath.
Remove Loose Dirt and Debris
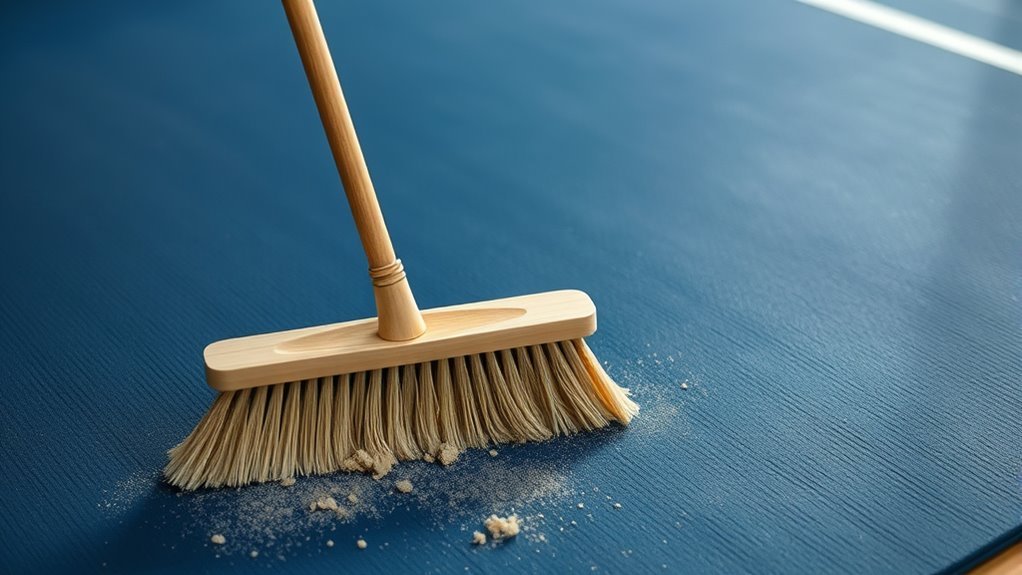
Before you plunge into deep cleaning, start by removing loose dirt and debris from your gym mats. Grab a broom or vacuum cleaner to sweep off any dust, hair, or small particles resting on the surface.
If your mats are heavily soiled, use a stiff-bristled brush to dislodge stubborn dirt stuck in the crevices. Make sure to clean both sides, especially if the mats get flipped regularly.
This step prevents dirt from mixing into the cleaning solution later, ensuring a more effective wash. Also, pay attention to the edges and seams where debris tends to accumulate.
Taking the time to thoroughly clear off loose contaminants will help protect your mats from wear and extend their lifespan while making the upcoming cleaning process smoother.
Prepare a Cleaning Solution
You’ll want to choose cleaning ingredients that effectively remove dirt without damaging your gym mats. Mix your solution carefully, following recommended ratios to guarantee safety and effectiveness.
Taking these steps helps protect your mats while keeping them clean. It’s all about balancing cleanliness with care!
Choosing Cleaning Ingredients
Choosing the right ingredients is essential for a cleaning solution that effectively removes dirt and kills germs without damaging your gym mats. You want ingredients that are tough on grime but gentle on the mat material.
Avoid harsh chemicals that can cause discoloration or deterioration. Instead, focus on safe, reliable options like:
- Mild dish soap: Cuts through grease and dirt without being abrasive.
- White vinegar: Naturally antibacterial and deodorizing, perfect for a fresh scent.
- Water: The base that dilutes and activates your cleaning agents safely.
These ingredients strike a balance between power and care, ensuring your gym mats stay clean and intact. Picking them thoughtfully means you can clean confidently without worrying about wear and tear.
Mixing Solution Safely
While mixing your cleaning solution, you should always measure ingredients carefully to guarantee the right balance for effective cleaning without harming your gym mats. Use a clean container and avoid mixing cleaning agents directly in bottles to prevent chemical reactions.
Stick to recommended ratios, like a mild detergent diluted in warm water or a vinegar-water solution. Never combine bleach with ammonia or vinegar, as this creates toxic fumes.
Wear gloves to protect your skin, and mix solutions in a well-ventilated area. Stir gently to blend ingredients without splashing.
Prepare only the amount you need to keep the solution fresh and effective. By following these steps, you’ll create a safe cleaning solution that cleans thoroughly while preserving your gym mats’ quality.
Apply the Cleaning Solution
Before applying the cleaning solution, make sure the gym mat is free of loose dirt and debris. This step helps the solution work effectively.
Ensure your gym mat is cleared of dirt and debris first for the cleaning solution to work best.
Use a spray bottle for even coverage or a clean cloth dipped in the solution to gently coat the mat’s surface. Apply it consistently but avoid soaking the mat to prevent damage.
Focus on areas with sweat stains or odors to restore freshness. Remember, you want the mat to feel clean and safe for your next workout.
Applying the solution will:
- Eliminate germs that make you uneasy
- Refresh the mat’s look, boosting your motivation
- Create a healthier environment for every exercise session
Take your time with this step; it sets the foundation for a deep, effective clean.
Scrub the Mat Surface
You’ll want to pick the right tools, like a soft brush or sponge, to avoid damaging the mat. Make sure your cleaning solution is strong enough to remove dirt but safe for the material.
Using the right combination will help you scrub away grime effectively without causing wear. It’s all about being gentle but thorough!
Choose Appropriate Cleaning Tools
Choosing the right cleaning tools makes scrubbing your gym mats more effective and protects their surface. When you pick tools wisely, you avoid damage and get your mats truly clean.
Here’s what you should use: a soft-bristle brush to gently lift dirt without scratching. Also, a microfiber cloth to wipe away grime and moisture efficiently. And don’t forget a non-abrasive sponge that reaches crevices without causing wear.
These tools help you maintain your mats’ integrity while removing stubborn debris. Avoid harsh or rough tools that could tear or dull the material.
By selecting the proper cleaning gear, you ensure your gym mats look fresh and last longer. It makes your workout environment safer and more inviting.
Don’t rush—invest in the right tools to keep your mats in top shape every time.
Use Effective Cleaning Solutions
Once you have the right tools ready, the next step is picking cleaning solutions that actually work on your gym mats. Choose a mild detergent mixed with warm water or a specialized mat cleaner to avoid damaging the surface.
Avoid harsh chemicals like bleach, which can degrade the material. Apply the solution evenly over the mat using a spray bottle or sponge.
Then, scrub gently with a soft brush or cloth in circular motions to lift dirt and sweat without causing abrasion. Focus on areas with visible stains or odors.
After scrubbing, rinse the mat with clean water to remove any residue. Properly using effective cleaning solutions guarantees your gym mats stay hygienic and in good condition for longer.
Rinse the Mats Thoroughly
Although cleaning solutions break down dirt and sweat, rinsing the mats thoroughly removes any leftover residue that can cause stickiness or damage. You want to make certain no soap or grime remains to keep your mats safe and comfortable.
Use clean water and either a hose or a bucket to rinse the entire surface evenly. Take your time to avoid missing spots.
Rinse your mats thoroughly with clean water using a hose or bucket to cover every spot evenly.
Remember, thorough rinsing prevents buildup that attracts bacteria and keeps the mat surface smooth and non-slip.
It also extends the life of your mats by preventing wear. So, don’t rush this step — it really makes a difference!
Dry the Mats Completely
After rinsing, you need to dry the mats completely to prevent moisture from causing mold or unpleasant odors. Start by wiping down the mats with a clean, dry towel to soak up excess water.
If possible, set the mats outside in direct sunlight or in a well-ventilated area to speed up drying. Avoid folding or stacking the mats while they’re still damp, as this traps moisture.
If indoor drying is your only option, use fans or a dehumidifier to improve air circulation. Make sure the mats are fully dry before storing them or using them again to maintain hygiene and extend their lifespan.
Taking these steps ensures your gym mats stay fresh and safe for your next workout.
Disinfect the Mats
To keep your gym mats hygienic and safe, you’ll want to disinfect them thoroughly after cleaning. This step eliminates lingering germs and bacteria that can cause infections or unpleasant odors.
Use a disinfectant spray or a solution of water and a few drops of bleach. Just make sure it’s safe for your mat’s material. Spray evenly and let it sit for at least 5 minutes to maximize effectiveness.
Use disinfectant spray or diluted bleach, ensure material safety, spray evenly, and let sit 5 minutes for best results
Afterward, wipe down the mats with a clean cloth to remove any residue.
Remember, disinfecting your mats helps you protect yourself and others from harmful bacteria. It also keeps your workout space fresh and inviting.
Plus, it extends the lifespan of your mats by preventing mold and mildew buildup.
Disinfecting is an essential step for a healthier gym environment. Don’t skip it!
Maintain Regular Cleaning Schedule
Disinfecting your mats is a key part of keeping them safe, but maintaining a regular cleaning schedule guarantees they stay in top condition over time.
Set specific days for light cleaning, deep cleaning, and inspections to prevent buildup and damage. Consistency helps catch wear early and extends mat life.
Here’s a simple schedule you can follow:
| Task | Frequency | Notes |
|---|---|---|
| Wipe Down | Daily | Use disinfectant spray |
| Deep Clean | Weekly | Use warm water and soap |
| Inspection | Bi-Weekly | Check for tears or damage |
| Full Disinfect | Monthly | Use approved cleaning agents |
Stick to this routine, and your gym mats will remain fresh and safe for every workout.
Frequently Asked Questions
Can Gym Mats Cause Allergic Reactions?
Yes, gym mats can cause allergic reactions if they harbor dust, mold, or bacteria.
You should clean them regularly to prevent irritation, especially if you have sensitive skin or respiratory issues.
Stay proactive and safe!
How Often Should Gym Mats Be Replaced?
Imagine stepping onto a cracked, worn-out mat—it’s definitely time for a replacement. Generally, you should swap out your gym mats every 1-3 years.
It all depends on how often you use them and how much wear they show. Make it a habit to inspect your mats regularly.
That way, you’ll keep your workouts safe and fresh without any surprises. Don’t wait until the mat’s in bad shape to replace it!
Are There Eco-Friendly Cleaning Products for Gym Mats?
Yes, you can use eco-friendly cleaning products for gym mats. Look for biodegradable, non-toxic sprays or solutions with natural ingredients.
They’re safe for you and the environment, keeping mats clean without harmful chemicals. It’s a great way to stay green while staying clean!
Can Gym Mats Be Machine Washed?
You can’t machine wash most gym mats because 70% of them are too thick or contain foam that water ruins.
Instead, wipe them down with disinfectant to keep them clean without damaging their structure.
This way, you avoid messing up the mat and still keep it nice and fresh.
What Types of Gym Mats Require Special Cleaning?
You’ll need special cleaning for foam mats, leather-covered mats, and mats with antimicrobial coatings. They’re sensitive, so avoid harsh chemicals or machine washing.
Instead, use gentle cleaners and spot clean carefully to preserve their materials. It’s all about keeping them in good shape without damaging the delicate surfaces.
Conclusion
By following these simple steps, you’ll keep your gym mats as fresh and inviting as a cool breeze on a hot day. Regular cleaning not only extends their life but also guarantees a safe, hygienic workout space for you and everyone else.
Just like tuning up your favorite gear, a little care goes a long way. Stick to this routine, and your mats will always be ready to support your best moves.
Cleaning gym mats regularly is key to maintaining a clean and healthy environment in your workout area. It helps prevent the buildup of dirt, sweat, and bacteria that can cause odors and skin irritations.
So, make sure to include this easy cleaning routine in your gym maintenance schedule. With consistent care, your gym mats will stay in top condition, providing a safe and comfortable surface for every exercise session.