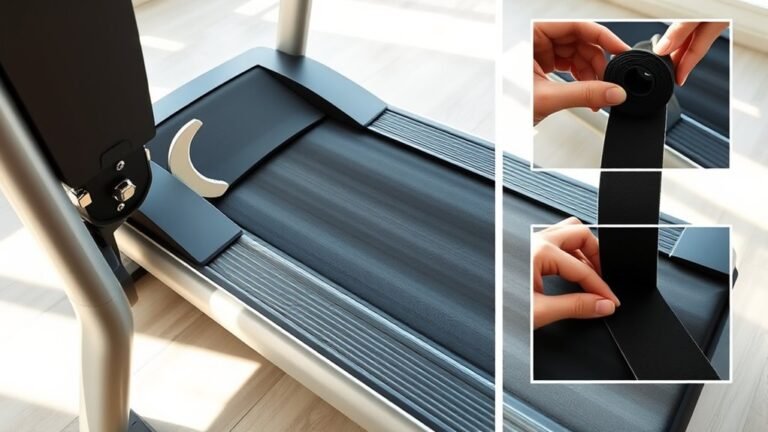
How to Fix Treadmill Belt in 7 Easy Steps
First, unplug your treadmill to ensure safety before starting any maintenance. Then, check the treadmill belt carefully for any signs of damage or dirt buildup that might affect its performance.
Next, locate the adjustment bolts at the rear roller. These bolts control the tension of the belt. Turn them clockwise to tighten the belt or counterclockwise to loosen it. Make small adjustments at a time to avoid over-tightening or loosening.
If the belt is slipping or drifting to one side, you can fix this by centering it. Turn the bolts on the side toward which the belt drifts. This helps keep the belt aligned properly.
Once adjusted, test the treadmill at a low speed to ensure the belt moves smoothly and stays centered.
Don’t forget to clean and lubricate the belt regularly—this keeps your treadmill running well and extends its lifespan.
Keep going to discover detailed tips for flawless performance and to maintain your treadmill belt in top shape!
Key Takeaways
- Turn off and unplug the treadmill before inspecting or adjusting the belt for safety.
- Check the belt for damage, dirt, proper alignment, and smooth movement.
- Use an Allen wrench to adjust rear belt bolts, turning clockwise to tighten or counterclockwise to loosen.
- Make small adjustments, test the belt at low speed, and observe for slipping or drifting.
- Clean, lubricate, and regularly maintain the belt to prevent future problems and ensure smooth operation.
Inspect the Treadmill Belt for Damage
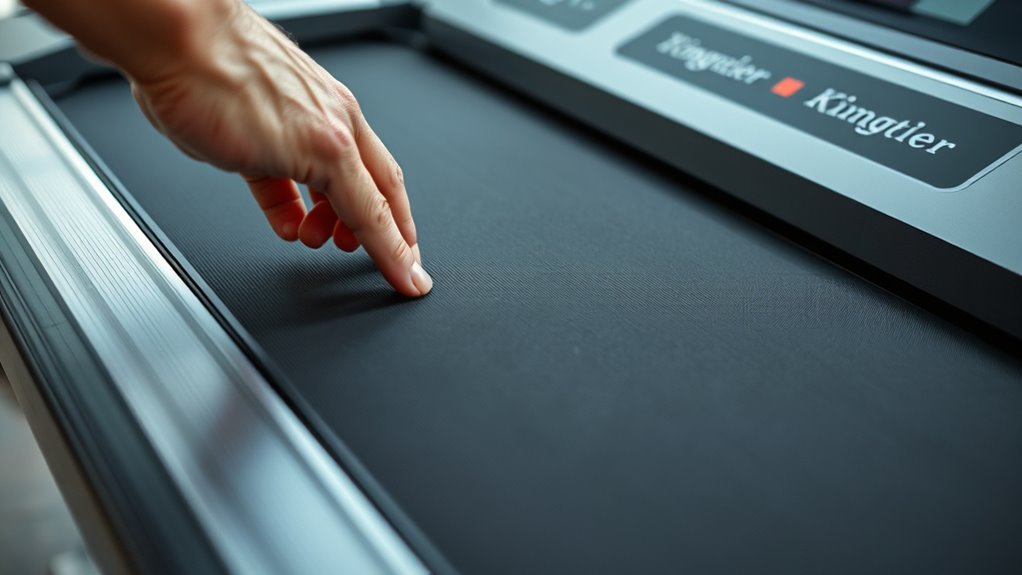
Before you plunge into any repairs, carefully inspect the treadmill belt for signs of wear or damage. Check for fraying edges, cracks, or areas where the belt has become thin.
First, thoroughly examine the treadmill belt for frays, cracks, or thinning before starting any repairs.
If you spot any tears or uneven wear, it’s a clear sign the belt needs attention. Also, look for any dirt or debris stuck underneath, which can cause slipping or uneven movement.
Run your hand along the belt to feel for rough spots or stiffness. Pay close attention to the belt’s alignment on the deck; if it’s consistently off-center, that could indicate a problem.
Catching these issues early helps prevent bigger problems and ensures your treadmill runs smoothly. Taking this first step sets you up for a successful repair process.
Unplug the Treadmill and Prepare Your Tools
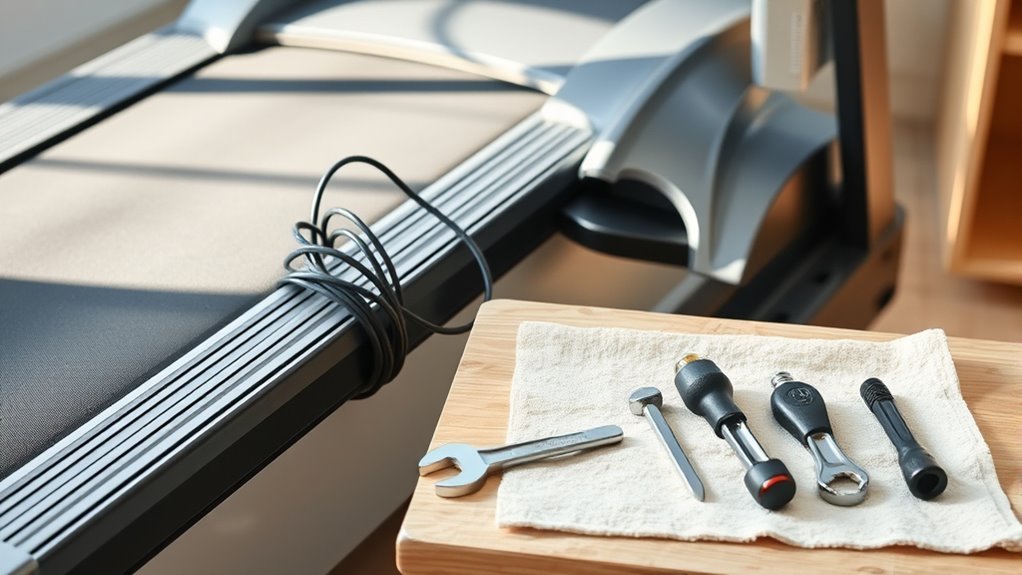
Before you start fixing the treadmill belt, make sure to unplug the machine to avoid any electrical hazards. Safety first, right?
Next, gather all the essential tools you’ll need, like a wrench, screwdriver, and lubricant. Having everything ready will make the repair process smoother and safer. It’s way easier when you don’t have to stop in the middle to hunt for tools.
Safety Precautions First
Why should you always unplug your treadmill before starting any repairs? It’s essential to prevent accidental electric shocks or the machine turning on unexpectedly, which could cause injury.
Before you plunge into fixing the belt, make sure the treadmill is completely disconnected from power. This simple step protects you and guarantees a safe working environment.
Next, clear your workspace around the treadmill to avoid tripping hazards. Keep pets and children away while you work.
Wear appropriate clothing—avoid loose sleeves or jewelry that could get caught. Finally, review the treadmill’s manual for any model-specific safety advice.
Taking these precautions helps you repair confidently and safely, minimizing risks and making sure your treadmill is ready for smooth operation once you’re done.
Essential Tools Checklist
Once you’ve unplugged the treadmill, gather the essential tools to make the belt repair smooth and efficient. You’ll need an Allen wrench set to adjust the belt tension screws, a screwdriver for removing any covers, and a lubricant specifically designed for treadmill belts.
Have a clean cloth handy to wipe down the belt and deck, and a flashlight can help you see tight spots clearly. If your treadmill’s manual specifies any unique tools, keep those within reach as well.
Avoid improvising with the wrong tools, as that can damage components. Preparing these tools beforehand saves time and prevents frustration during the repair.
With everything ready, you’ll be set to fix the belt confidently and get your treadmill running like new again.
Locate the Belt Adjustment Bolts
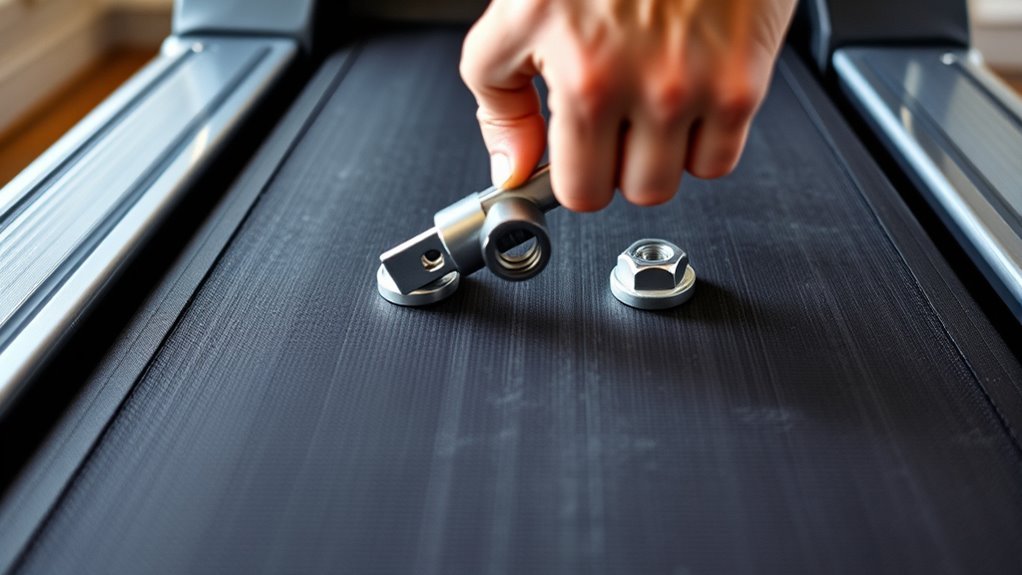
You’ll find the belt adjustment bolts at the rear end of the treadmill, usually near the roller.
Grab a hex key or Allen wrench, as these tools are often needed to turn the bolts. Make sure you have clear access by moving any covers or panels blocking your way.
Finding Bolt Positions
Where exactly are the belt adjustment bolts located on your treadmill? Typically, you’ll find them at the rear end of the treadmill deck, near the roller. These bolts control the tension and alignment of the belt.
Look for two bolts positioned on either side of the rear roller; sometimes, there’s a single bolt in the center. They often sit inside small access holes or under a cover plate. You might need to tilt the treadmill deck slightly or remove a panel to get a clear view.
Identifying these bolts is vital before attempting any adjustments. Remember, each treadmill model might vary slightly, so check your user manual if you’re unsure. Once you spot the bolts, you’re ready for the next step in fixing your treadmill belt.
Tools Needed
Before adjusting the belt bolts, gather the right tools to make the process smoother and more effective. You’ll typically need an Allen wrench or hex key set, as most treadmill belt bolts are hexagonal.
A screwdriver might come in handy for removing any covers that block access to the bolts. A cloth or rag can help you wipe down the bolts and surrounding areas to guarantee a clean working environment.
If your treadmill has bolt caps, keep a small container nearby to hold them. Having a flashlight is also useful for spotting the bolts clearly, especially in darker spaces.
Preparing these tools ahead of time saves you frustration and keeps the repair efficient and straightforward. It’s always better to have everything ready before you start!
Accessing Adjustment Bolts
Although the adjustment bolts are usually located near the rear roller of the treadmill, you might need to remove a cover or panel to get a clear view. Start by unplugging the treadmill for safety.
Then, check the back or sides of the treadmill deck for screws securing a protective cover. Use a screwdriver to carefully remove this panel, exposing the rear roller area.
Once the cover is off, look for two adjustment bolts on either side of the roller. These bolts control the tension and alignment of the belt.
If you can’t spot them immediately, refer to your treadmill’s manual, as bolt placement can vary by model. Now that you’ve accessed the bolts, you’re ready to adjust the belt tension or alignment as needed.
Tighten or Loosen the Belt as Needed
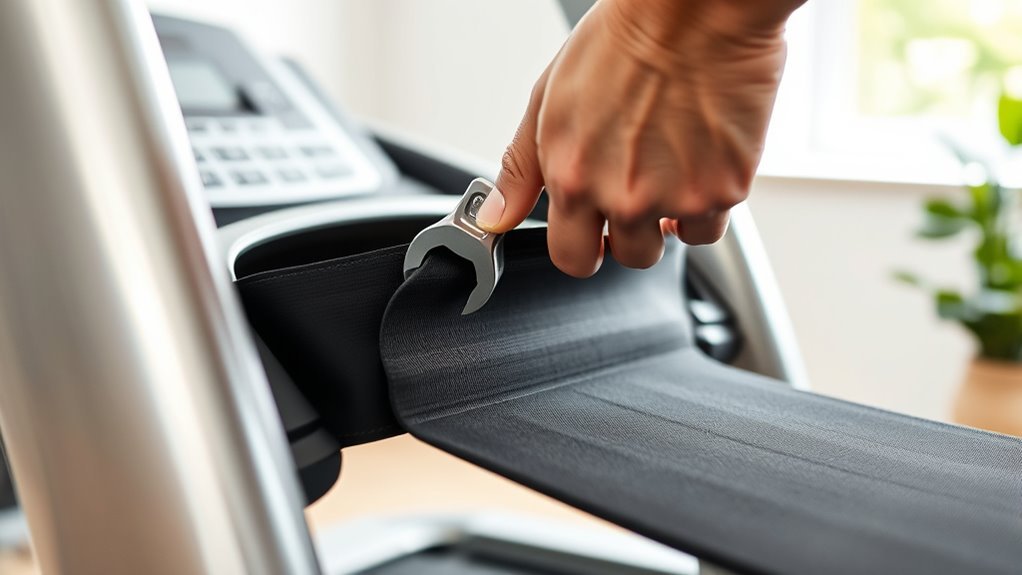
When you notice the treadmill belt slipping or drifting to one side, you’ll need to tighten or loosen it to restore proper alignment and tension. Use a wrench to adjust the rear bolts slightly—turn clockwise to tighten, counterclockwise to loosen.
Make small adjustments, checking the belt’s feel and position after each turn. Over-tightening can cause wear, while too loose a belt may slip.
| Feeling | Adjustment Needed |
|---|---|
| Belt slips | Tighten slightly |
| Belt drifts left | Loosen left bolt |
| Belt drifts right | Loosen right bolt |
| Belt too tight | Loosen both bolts |
Adjust carefully, and soon your treadmill will run smoothly again. It’s a bit of trial and error, but you’ll get it just right!
Center the Belt on the Deck
After adjusting the belt’s tension, you might notice it still isn’t running straight. To center the belt on the deck, start by turning off the treadmill and unplugging it for safety.
Locate the rear roller adjustment bolts on both sides of the treadmill deck. Using an Allen wrench, turn the bolt on the side the belt is drifting toward.
If the belt is moving left, tighten the left bolt slightly by turning it clockwise; if it drifts right, do the same on the right side. Make small adjustments—about a quarter turn at a time.
Then, plug the treadmill back in to check the belt’s alignment by manually rotating the belt or turning the treadmill on at a low speed. Repeat until the belt stays centered. Easy enough, right?
Test the Belt Movement and Speed
To make certain your treadmill belt runs smoothly and at the correct speed, you’ll need to test its movement carefully. Here’s how to do it:
- Turn on the treadmill at a low speed to observe the belt’s motion closely. Watch for any slipping, jerking, or uneven movement along the deck.
- Increase the speed gradually, checking that the belt maintains consistent tension and alignment. Listen for unusual noises, as these can indicate friction or misalignment.
If the belt moves smoothly and quietly without shifting off-center, you’ve successfully tested its movement and speed. If you spot issues, adjustments are necessary before using the treadmill for exercise.
This simple test guarantees your treadmill operates safely and effectively. Give it a try before your next workout!
Perform Regular Maintenance to Prevent Future Issues
If you noticed any issues during your belt movement test, addressing them is just one part of keeping your treadmill in good shape. To prevent future problems, perform regular maintenance.
Start by cleaning the belt and deck to remove dust and debris that cause wear. Check belt tension and alignment monthly; a loose or misaligned belt can damage motor components.
Lubricate the belt following your treadmill’s manual recommendations to reduce friction and extend belt life. Also, inspect rollers and motor for unusual noises or signs of wear.
Tighten any loose bolts and replace worn parts promptly. By sticking to this maintenance routine, you’ll keep your treadmill running smoothly, avoid costly repairs, and enjoy a longer-lasting belt.
Regular care truly saves both time and money. It’s worth the effort to keep things running smoothly!
Frequently Asked Questions
Can I Replace the Treadmill Belt Myself or Should I Hire a Professional?
You can replace the treadmill belt yourself if you’re comfortable with basic tools and following instructions.
However, if you’re unsure or lack experience, hiring a professional guarantees the job’s done safely and correctly.
It’s really about what feels right for you. If you decide to tackle it on your own, just take your time and follow the steps carefully.
How Often Should the Treadmill Belt Be Replaced Entirely?
Think of your treadmill belt like a car tire—it usually needs replacing every 3 to 5 years, depending on use.
If it’s slipping, fraying, or making noise, it’s time to swap it out for safety and performance.
Better to catch these signs early so you don’t risk injury or damage to your machine.
What Type of Lubricant Is Best for Treadmill Belts?
You should use a silicone-based lubricant for your treadmill belt. It reduces friction, lasts longer, and won’t damage the belt or deck.
Avoid petroleum-based lubricants since they can degrade the materials and cause issues. Trust me, sticking with silicone-based options is the safer bet!
Can a Worn-Out Belt Cause Motor Problems?
Yes, a worn-out belt can strain, slip, and overheat your treadmill motor. When the belt’s damaged, it forces the motor to work harder, causing potential damage.
Are There Specific Treadmill Brands With Common Belt Issues?
Yes, some brands like ProForm and Weslo have reported common belt wear issues. You’ll want to check user reviews and maintenance tips for your specific treadmill to avoid frequent belt problems and keep it running smoothly.
It’s a good idea to stay on top of maintenance and maybe even reach out to other users online. That way, you can catch any potential issues early and extend the life of your treadmill belt.
Conclusion
By following these simple steps, you can quickly fix your treadmill belt and get back to your workouts. Imagine Sarah, who noticed her belt slipping during runs. After tightening and centering it herself, her treadmill worked smoothly again without expensive repairs.
Regular maintenance like this saves time and money while keeping your equipment in top shape. So, don’t wait—inspect and adjust your belt now to enjoy a safer, smoother exercise experience!
Fixing your treadmill belt doesn’t have to be complicated. With just a few easy steps, you can ensure your treadmill runs efficiently and safely. Remember, a well-maintained treadmill belt improves your workout quality and extends the life of your machine. Whether your belt is slipping, off-center, or loose, these adjustments will get things back on track quickly. Take a little time today to check your treadmill belt and keep your exercise routine running smoothly!