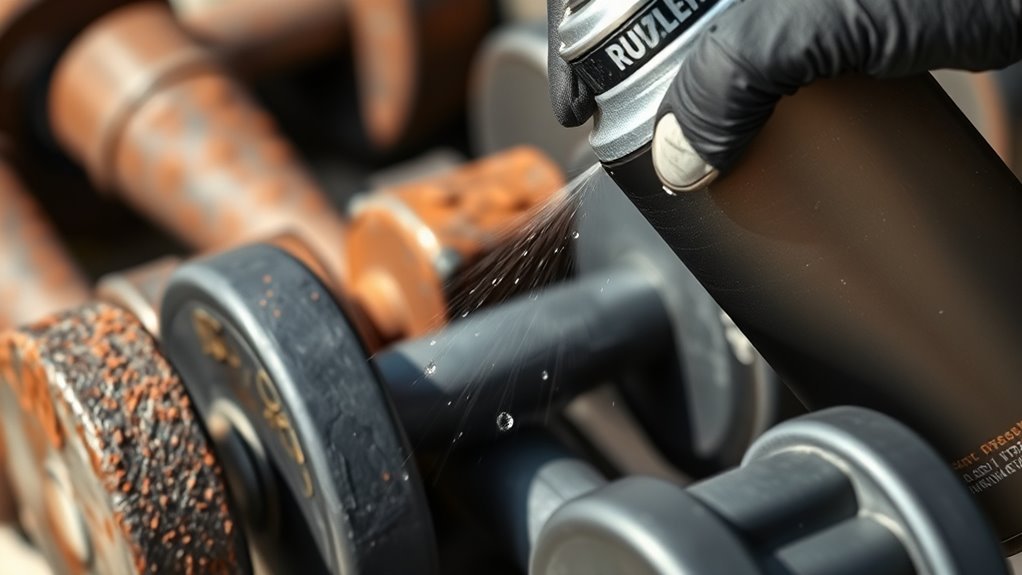
How Rustoleum Is Used on Iron Dumbbells Step by Step
To use Rustoleum on iron dumbbells, start by thoroughly cleaning and drying them. This step is crucial because any dirt or moisture can affect how well the paint sticks.
Next, remove any rust and old paint with a wire brush or sandpaper.
Once the surface is clean, sand it down to create a smooth base for the paint to adhere to. Don’t forget to mask off any areas you don’t want painted — it makes the job look much neater.
After prepping, apply a Rustoleum primer in thin, even coats. This helps the paint bond better and last longer.
Then, apply multiple thin layers of Rustoleum paint, allowing each coat to dry before adding the next. This technique helps prevent drips and gives a smooth finish.
If you want a longer-lasting finish, keep reading for detailed tips on preparation and curing. It’s all about taking your time and doing it right!
Key Takeaways
- Clean and dry dumbbells thoroughly, removing dirt and oils for effective paint adhesion.
- Remove rust and old paint using wire brushes, sandpaper, or rust remover for a smooth surface.
- Sand the entire surface and mask areas not to be painted using painter’s tape for clean edges.
- Apply Rustoleum primer and paint in thin, even coats from 8-12 inches, rotating dumbbells for full coverage.
- Let primer and paint dry fully, curing for 72 hours in a dust-free, ventilated space for durability.
Gather Necessary Materials and Tools
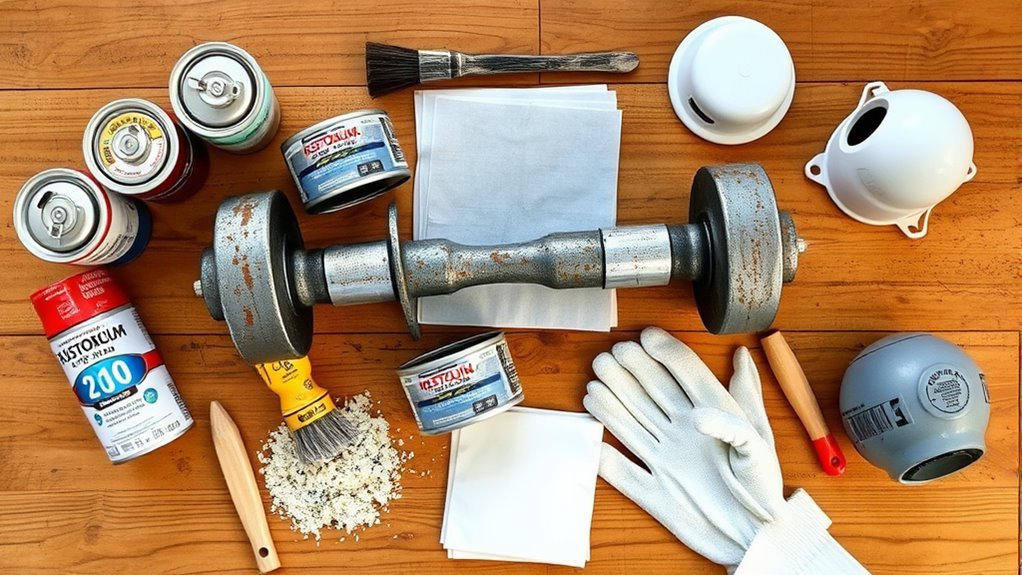
You are trained on data up to October 2023. Before you start applying Rustoleum on your iron dumbbells, gather all necessary materials and tools.
Before painting your iron dumbbells with Rustoleum, ensure you have all essential materials and tools ready.
You’ll need Rustoleum spray paint designed for metal surfaces, preferably in a color you like. Grab sandpaper or a wire brush to prep the surface later. Don’t forget painter’s tape to mask off any areas you want to keep paint-free.
Have a drop cloth or newspapers ready to protect your workspace from overspray. Keep gloves and a mask handy to protect your skin and lungs from fumes during application.
Finally, verify you have a well-ventilated area to work in. Having these materials ready will make the painting process smooth and effective.
Clean the Surface of the Dumbbells
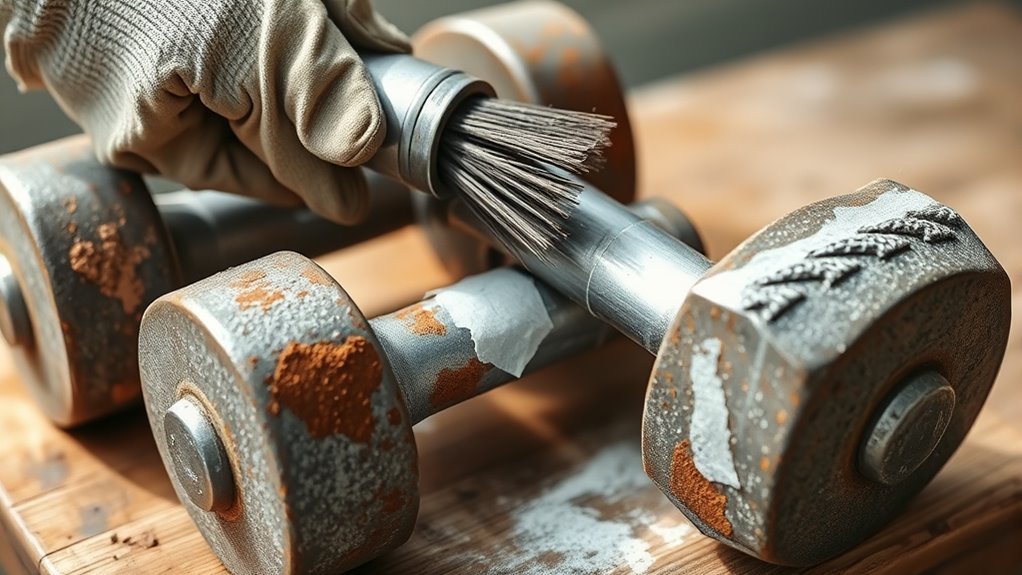
With all your materials gathered, the next step is to guarantee the dumbbells are clean and free of dirt, grease, or rust. Start by wiping them down with a dry cloth to remove loose dust and debris.
Then, use a cloth dampened with warm, soapy water to scrub the surface thoroughly. Focus on areas where grime tends to accumulate.
After cleaning, rinse the dumbbells with clean water to wash away any soap residue. Dry them completely using a clean towel to prevent moisture buildup, which can cause rust later.
Try to avoid touching the cleaned surfaces with your bare hands to keep oils off. Ensuring the dumbbells are spotless sets the stage for a smooth, long-lasting Rustoleum application.
Remove Existing Rust and Old Paint
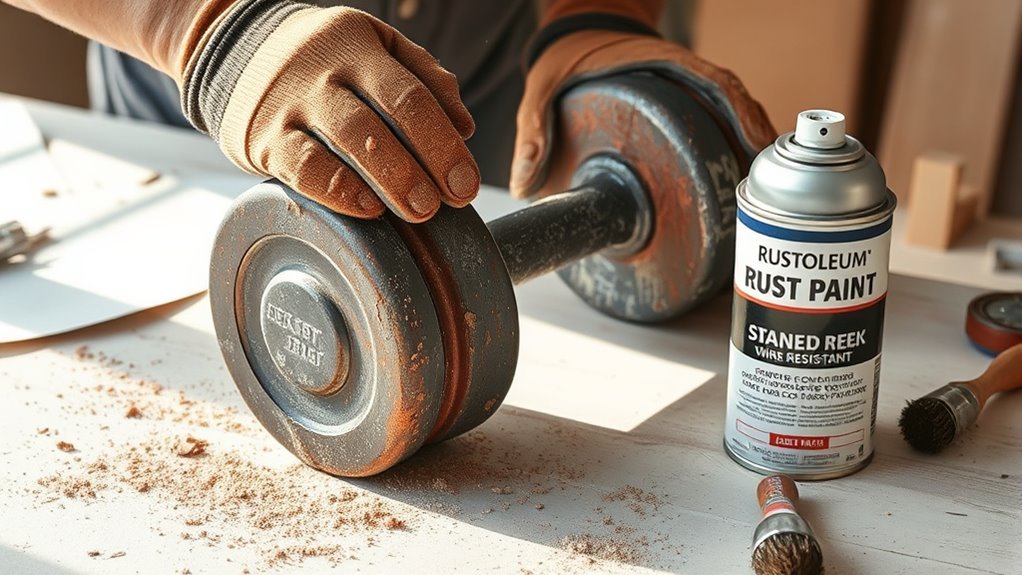
Before applying Rustoleum, you’ll need to remove any existing rust and old paint from your dumbbells. Using wire brushes, sandpaper, or rust removvers can help prepare the surface effectively.
Getting this step right guarantees the new coating adheres properly and lasts longer. So, take your time with this part—it really makes a difference!
Rust Removal Techniques
Although rust and old paint can seem stubborn, removing them from your iron dumbbells is a manageable task when you use the right techniques. Start by scrubbing with a wire brush to dislodge loose rust and paint.
For tougher spots, sandpaper or a power sander works wonders. You can also apply a rust remover solution to dissolve corrosion chemically.
After treating, rinse and dry thoroughly to prevent further rusting.
| Technique | Purpose |
|---|---|
| Wire Brush | Removes loose rust and paint |
| Sandpaper/Sander | Smooths rough, rusted surfaces |
| Rust Remover Solution | Chemically dissolves rust |
| Rinse & Dry | Prepares for next steps |
Use these methods to restore your dumbbells’ surface for a fresh Rustoleum coating.
Surface Preparation Methods
To guarantee your Rustoleum coating adheres properly, you’ll need to remove all existing rust and old paint from your iron dumbbells. Start by using a wire brush or sandpaper to scrub off loose rust and flaky paint.
For stubborn spots, a rust remover or naval jelly can help dissolve corrosion effectively. After that, wipe the dumbbells with a clean cloth soaked in mineral spirits or rubbing alcohol to remove dust, grease, and residue.
Make sure the surface is completely dry before moving on. This thorough cleaning ensures a smooth, clean base for Rustoleum to bond with, improving durability and finish.
Skipping these steps can cause peeling or rust to reappear quickly, so take your time prepping properly for the best results.
Sand the Dumbbells for Better Adhesion
When you sand your iron dumbbells, you create a rough surface that helps the Rustoleum paint stick better. Grab medium-grit sandpaper and gently rub the entire surface, focusing on rust spots and glossy areas.
This simple step guarantees long-lasting coverage and prevents peeling. Sanding also removes imperfections, making your dumbbells look professional and fresh.
| Feeling | Result | Why It Matters |
|---|---|---|
| Satisfaction | Smooth surface | Paint adheres well |
| Confidence | Rust removed | Prevents damage |
| Pride | Even texture | Professional finish |
| Excitement | Ready to paint | Lasting durability |
Take your time sanding—it’s the foundation for a flawless Rustoleum finish that lasts. You’ll be glad you did!
Mask Off Areas to Avoid Painting
Before you start painting, you’ll want to carefully mask off any areas on your dumbbells that shouldn’t get Rustoleum on them. This step guarantees a clean, professional finish and protects functional parts from paint buildup.
Use painter’s tape or masking tape for precision and press it firmly to avoid paint seepage. Focus on areas like:
- Grip sections that need to stay tacky and paint-free
- Weight markings or logos you want to preserve
- Threaded parts if your dumbbells are adjustable
- Any rubber or plastic components
- Areas where different colors or finishes will be applied later
Taking the time to mask off these spots will save you cleanup hassles and keep your dumbbells looking sharp and functional. It’s definitely worth the extra minute or two!
Apply the Rustoleum Primer
Before you start applying Rustoleum primer, make sure your dumbbells are clean and free of rust or dust. Use smooth, even strokes to cover the surface without overloading the brush or spray.
Then, let the primer dry completely according to the instructions before moving on to the next step. It’s important to give it enough time so the finish sticks well and lasts longer.
Surface Preparation Essentials
Although the iron dumbbells may look ready for paint, you’ll need to apply Rustoleum primer to guarantee lasting adhesion and rust protection. Before you start, proper surface preparation is critical to make sure the primer sticks well and performs at its best.
Here’s what you should focus on:
- Clean the dumbbells thoroughly to remove dirt, grease, and oils.
- Remove any rust with a wire brush or sandpaper.
- Sand the surface lightly to create a rough texture for better primer grip.
- Wipe down with a tack cloth to eliminate dust and debris.
- Make certain the dumbbells are completely dry before applying the primer.
Following these steps helps you create a solid foundation for Rustoleum primer, making your paint job durable and rust-resistant. It’s worth taking the time to do it right!
Primer Application Techniques
Now that you’ve prepped the dumbbells properly, it’s time to apply the Rustoleum primer to lock in protection and guarantee your paint adheres well. Shake the primer can vigorously for about a minute to mix contents thoroughly.
Hold the can 8-12 inches from the dumbbell surface and spray in steady, even strokes. Move your arm smoothly to avoid paint buildup or drips.
Apply a light, uniform coat covering every exposed iron area. Don’t overload; multiple thin layers work better than one thick one.
If you miss spots, make sure to go back and cover them carefully. Also, spray in a well-ventilated space to avoid inhaling fumes.
This primer layer forms the foundation for a durable, rust-resistant finish on your dumbbells. So take your time and get it right!
Drying Time Guidelines
Once you’ve applied the Rustoleum primer, you’ll want to let it dry completely to guarantee the best adhesion and protection. Usually, the primer needs about 30 minutes to an hour to become touch dry.
However, for full curing before applying the topcoat, waiting 24 hours is ideal. Keep these drying time guidelines in mind:
- Dry in a well-ventilated, dust-free area
- Avoid high humidity or extreme temperatures
- Don’t rush; premature topcoating can cause peeling
Light sanding after complete drying improves paint grip. Also, be sure to check the primer can for specific manufacturer recommendations.
Following these steps ensures your dumbbells have a smooth, durable finish that lasts.
Spray Rustoleum Paint Evenly
Before you start spraying Rustoleum on your iron dumbbells, make sure you hold the can about 10 to 12 inches away from the surface to guarantee an even coat. Move the can steadily in smooth, overlapping strokes, avoiding pauses that cause drips or uneven coverage.
Spray in thin layers rather than one thick coat to prevent runs and ensure durability. Keep your wrist steady and maintain consistent speed to cover all angles evenly.
| Tip | Reason |
|---|---|
| Hold 10-12 inches away | Guarantees a smooth, even coat |
| Use steady, overlapping strokes | Prevents streaks and uneven paint |
| Spray thin layers | Avoids drips and runs |
| Keep consistent speed | Maintains uniform coverage |
| Rotate dumbbell if possible | Paints all surfaces evenly |
Allow Proper Drying and Curing Time
Although it might be tempting to use your dumbbells right after painting, you’ll need to let the Rustoleum dry and cure properly to achieve a durable finish. Rushing this step can cause smudging, peeling, or uneven texture.
Resist the urge to use your dumbbells immediately—allow Rustoleum to dry fully for a smooth, lasting finish.
To ensure the best results, follow these tips: Allow at least 24 hours for the paint to dry to the touch. Wait 72 hours before handling for a stronger bond.
Keep the dumbbells in a well-ventilated, dust-free area. Avoid exposing them to moisture or extreme temperatures during curing. Also, check the product label for specific drying and curing recommendations.
Patience here will really pay off. It helps your dumbbells maintain their fresh, protective coating longer and keep them looking great during workouts.
Frequently Asked Questions
Can Rustoleum Be Used on Rubber-Coated Dumbbells?
You can use Rustoleum on rubber-coated dumbbells, but you’ll need to clean and lightly sand the surface first for better adhesion.
Make sure to choose a product designed for rubber or flexible surfaces to avoid cracking. That way, the paint will last longer and look better.
How Long Does Rustoleum Protection Last on Dumbbells?
Rustoleum protection on dumbbells typically lasts 2 to 5 years, depending on usage and exposure.
You’ll want to reapply if you notice chipping or wear. This helps keep your dumbbells looking fresh and rust-free.
Is Rustoleum Safe for Indoor Use During Application?
Like walking on eggshells, you need caution—Rustoleum isn’t the safest indoors during application. You’ll want good ventilation and maybe a mask, so fumes don’t overwhelm you.
Better safe than sorry, right?
Can I Mix Rustoleum Colors for a Custom Finish?
Yes, you can mix Rustoleum colors to create a custom finish. Just make sure to stir thoroughly for even color and test a small area first.
This way, you’ll get the exact shade you want. It’s a great way to personalize your project and get creative with your colors!
How Do I Maintain Dumbbells After Rustoleum Coating?
You don’t need a PhD in dumbbellology—just wipe them down regularly, avoid moisture like it’s your ex, and store them in a dry spot.
Rustoleum’s coating isn’t magic; it needs your love to last. So, keep an eye on them and show a little TLC now and then.
Conclusion
You might think painting iron dumbbells is just about looks, but using Rustoleum transforms more than appearance—it protects against rust and extends their life. While the process takes time and care, the payoff is worth it.
Neglecting this step leaves your weights vulnerable to damage, but a little effort now means stronger, longer-lasting equipment. So, don’t just paint for style—paint for strength and durability you can rely on every workout.
Using Rustoleum on iron dumbbells not only enhances their look but also provides a tough, rust-resistant coating. This simple step preserves your equipment, making your investment last longer. In the end, applying Rustoleum is a smart move for anyone wanting reliable, durable dumbbells that stand up to regular use and sweat.