
How to Tighten Treadmill Belt in 7 Easy Steps
First, unplug your treadmill and inspect the belt for slippage or debris. This step is important to ensure your treadmill belt is ready for adjustment and safe to work on. A loose or dirty belt can affect your workout experience.
Next, locate the adjustment bolts at the rear of the treadmill. You’ll usually need an Allen wrench to turn them. These bolts control the tension of the belt, so finding them is key to tightening it properly.
Turn the bolts clockwise evenly on both sides to tighten the belt. Be careful not to over-tighten, as this can cause excessive wear or damage. Just a little adjustment goes a long way.
After tightening, check the belt’s alignment. If it drifts to one side, adjust the bolts accordingly until it runs straight. Proper alignment helps the belt last longer and ensures a smooth workout.
Now, power on your treadmill and walk slowly to test the tension. If the belt still feels loose or slips, repeat small adjustments. Keep fine-tuning until the belt feels tight and runs smoothly.
With these simple steps, you’ll see how easy it is to tighten your treadmill belt. A well-tuned belt guarantees better performance and a safer, more enjoyable exercise session.
Key Takeaways
- Turn off the treadmill, unplug it, and remove the safety key. This ensures you’re safe before you start adjusting the belt.
- Next, locate the rear adjustment bolts on both sides of the treadmill deck. You’ll need an Allen wrench for this step.
- Now, turn the adjustment bolts clockwise by about a quarter turn. Make sure you tighten both sides evenly to keep the belt balanced.
- Power on the treadmill at a low speed and walk slowly to test the belt’s tension and alignment.
- If it doesn’t feel quite right, repeat the fine adjustments and tests. Keep going until the belt runs smoothly, stays centered, and doesn’t slip or make noise.
Inspect the Treadmill Belt for Slippage
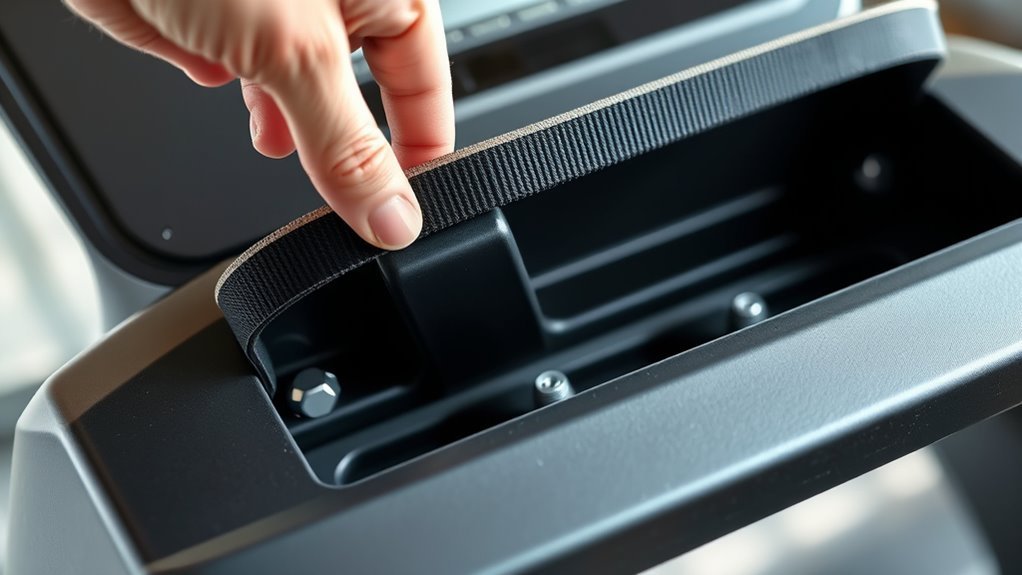
Before tightening the treadmill belt, you should inspect it carefully for slippage. Start by standing on the treadmill and slowly walking to feel if the belt shifts beneath your feet. If it slides or feels loose, that’s a clear sign it needs adjustment.
Next, power on the machine at a low speed and observe the belt’s movement. Watch for any unevenness or slipping as it rotates. Check both sides of the belt for consistent tension and alignment.
Also, inspect the belt’s surface for wear or damage, which can contribute to slippage. Catching these issues early ensures you tighten the belt properly and avoid further problems. This inspection step sets the foundation for safe and effective belt tightening later.
Unplug the Treadmill for Safety

Before you start tightening the treadmill belt, make sure to power off the machine completely. Always unplug it from the wall to prevent any accidental starts.
Give it a moment to verify all electrical components are fully inactive before proceeding. This way, you’re keeping things safe and sound!
Power Off Completely
Although it might seem like a simple step, unplugging your treadmill guarantees your safety while tightening the belt. Before you start, make sure the treadmill is completely powered down.
This prevents accidental starts, electrical shocks, or injuries. Confirm the display is off and no lights are blinking.
Here’s a quick checklist to power off safely:
| Step | Action | Why It Matters |
|---|---|---|
| 1 | Press the stop button | Stops the belt immediately |
| 2 | Turn off the power switch | Cuts electrical flow |
| 3 | Wait for display to go dark | Ensures no residual power |
| 4 | Confirm no sounds or lights | Confirms treadmill is off |
| 5 | Proceed to unplug | Safe to handle the treadmill |
Unplug From Wall
Since you’ve already powered off your treadmill, unplugging it from the wall guarantees there’s no chance of electrical hazards while you work on tightening the belt.
This simple step guarantees your safety by cutting off all power, preventing accidental starts or electric shocks. Locate the power cord and firmly pull the plug from the outlet—avoid yanking the cord itself to prevent damage.
If your treadmill has a safety key, remove it as an added precaution. Taking this extra care not only protects you but also safeguards your treadmill’s electronics during maintenance.
Once unplugged, you can confidently proceed to adjust the belt tension without worrying about unexpected electrical issues interrupting your work.
Always make unplugging your first step before any treadmill repair.
Wait Before Starting
After unplugging your treadmill and removing the safety key, give it a moment before you start working on the belt. This pause guarantees any residual power dissipates and the treadmill fully powers down. It helps reduce the risk of accidental starts or shocks.
Safety is vital—never rush this step.
Here’s a quick overview:
| Step | Reason | Tip |
|---|---|---|
| Unplug Treadmill | Cuts off power supply | Always unplug from the wall |
| Remove Safety Key | Prevents accidental starts | Keep the key nearby |
| Wait 1-2 Minutes | Allows residual power to clear | Use this time to prep tools |
| Check Stability | Ensures treadmill won’t move | Place on a flat surface |
Taking these precautions keeps you safe while tightening the belt. So, take your time and stay safe!
Locate the Adjustment Bolts at the Rear

Now that your treadmill is unplugged, turn it around to find the adjustment bolts at the rear.
These bolts usually sit on either side near the end of the belt. Identifying the correct screws will help you tighten the belt evenly.
It’s pretty straightforward once you spot them. Just take your time to make sure you’re looking at the right bolts before you start adjusting.
Finding Rear Bolts
Where exactly do you find the adjustment bolts on your treadmill? Typically, these bolts are located at the rear end of the treadmill deck.
To find them, first unplug your treadmill for safety. Then, walk to the back and look closely near the base on both sides. You should see two bolts, one on the left and one on the right, often recessed into the frame.
They might be hex head or Allen bolts. If you don’t spot them immediately, check underneath the treadmill deck by kneeling down and peering under the sides.
These bolts control the tension of the belt, so locating them is essential before you adjust anything. Remember, the exact placement can vary slightly by model, but they’re almost always at the rear.
Identifying Adjustment Screws
Once you’ve located the rear bolts on your treadmill, the next step is to identify the adjustment screws that control the belt tension. These screws are essential for tightening or loosening the belt to ensure smooth operation.
Here’s how to find them:
- Look for two screws or bolts near each rear corner of the treadmill deck. They usually sit directly behind the belt.
- Check for screws that are accessible with an Allen wrench or a hex key, as these are commonly used for adjustments.
- Notice if the screws are threaded into the metal frame; turning them clockwise tightens the belt, while counterclockwise loosens it.
Knowing these adjustment screws helps you maintain the right belt tension and prolong your treadmill’s life. It’s a simple step that makes a big difference!
Use an Allen Wrench to Tighten the Bolts
Although it may seem simple, using an Allen wrench to tighten the bolts is essential for securing your treadmill belt properly. First, locate the adjustment bolts near the rear roller, identified in the previous step.
Insert the correct size Allen wrench into the bolt heads. Turn the wrench clockwise, tightening the bolts gradually and evenly on both sides to avoid misalignment.
Don’t over-tighten; a snug fit is enough to hold the belt firmly without causing excessive friction or damage. After tightening, double-check that the bolts feel secure but still allow for minor belt adjustments later.
Using an Allen wrench ensures you apply the right torque and keep your treadmill operating smoothly, preventing the belt from slipping during your workouts.
Check Belt Alignment and Adjust if Needed
After tightening the bolts, you’ll want to check the belt alignment to make sure it runs smoothly and stays centered on the treadmill deck. Misaligned belts can cause uneven wear and affect your workout quality.
To check and adjust the alignment:
- Turn on the treadmill at a slow speed and observe the belt’s position.
- If the belt drifts to one side, locate the rear roller adjustment bolts on that side.
- Use an Allen wrench to turn the bolt clockwise to move the belt away from that side or counterclockwise to move it closer to the center.
Make small adjustments and recheck the alignment until the belt runs perfectly centered. This helps prolong the belt’s life and keeps your workout safe and smooth.
Test the Belt Tension by Walking on It
Before finalizing your adjustments, you’ll want to test the belt tension by walking on the treadmill. Turn on the machine at a slow speed and step onto the belt carefully.
Pay close attention to how the belt feels under your feet. It shouldn’t slip or feel loose, but it also shouldn’t be so tight that it makes walking difficult or causes excessive noise.
If the belt slides back when you push off, it’s too loose. If it drags or feels stiff, it’s too tight.
Walking for a minute or two will give you a good sense of the belt’s tension and overall performance, helping you decide if your adjustments are on point before you move on.
Repeat Adjustments Until the Belt Feels Secure
If the belt still feels loose or too tight after your initial test walk, you’ll need to adjust the tension again. This process may take a few tries to get it just right.
Follow these steps each time you adjust:
- Loosen the bolts slightly to relieve tension before making new adjustments.
- Turn the adjustment bolts incrementally, usually a quarter turn at a time, to avoid over-tightening or loosening.
- Walk on the treadmill again to test the belt’s feel and alignment.
Repeat this cycle until the belt feels secure, runs smoothly, and doesn’t slip during use. It might take several attempts, but being patient guarantees your treadmill operates safely and efficiently.
Frequently Asked Questions
How Often Should I Lubricate the Treadmill Belt?
You should lubricate your treadmill belt every three to six months, depending on usage. If you use it daily, once every three months works best.
Always check your manual for specific recommendations to keep it running smooth. That way, you’ll make sure your treadmill stays in great shape for longer!
Can a Worn-Out Belt Be Tightened Effectively?
You can’t effectively tighten a worn-out treadmill belt; it usually needs replacing. Tightening only fixes loose belts, but worn belts risk slipping or damage.
For safety and performance, consider getting a new belt instead. It’s really the best way to keep your treadmill running smoothly and safely.
What Tools Are Best for Treadmill Maintenance?
You’ll want an Allen wrench and a screwdriver—your trusty keys to unfastening smooth treadmill motion.
A lubricant bottle acts like oil on a well-oiled machine, while a cloth sweeps away dust, keeping your fitness journey seamless.
How Do I Know When to Replace the Treadmill Belt?
You’ll know it’s time to replace your treadmill belt when you notice excessive slipping, fraying edges, or a rough, worn surface that affects your workout.
Regular inspection helps catch these signs before damage worsens. So, keep an eye on your belt and don’t wait too long to make a change.
Does Belt Tension Affect Treadmill Motor Performance?
Yes, belt tension directly influences your treadmill motor’s performance. If it’s too tight, the motor strains and overheats; too loose, and it slips.
Keeping it properly tensioned ensures smooth operation and extends motor life. So, it’s really worth checking and adjusting it regularly to keep things running smoothly.
Conclusion
Now that you know how to tighten your treadmill belt in just seven easy steps, you’re ready to keep your workouts smooth and safe.
Did you know that nearly 60% of treadmill issues come from a loose or misaligned belt? That’s a lot! By regularly checking and adjusting your belt, you’ll avoid common problems like slipping or uneven wear.
This simple maintenance not only keeps your treadmill running like new but also extends its lifespan. So, keep your treadmill belt tight and aligned to enjoy safe, effective workouts every time.
You’ve got this! With these quick steps, maintaining your treadmill belt is easier than ever.