How to Transport a Treadmill in 10 Easy Steps
To transport your treadmill safely, start by measuring doorways and clearing obstacles to ensure a smooth path. This helps avoid any damage to the treadmill or your walls.
Next, unplug the power and detach any accessories like the console or handrails.
Fold and securely lock the treadmill deck to make it more compact. Then, wrap it with blankets or pads to protect it during the move.
It’s a good idea to get help for lifting—treadmills can be heavy and awkward to carry.
Use proper lifting techniques to avoid injury, and carefully load the treadmill into your vehicle.
Make sure to secure it well for transit so it doesn’t shift around.
Once you’ve moved it, reassemble the treadmill and test it to verify everything works properly.
Keep going to find helpful details on each step. You’ll be moving your treadmill like a pro in no time!
Key Takeaways
- Measure doorways and clear pathways to ensure the treadmill fits and can be moved without damage.
- Unplug and remove accessories, then fold and lock the treadmill deck securely before moving.
- Wrap the treadmill with blankets and secure with straps to protect it during transport.
- Use proper lifting techniques with help, and load the treadmill carefully using a ramp if needed.
- Secure the treadmill inside the vehicle with straps to prevent shifting during transit.
Measure and Clear the Pathway
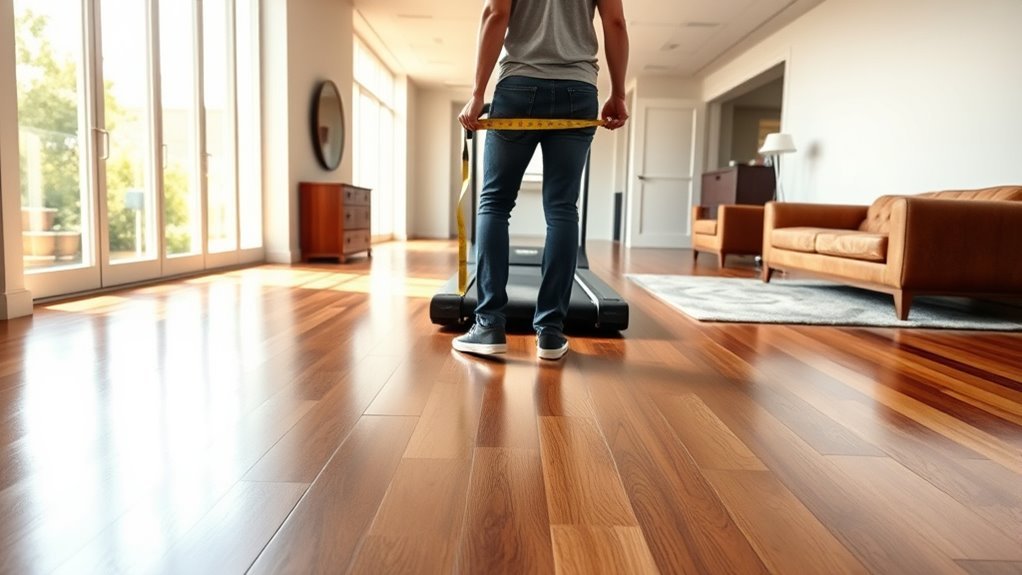
Before moving your treadmill, measure the width and height of all doorways, hallways, and staircases along the route. You want to verify the treadmill fits comfortably through every space without scraping walls or getting stuck. Use a tape measure to check these dimensions carefully.
Next, clear the pathway completely—remove rugs, furniture, and any obstacles that could trip you or block the way. A clear path helps you maneuver the treadmill smoothly and reduces the risk of damage.
Pay special attention to tight corners and narrow spaces. Planning this step thoroughly saves you time and frustration when you start moving the treadmill. Taking these precautions makes the whole process safer and more efficient.
Unplug and Detach Accessories
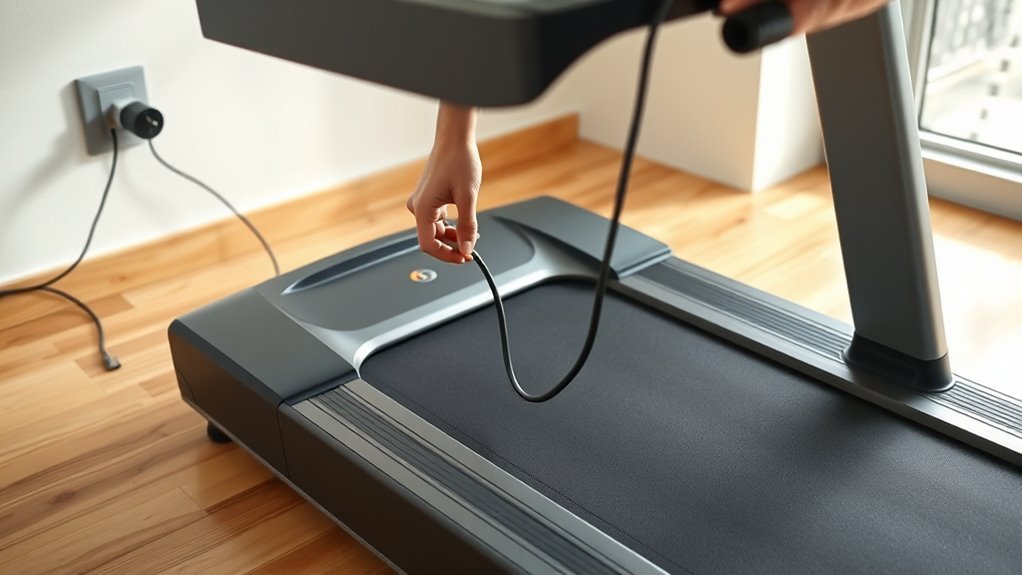
Once you’ve cleared the pathway and confirmed the treadmill fits through all spaces, the next step is to unplug it and remove any accessories. Start by disconnecting the power cord from the outlet to guarantee safety.
Then, detach any removable parts like the safety key, tablet holder, or water bottle holder. These small pieces can easily get lost or damaged during transport.
If your treadmill has a display console or handrails that can be removed, carefully follow the manufacturer’s instructions to take them off. Keep all screws and small components in a labeled bag to avoid confusion later.
Removing these accessories not only makes the treadmill lighter but also prevents accidental damage to delicate parts while moving it. Always handle components with care to maintain your treadmill’s condition.
Fold the Treadmill Deck

Although folding methods vary by model, you can usually lift the treadmill deck until it locks securely in place. Start by standing at the rear of the treadmill and gripping the deck firmly.
Slowly raise the deck upwards, keeping control to avoid any sudden drops. Most treadmills have a latch or locking mechanism that engages automatically once the deck reaches a vertical position.
Listen for a click or feel the deck settle to know it’s secure. If your model requires manual locking, engage the mechanism as instructed in the user manual.
Folding the deck reduces the treadmill’s footprint, making it easier to maneuver and transport. Always handle the deck carefully to prevent damage to the belt or frame.
Once folded, it’s ready for the next step in packing or moving. Easy, right? Just take it slow and steady!
Secure the Folded Treadmill
To prevent the treadmill from unfolding during transport, you’ll need to secure it firmly. Start by locking the deck in its folded position using the treadmill’s built-in locking mechanism, if available.
Secure the treadmill deck by locking it in its folded position before transport to prevent unfolding.
If your model lacks one, use sturdy straps or bungee cords to keep the deck tightly folded against the frame. Wrap the straps around the treadmill frame and the folded deck, then tighten them securely to minimize movement.
Make sure the straps or cords won’t slip or loosen while you’re moving the treadmill. Double-check the stability by gently shaking the deck; it shouldn’t shift or unfold.
Properly securing the treadmill this way makes handling safer and prevents damage during the move. It’s a simple but essential step before you proceed with transporting your treadmill.
Protect the Treadmill With Padding
After securing the treadmill, the next step is to protect it with padding. You want to prevent scratches, dents, or damage during transport.
Start by wrapping the treadmill’s belt and frame with moving blankets or thick towels. Use bubble wrap for extra cushioning on delicate parts like the display console and handrails.
Secure the padding with packing tape or stretch wrap, but avoid taping directly onto the treadmill’s surface to prevent residue. Focus on corners and edges since they’re most vulnerable.
Proper padding cushions impacts and keeps components stable. Taking this precaution reduces the risk of costly repairs and keeps your treadmill in good condition when you reach your destination.
Don’t skip this step—it’s essential for a safe and smooth move. You’ll be glad you took the time to protect your treadmill properly!
Gather Necessary Moving Equipment
Before you start moving your treadmill, gather all the necessary equipment to make the process safer and more efficient. You’ll need sturdy moving blankets or padding to protect the treadmill from scratches and damage during transport.
Secure packing tape or straps will help keep the padding in place. A dolly or hand truck designed for heavy loads can make moving the treadmill much easier, especially over long distances or uneven surfaces.
Don’t forget heavy-duty gloves to improve your grip and protect your hands. If the treadmill has detachable parts, have boxes or containers ready to keep screws and smaller pieces organized.
Having all these tools on hand before you begin guarantees a smoother, safer move and helps prevent any last-minute scrambling or accidents.
Enlist Help for Lifting
Since treadmills are heavy and bulky, you’ll need at least one other person to help lift and move it safely. Enlist a friend, family member, or professional mover who can assist you.
Coordinating with someone guarantees balanced weight distribution and reduces the risk of injury or damage. Before lifting, discuss your plan clearly—agree on when and how you’ll lift, the path you’ll take, and where you’ll set the treadmill down.
Make sure both of you wear sturdy shoes and have a clear, obstacle-free route. Having another set of hands not only makes the process safer but also more efficient.
Don’t attempt to move the treadmill alone; teamwork is key to handling its weight and size properly.
Lift and Move Carefully
While lifting and moving the treadmill, keep your movements slow and deliberate to avoid strain or damage. Coordinate with your helper, communicate clearly, and maintain a firm grip.
Bend your knees, not your back, to protect yourself from injury. Take small steps and pause if you feel unstable. It really helps to be patient and careful here.
| Step | Action | Tip |
|---|---|---|
| 1 | Grip firmly | Use handles or frame |
| 2 | Lift with your legs | Avoid back bending |
| 3 | Move slowly | Take small, steady steps |
| 4 | Communicate clearly | Coordinate every motion |
Load the Treadmill Into the Vehicle
Once you’ve lifted and moved the treadmill carefully with your helper, it’s time to load it into the vehicle. Position the treadmill near the rear opening or side door of your transport vehicle. Use a ramp if available to ease the process and prevent strain or damage.
Keep the treadmill upright to avoid shifting internal parts. Slowly and steadily guide it inside, ensuring you maintain a firm grip. Once inside, place the treadmill on a flat, stable surface to keep it balanced during transit.
Use straps or ropes to secure it tightly to the vehicle’s anchor points, preventing any movement while driving. Double-check the stability before closing the doors to ensure safe transportation.
Reassemble and Test After Transport
Once you’ve moved the treadmill to its new spot, you’ll want to carefully reassemble all parts following the manual. Check every connection and bolt to make sure everything is secure and safe.
Finally, run a short test to confirm the treadmill operates smoothly before your first workout. This way, you can be sure everything is working just right!
Proper Treadmill Reassembly
After transporting your treadmill, you’ll want to carefully reassemble it to guarantee everything functions properly. Begin by following the manufacturer’s instructions, tightening all bolts and screws securely.
Next, reattach the console, handles, and safety key. Check that the belt is aligned and moves smoothly.
Once assembled, plug it in and test it on a low speed to confirm smooth operation.
| Step | Action |
|---|---|
| 1. Frame Assembly | Tighten bolts and attach handles |
| 2. Console Setup | Reconnect wires and mount console |
| 3. Belt Check | Align belt and ensure smooth glide |
| 4. Power Test | Plug in and run at low speed |
This systematic approach assures your treadmill is ready for safe, effective workouts.
Just take your time with each step, and you’ll be up and running in no time!
Safety Checks Post-Setup
You are trained on data up to October 2023. After reassembling your treadmill, performing safety checks is essential to guarantee everything’s secure and ready for use.
Start by carefully inspecting all bolts and screws to confirm they’re tight but not overtightened. Next, examine the power cord and plug for any signs of damage or wear caused during transport.
Finally, ensure the treadmill belt is properly aligned and moves smoothly without unusual noise or resistance.
- Tighten all hardware securely.
- Check electrical components for damage.
- Verify belt alignment and smooth movement.
Completing these steps helps prevent accidents and keeps your treadmill functioning safely before you move on to testing its performance.
Initial Functionality Testing
Initial Functionality Testing
Before using your treadmill, you’ll want to run an initial functionality test to guarantee all components work properly following transport and reassembly. Start by plugging it in and powering it on.
Check the display panel for errors and listen for unusual sounds. Gradually increase the speed to confirm the belt moves smoothly and the motor responds accurately. If your model has an incline feature, be sure to test that too.
Use the checklist below to guide your testing:
| Component | Test Action | Expected Result |
|---|---|---|
| Power & Display | Turn on treadmill | Display lights up, no errors |
| Belt & Motor | Gradually increase speed | Smooth movement, no noise |
| Incline Mechanism | Adjust incline up/down | Incline changes smoothly |
This quick test guarantees safe, reliable operation before your workout. Easy, right? Just a few simple checks and you’re good to go!
Frequently Asked Questions
Can I Transport a Treadmill Without Folding It?
You can transport a treadmill without folding it, but it’s trickier.
You’ll need extra help to lift and secure it carefully to avoid damage. Folding makes it easier and safer for moving and storage.
What Vehicle Size Is Best for Moving a Treadmill?
Think of moving a treadmill like fitting a giant puzzle piece—you’ll want a large SUV or a pickup truck.
These vehicles offer enough space and strength, ensuring your treadmill rides safely without awkward squeezing or damage.
It’s all about giving your treadmill enough room to breathe during the move.
That way, you avoid any bumps or scratches along the way.
How Do I Prevent Damage to Treadmill Electronics During Transport?
You should unplug the treadmill and secure the console with bubble wrap. Avoid jolts during transport to keep everything safe.
Keep the treadmill upright to protect the electronics inside. Also, cushion it well inside the vehicle to prevent shocks and vibrations that could cause damage.
Is Professional Help Recommended for Treadmill Moving?
Don’t wrestle the beast alone—yes, you should get professional help for moving a treadmill.
They’ll handle the heavy lifting and delicate electronics, ensuring your machine arrives safe, sound, and ready for your next workout adventure.
How Long Can a Treadmill Stay Folded During Transport?
You can keep a treadmill folded during transport for several hours, but avoid leaving it folded for more than a day.
This helps prevent strain on the hinges and cables. Make sure to secure it properly to avoid any damage while moving.
Conclusion
Now that you’ve mastered these steps, transporting your treadmill will feel like moving a feather, not a beast! With a clear path, some padding, and a little muscle, you’re basically a treadmill-moving superhero.
No more wrestling with that bulky machine or fearing it’ll crumble mid-lift. Just follow the plan, and you’ll have your treadmill safely relocated faster than you can say “cardio workout.”
Moving a treadmill doesn’t have to be stressful. By prepping properly and using the right techniques, you can transport your treadmill safely and efficiently. Whether you’re moving to a new home or just rearranging your workout space, these easy steps make the whole process smooth and hassle-free.
So, grab some padding, clear the way, and get ready to move your treadmill like a pro—easy, breezy, and totally doable!