How to Verify If Your Treadmill Accurately Measures Distance
To verify your treadmill’s distance accuracy, start by running on a known, measured track or use a GPS device to record your distance. Then, compare that distance to what the treadmill’s display shows.
This simple step helps you see if your treadmill is measuring correctly or if there’s a mismatch.
You can also time your runs at steady speeds to estimate distance and check for consistency. If you notice discrepancies, don’t worry! Access your treadmill’s calibration settings to adjust the sensor readings.
Testing different speeds and incline levels can also reveal any measurement issues.
Keep exploring to discover detailed calibration and troubleshooting steps. With a bit of patience, you’ll ensure your treadmill accurately tracks your workouts and helps you meet your fitness goals.
Key Takeaways
- Run a known, accurately measured distance on the treadmill and compare the displayed distance to the actual measurement.
- Use GPS tracking during a treadmill session and compare its distance reading to the treadmill’s display.
- Access the treadmill’s calibration menu and verify or adjust settings based on verified distance tests.
- Ensure the treadmill belt is properly tensioned, aligned, and warmed up before testing for accurate distance measurement.
- Repeat tests at different speeds and inclines to confirm consistent and reliable distance accuracy across settings.
Understanding How Treadmills Calculate Distance
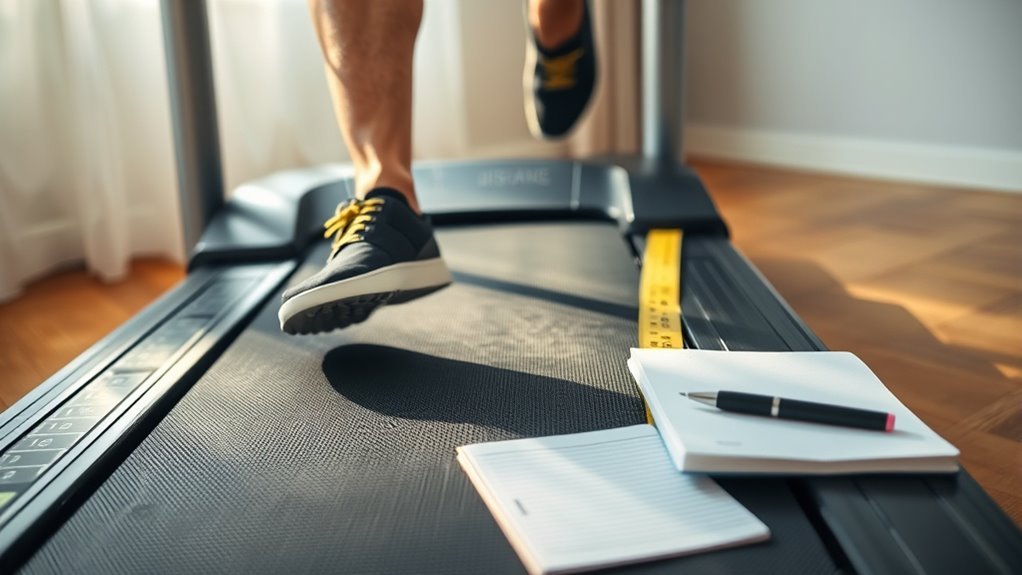
Although you might not realize it, treadmills calculate distance based on the number of belt rotations combined with the belt’s length. When you start running or walking, sensors track how many times the belt completes a full rotation.
Since the belt’s length is fixed, multiplying rotations by this length gives the total distance traveled. This method assumes the belt moves smoothly without slipping.
If the belt speed changes or the machine’s calibration is off, the displayed distance might not match your actual movement. Understanding this helps you grasp why treadmills can sometimes show inaccurate readings.
Preparing Your Treadmill for Testing
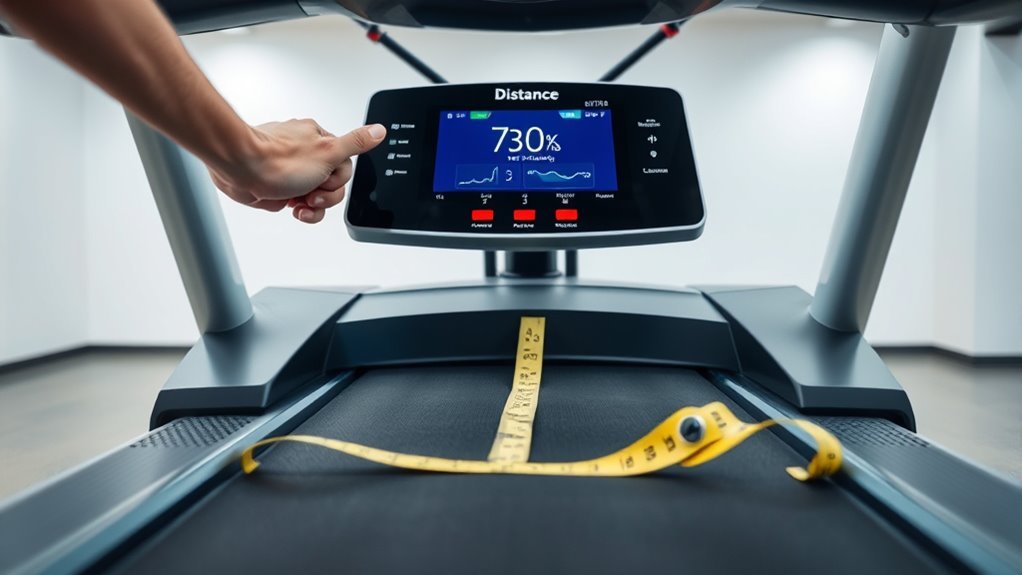
Now that you understand how your treadmill calculates distance, it’s time to prepare the machine for accurate testing. Proper preparation guarantees your results will reflect its true performance.
Start by making sure your treadmill is on a flat, stable surface to avoid any inconsistencies. Next, check the belt tension and alignment; an uneven belt can skew distance measurements.
Clean the belt and deck to reduce friction, allowing smooth operation. Finally, warm up the treadmill for 5 to 10 minutes to stabilize its mechanics and electronics.
- Place treadmill on level, firm ground
- Inspect and adjust belt tension and alignment
- Clean belt and running surface thoroughly
- Warm up the treadmill before testing
These steps set the stage for reliable distance verification. Easy enough, right? Just follow these, and you’re good to go!
Using a Measured Track to Compare Distance
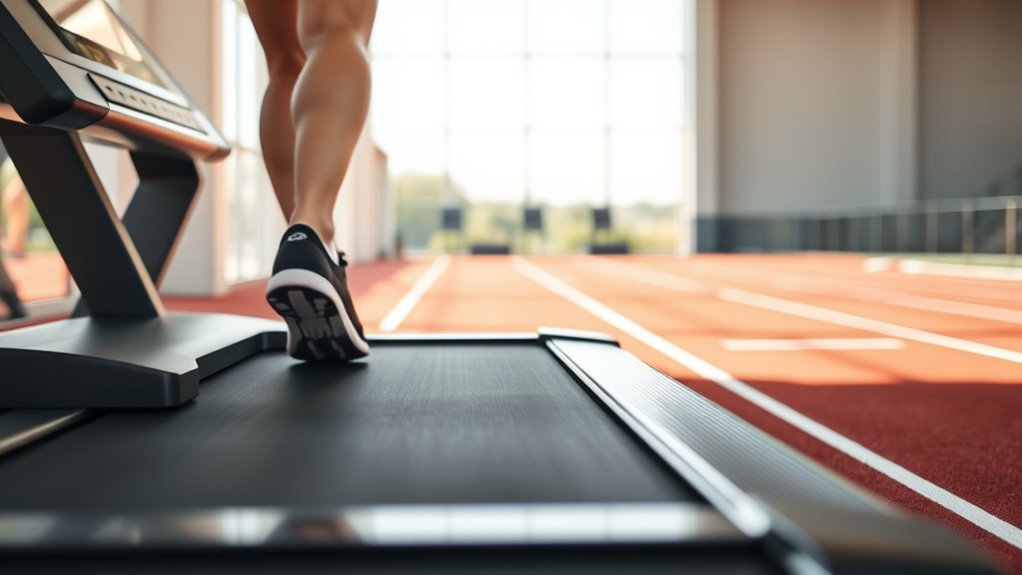
To check your treadmill’s accuracy, start by selecting a track with a known distance. Run the distance while recording the treadmill’s displayed measurement.
Then, compare the treadmill reading to the actual track length to see how close they match. It’s a simple way to find out if your treadmill is on point or needs adjustment.
Select a Known Distance
Choosing a known distance is essential for accurately verifying your treadmill’s distance measurement. Without a reliable reference, you can’t be sure how precise your treadmill really is.
Use a measured track or a well-marked outdoor route that has been officially surveyed for accuracy. When selecting this distance, consider a few things.
The length should be long enough to minimize small errors. Also, choose a flat, straight path for consistency.
Try to confirm the distance with multiple sources if possible. And avoid routes with frequent turns or elevation changes. It just makes things less reliable.
Run and Record Data
After selecting your measured track, you’ll want to run on your treadmill while recording the distance it displays. Begin by warming up briefly, then start running at a steady pace that matches your usual workout speed.
Keep an eye on the treadmill’s distance readout as you complete the length equivalent to your measured track. Make sure to note the exact distance shown once you finish.
It helps to use a stopwatch or timer to maintain consistent speed and focus during your run. If possible, repeat this process two or three times to gather multiple data points, which can improve accuracy.
Recording these readings carefully guarantees you have reliable information for the next step, where you’ll compare the treadmill’s reported distance to your known track length.
Compare Treadmill Readings
Although treadmill displays can seem reliable, you’ll want to directly compare their distance readings to your measured track to check for accuracy. Start by running a set distance on your treadmill, then immediately measure that same distance outdoors or on a track you know is precise.
Note any differences between the treadmill’s reading and the actual distance. Here’s how to approach this:
- Use a certified measured track or marked outdoor distance
- Run the exact distance on both treadmill and track
- Record treadmill display distance and actual measured distance
- Calculate the percentage difference to see if the treadmill over- or underestimates
Timing Your Run to Estimate Distance
When you time your run on a treadmill, you can estimate the distance covered by multiplying the duration by the machine’s speed setting. For example, if you run for 30 minutes at 6 miles per hour, you should cover about 3 miles.
Make sure the treadmill speed is steady throughout your run to get an accurate estimate. Start the timer exactly when you begin running and stop it the instant you finish.
Compare your calculated distance with the treadmill’s displayed distance. If there’s a significant difference, your treadmill’s measurement might be off.
This method helps you quickly check if the machine’s distance readout matches the basic physics of speed and time. It gives you a simple way to verify accuracy without extra equipment.
Utilizing a GPS Device for Cross-Verification
Since treadmill distance measurements can sometimes be inaccurate, using a GPS device offers a reliable way to cross-check your actual running distance. You can take your GPS-enabled watch or smartphone outside and run a comparable distance on a measured track or path.
Then, compare the GPS-recorded distance with your treadmill’s reading to spot any discrepancies. It’s a simple way to see if your treadmill is on point or off a bit.
Here’s how to effectively use your GPS device for verification:
- Choose a flat, familiar route with minimal GPS signal interference.
- Start the GPS tracking before you begin running and stop it immediately after.
- Note the distance recorded by your GPS device and your treadmill.
- Calculate the percentage difference to determine accuracy.
This method gives you a straightforward way to confirm your treadmill’s distance accuracy. It’s easy, quick, and helps you trust your treadmill’s numbers a bit more.
Checking Treadmill Calibration Settings
To make certain your treadmill records distance accurately, you’ll want to understand its calibration basics first. Start by accessing the calibration menu, usually found in the settings or maintenance section.
From there, you can adjust the distance settings to match your actual strides or verified measurements. It’s pretty straightforward once you get the hang of it! Just take your time to ensure everything lines up correctly.
Understanding Calibration Basics
Although treadmill manufacturers often preset calibration settings, you can’t rely on them being accurate over time. Wear and tear, belt slippage, or changes in motor performance can cause discrepancies in distance measurements.
Understanding calibration basics helps you ensure your treadmill’s readings stay reliable and consistent.
To grasp calibration fundamentals, keep these points in mind:
- Calibration aligns the treadmill’s distance output with actual belt movement.
- It usually involves adjusting the sensor or control board settings.
- Proper calibration accounts for belt length, speed, and sensor sensitivity.
- Regular checks prevent gradual distance inaccuracies that affect workout tracking.
Accessing Calibration Menu
How do you access the calibration menu on your treadmill? Usually, you start by turning the treadmill off. Then, you press a specific combination of buttons while powering it back on.
The exact steps vary by brand and model. So, consulting your treadmill’s manual is a good idea. Once you’re in the calibration menu, you’ll see options related to speed, distance, and incline settings.
Here’s a quick reference:
| Brand | Button Combo | Notes |
|---|---|---|
| Brand A | Hold “Stop” + “Start” | Access via power on |
| Brand B | Press “Speed +” x3 | Must be off before pressing |
| Brand C | Hold “Incline Down” | Use power button afterward |
Adjusting Distance Settings
Once you access the calibration menu, you can start adjusting the distance settings to guarantee your treadmill tracks your workouts accurately. Begin by comparing the treadmill’s displayed distance with a known measurement, like a measured track or GPS distance.
Then, use the calibration options to tweak the settings accordingly. Focus on these key steps:
- Locate the distance calibration option in the menu.
- Enter the actual distance you covered during your test run.
- Save the new settings and exit the calibration menu.
- Test again to ensure the treadmill now reflects the correct distance.
Adjusting these settings helps align the treadmill’s output with real-world measurements. This way, your workout data stays reliable and consistent every time.
Adjusting Speed and Incline for Accuracy
When you adjust the speed and incline on your treadmill, you’re directly influencing the accuracy of its distance measurement. To guarantee precise readings, start by setting the speed to a pace you typically maintain during your workouts.
Gradually increase the incline and observe if the treadmill adjusts the distance accordingly. Some models may miscalculate distance when incline changes, so test various settings.
Use a known distance, like a measured room length, to compare the treadmill’s reading. If you notice discrepancies, recalibrate the speed or incline settings if your treadmill allows it.
Consistent speed and incline adjustments help maintain accurate distance tracking, which is vital for monitoring progress and setting goals effectively. Always test after making changes to confirm accuracy remains intact.
When to Contact Manufacturer or Service Professional
If your treadmill consistently shows inaccurate distance despite adjustments, it’s time to reach out to the manufacturer or a service professional. Persistent errors could indicate mechanical or electronic issues beyond user troubleshooting.
Don’t hesitate to seek expert help if you notice unusual noises or vibrations during use. Also watch for display malfunctions, error messages, belt slipping, or improper tension.
Inconsistent speed that affects distance readings is another sign you should get professional assistance. Contacting the manufacturer often provides warranty support or guidance for authorized repairs.
A certified technician can diagnose and fix internal problems accurately, ensuring your treadmill remains safe and reliable. Remember, regular professional maintenance can prevent future inaccuracies and extend your treadmill’s lifespan.
Frequently Asked Questions
Can Treadmill Distance Readings Affect Calorie Burn Estimates?
Yes, treadmill distance readings can affect calorie burn estimates because the machine calculates calories based on distance and speed.
If the distance is off, your calorie count won’t be accurate, so you might burn more or less than shown.
That means it’s important to trust but also question those numbers a bit. After all, they’re only as good as the data the treadmill uses.
Do Different Treadmill Brands Use Varied Distance Measurement Methods?
Yes, different treadmill brands use varied distance measurement methods, including belt rotations or sensors.
You should check your model’s manual to understand how it calculates distance. That way, you can be sure to trust its readings during workouts.
How Often Should Treadmill Sensors Be Cleaned for Accuracy?
You should clean your treadmill sensors at least once a month to maintain accuracy. If you use it heavily or notice inconsistent readings, clean them more often.
Regular maintenance keeps the distance measurements reliable. It really helps ensure your workouts are tracked correctly and you get the most out of your treadmill.
Does Running Style Impact Treadmill Distance Accuracy?
Imagine your treadmill as a car’s odometer—if you change your running style, it’s like switching gears; your distance reading might shift.
Yes, your running style can impact distance accuracy, so stay consistent for precise tracking.
Can Firmware Updates Improve Treadmill Distance Measurement?
Yes, firmware updates can improve treadmill distance measurement by fixing bugs and refining algorithms.
You should regularly check for updates to make sure your treadmill provides the most accurate data possible during your workouts.
Keeping your treadmill’s firmware up to date helps it track your progress better. That way, you get the most reliable info every time you run or walk.
Conclusion
You might think your treadmill’s distance is spot-on, but what if it’s just a coincidence when your tracked miles match your expectations? By testing on a measured track or using a GPS device, you’ll catch any discrepancies and guarantee accuracy.
Don’t wait until your workout feels off or your goals slip away—take a moment to verify now. It’s a small step that makes a big difference in reaching your fitness targets. Ensuring your treadmill accurately measures distance helps you stay motivated and track progress effectively. So, grab a reliable method, check your treadmill’s readings, and keep your fitness journey on the right path.