How to Calibrate Your Treadmill for Accurate Distances
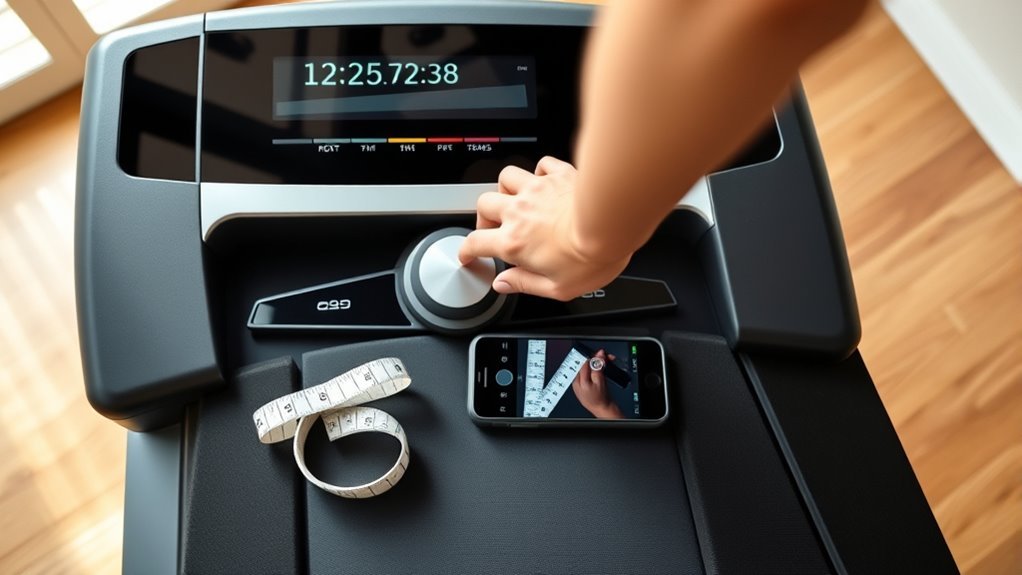
To calibrate your treadmill for accurate distances, start by gathering essential tools like a measuring tape, stopwatch, and your treadmill’s manual. Ensuring your treadmill is clear and level is important before you begin. This helps you get the most precise measurements possible.
Next, mark a known distance on the treadmill belt. Walk or run that distance at a steady pace while noting any discrepancies between the treadmill’s display and the actual distance covered. This step is key to understanding how off your treadmill’s distance tracking might be.
Once you spot any differences, adjust the settings through your treadmill’s calibration menu to correct these errors. After making adjustments, test the accuracy again to make sure the changes worked.
Don’t forget—regular cleaning and lubrication of your treadmill also help maintain its accuracy over time. Keep following along for more detailed steps and expert tips to get your treadmill calibrated just right!
Key Takeaways
- Measure a fixed known distance on the treadmill belt and walk or run it to compare displayed distance with actual distance. This gives you a baseline to work from.
- Next, access the treadmill’s calibration settings menu. Here, you can adjust speed and distance calibration based on your measurements.
- After making adjustments, repeat the distance tests to make sure the treadmill accurately reflects the true distance traveled. It might take a couple of tries to get it just right.
- Also, use a level to ensure the treadmill is sitting evenly. Don’t forget to warm up the belt before calibration; this helps keep your results consistent.
- Lastly, regular maintenance is key. Clean the belt, lubricate moving parts, and inspect sensors routinely to maintain calibration accuracy over time. It’s all about keeping your treadmill in top shape!
Understanding Why Treadmill Calibration Matters
Although you might not notice it immediately, calibrating your treadmill guarantees that the speed and incline settings match what the display shows.
When you skip calibration, the treadmill might run faster or slower than indicated, or the incline could be off by several degrees.
This affects your workout accuracy, making it hard to track your progress or meet fitness goals.
Calibration ensures the distance you see is true, so you can trust your stats for pace, calories burned, and time.
It also helps prevent uneven wear on the treadmill parts, extending its lifespan.
Gathering the Tools You’ll Need for Calibration
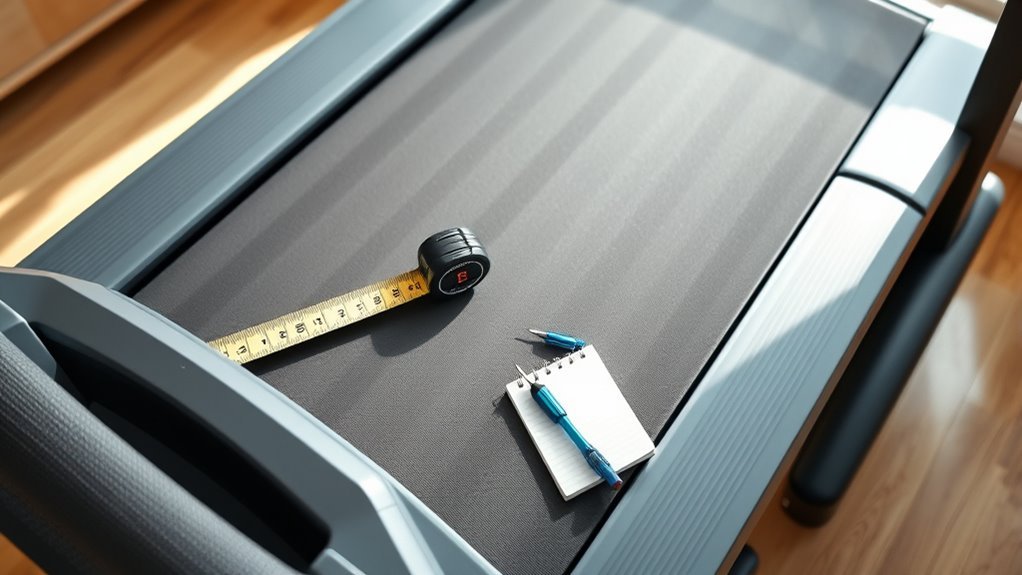
Before you start calibrating your treadmill, make sure you have the right tools on hand. You’ll need a reliable measuring tape, some basic calibration instruments, and safety gear to protect yourself during the process.
Having everything ready will make the calibration smoother and safer. It’s always better to be prepared, right? That way, you won’t have to stop midway looking for something.
Essential Calibration Tools
When you start calibrating your treadmill, having the right tools on hand makes the process smoother and more accurate. First, you’ll need a reliable stopwatch or a smartphone with a timer app to measure intervals precisely.
A sturdy measuring device, like a tape measure or a pre-measured track, is essential to confirm distances. You should also have access to the treadmill’s manual or digital interface to adjust settings accordingly.
A level or spirit level helps guarantee the treadmill is properly aligned, preventing skewed readings. Finally, a notebook or digital note-taking app lets you record measurements and adjustments for reference.
Gathering these essentials upfront saves time and ensures your calibration is both efficient and effective. It’s a small step that makes a big difference!
Measuring Tape Selection
Among the tools you’ll gather, the measuring tape plays a key role in verifying distances accurately on your treadmill. Choosing the right tape ensures you get precise measurements needed for proper calibration.
Look for one that’s durable and easy to read to avoid errors. Here’s what to contemplate when selecting your measuring tape:
- Length: At least 10 feet (3 meters) for adequate coverage along the treadmill belt.
- Material: Fiberglass or steel for durability and minimal stretching.
- Markings: Clear, bold numbers with both metric and imperial units.
- Locking Mechanism: Keeps the tape in place to make measuring easier.
With the right measuring tape, you’ll confidently measure distances and calibrate your treadmill with accuracy.
Safety Gear Preparation
Although calibrating your treadmill involves precise measurements, you shouldn’t overlook the importance of safety gear preparation. Before you start, gather essential items like non-slip shoes to prevent slips and sturdy gloves to protect your hands when adjusting mechanical parts.
Make sure your workout area is well-lit and free of obstacles to avoid accidents. If your treadmill has an emergency stop key, keep it handy and test it beforehand.
You might also want to have a first aid kit nearby just in case. Wearing comfortable, fitted clothing will help you move freely without getting caught in any moving parts.
Taking these safety steps guarantees you can focus on calibration without risking injury, making the process smoother and more effective.
Preparing Your Treadmill for Calibration
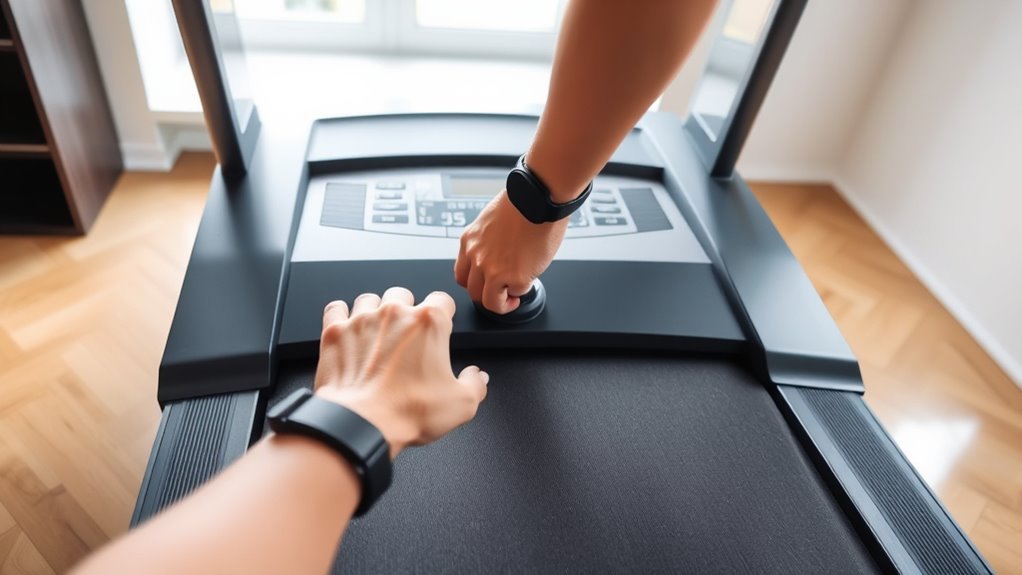
Before you start calibrating, make sure the running belt is clear of any debris or objects. Check that your treadmill is level to guarantee accurate adjustments.
Finally, warm up the machine by running it at a moderate speed for a few minutes. This helps everything settle in and gives you a better baseline for calibration.
Clear Running Belt
How clean is your treadmill’s running belt? Before you start calibrating, you need a clear, debris-free surface to guarantee accurate readings. Dirt, dust, and sweat can affect belt movement and throw off your calibration.
So, make sure to wipe down the belt with a damp cloth to remove dust. If there’s stubborn grime, use a mild detergent—but avoid harsh chemicals.
Also, check for any small objects or debris trapped under the belt. Once cleaned, allow the belt to dry completely before proceeding.
A clean running belt ensures smooth operation and reliable calibration results. Taking these steps will help your treadmill measure distances accurately, so you get the most out of every workout. Don’t skip this simple but vital prep step!
Check Treadmill Level
Once your treadmill’s running belt is clean and dry, the next step is to check its level. An uneven treadmill can cause inaccurate distance readings and uneven wear on the belt.
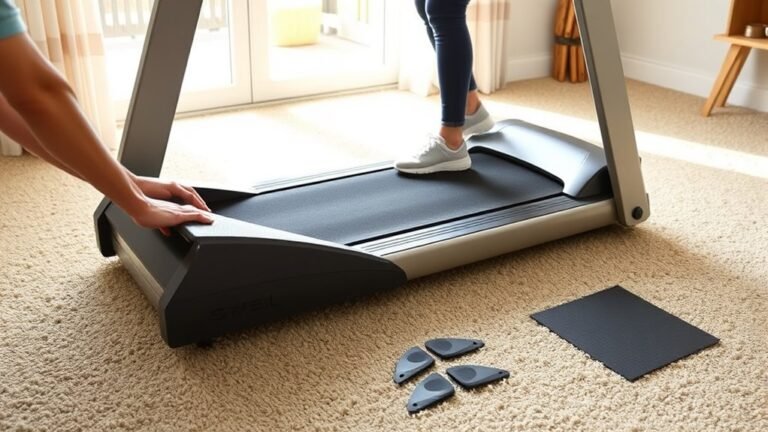
Use a carpenter’s level placed across the treadmill deck from side to side and front to back. If you notice the treadmill isn’t level, consult your owner’s manual for instructions on adjusting the feet or base.
Many treadmills have adjustable feet or leveling bolts you can turn to make sure the deck sits flat. Make small adjustments and recheck the level until the bubble is centered in both directions.
Ensuring your treadmill is level sets a solid foundation for accurate calibration and prevents performance issues during your workouts. It’s a simple step that really makes a difference!
Warm Up Machine
Although it may seem simple, warming up your treadmill before calibration is essential to guarantee accurate results. When you warm up the machine, you ensure the motor and belt reach their normal operating conditions, which affects speed and distance measurements.
Skipping this step can lead to inconsistent or incorrect calibration.
To properly warm up your treadmill, follow these steps:
- Turn on the treadmill and set it to a slow speed (around 2-3 mph). Let it run for 5-10 minutes to stabilize the motor and belt temperature.
- Gradually increase the speed to your typical running pace for a few minutes.
- Stop and allow the treadmill to rest for a minute before starting the calibration process.
This preparation helps your treadmill perform reliably during calibration. It’s a quick step that really makes a difference!
Measuring a Known Distance on Your Treadmill
Before you calibrate your treadmill, you need to measure a known distance on the belt accurately. Start by marking a specific length on the treadmill belt, such as 10 feet or 3 meters, using tape or a washable marker. Make sure the belt is stationary while placing your marks to avoid errors.
Next, position yourself on the treadmill and slowly walk the marked distance at a comfortable pace, counting your steps or timing yourself. Repeat this process a few times to guarantee consistency. This precise measurement will serve as your benchmark, helping you spot any discrepancies between the treadmill’s displayed distance and the actual distance traveled.
Accurate measurement here is vital for effective calibration and reliable workout tracking. So, take your time and be as precise as possible to get the best results.
Adjusting the Treadmill’s Speed and Distance Settings
After you’ve accurately measured the distance on your treadmill belt, you can begin adjusting the speed and distance settings to match your findings. Start by accessing the treadmill’s calibration menu or settings panel, which you can usually find in the user manual.
Use your measured data to fine-tune the displayed distance and speed values so they reflect the real-world measurements.
Focus on these key steps:
- Enter the calibration mode on your treadmill console.
- Adjust the distance setting to correct for any discrepancy.
- Modify the speed calibration to ensure it matches your pacing.
- Save the new settings and exit the calibration menu.
These adjustments will help your treadmill provide more accurate workout metrics. And they’ll also improve your training consistency.
Testing the Calibration Accuracy
Once you’ve adjusted your treadmill’s speed and distance settings, it’s important to verify that these changes provide accurate readings. Start by marking a known distance on the treadmill belt, such as one mile or one kilometer, using tape or a marker.
Then, walk or run this distance at a steady pace while monitoring the treadmill’s display. Compare the displayed distance to your marked distance. If the treadmill shows a significant discrepancy, you’ll need to revisit the calibration settings.
To double-check, use a GPS watch or smartphone app on a flat outdoor track and replicate the speed you set on the treadmill, noting any differences. Testing your calibration like this ensures your workouts reflect true distances and helps you track progress confidently.
Regular Maintenance Tips to Keep Calibration Accurate
To keep your treadmill’s calibration accurate, you’ll need to perform regular maintenance tasks that prevent wear and sensor errors. Consistent upkeep guarantees your treadmill runs smoothly and your distance measurements stay reliable.
Focus on these key maintenance tips:
- Clean the belt and deck regularly to remove dust and debris that cause slipping or inaccurate sensor readings.
- Lubricate the belt as recommended by the manufacturer to reduce friction and wear.
- Check belt alignment and tension to prevent uneven wear and sensor misreads.
- Inspect and clean sensor areas to ensure they’re free from dirt or obstructions that can throw off calibration.
When to Seek Professional Calibration Assistance
If you notice persistent issues with your treadmill’s speed accuracy or distance tracking despite regular maintenance, it’s time to call in a professional. Some problems, like motor calibration errors or worn belt tension, require specialized tools and expertise to fix.
Attempting repairs without proper knowledge can damage your treadmill or void its warranty. A certified technician can accurately diagnose hardware or software malfunctions and perform precise calibrations.
Also, if your treadmill is older or has been heavily used, professional service ensures it runs safely and efficiently. Don’t hesitate to schedule a professional calibration if you experience inconsistent readings, unusual noises, or if your treadmill’s performance noticeably declines.
Investing in expert assistance helps maintain your workout quality and extends your treadmill’s lifespan. It’s definitely worth it to keep things running smoothly!
Frequently Asked Questions
Can Treadmill Calibration Affect Calorie Count Accuracy?
Yes, treadmill calibration can influence calorie count accuracy because it guarantees your speed and distance measurements are correct.
If those are off, the machine may miscalculate your workout intensity and calories burned, giving you inaccurate results.
How Often Should Treadmill Belts Be Replaced?
You should replace your treadmill belt every 3 to 5 years, depending on usage and wear.
If you notice slipping or fraying, it’s time. Regular maintenance helps keep your workouts smooth and safe.
Does Treadmill Calibration Impact Workout Intensity Settings?
You probably didn’t know 70% of treadmill users misjudge their speed. Yes, calibration directly affects workout intensity settings—it guarantees your treadmill’s speed and incline match reality.
Can Different Shoe Types Affect Treadmill Distance Readings?
Yes, different shoe types can affect treadmill distance readings because sole thickness and tread patterns may slightly change your stride length and foot placement.
This can cause the treadmill’s sensors to register distances differently during your workout. So, even small changes in your shoes might lead to variations in the numbers you see.
Is Treadmill Calibration Necessary for All Treadmill Brands?
Just like every watch needs winding, not all treadmills require calibration. But you should definitely check your brand’s manual to be sure.
Calibrating helps keep your workout numbers accurate. That way, you’re not running in circles with misleading data.
Conclusion
By calibrating your treadmill, you’ll feel the steady rhythm of each accurate stride beneath your feet. This turns every workout into a true measure of your effort.
Like tuning a finely crafted instrument, a well-calibrated treadmill guarantees your distance readings hit the right notes every time. Keep your machine in tune, and you’ll run with confidence, knowing each step reflects your progress perfectly.
Don’t hesitate to seek help when needed—precision is worth it. Proper treadmill calibration ensures your distance tracking is reliable, helping you set realistic goals and monitor your improvements accurately. Whether you’re training for a race or just aiming to stay fit, taking the time to calibrate your treadmill makes a big difference in your workout’s effectiveness and enjoyment. So, keep your treadmill calibrated regularly to enjoy accurate distances and a more rewarding exercise experience.