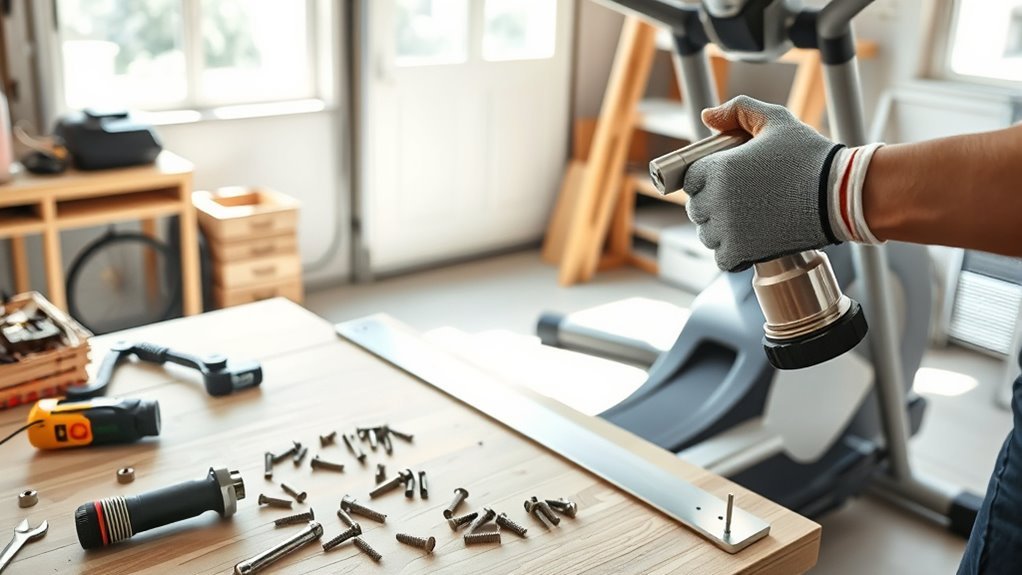
5 Easy Steps to Disassemble an Elliptical Machine
To disassemble your elliptical machine easily, start by prepping a clean workspace and gathering tools like screwdrivers and wrenches. Unplug the machine and remove any accessories to stay safe.
This initial setup makes the whole process smoother and keeps you injury-free.
Next, detach the pedals and handlebars by loosening their bolts. Then, carefully remove the console by disconnecting its wiring. Taking it step by step like this helps avoid any damage to the electronic parts.
Finally, separate the main frame components by unbolting them. This makes storage or transport much easier.
Keep following for detailed tips to make this process even smoother and safer. You’ve got this!
Key Takeaways
- Unplug the elliptical and remove all detachable accessories to ensure safety and ease of disassembly.
- Use appropriate tools to loosen and remove pedals and handlebars, keeping fasteners organized.
- Carefully detach the console by removing screws and disconnecting wiring harnesses.
- Identify and remove bolts connecting the base to the upright frame to separate major components.
- Store all hardware in labeled containers and handle parts gently to avoid damage during transport or storage.
Prepare Your Workspace and Gather Tools
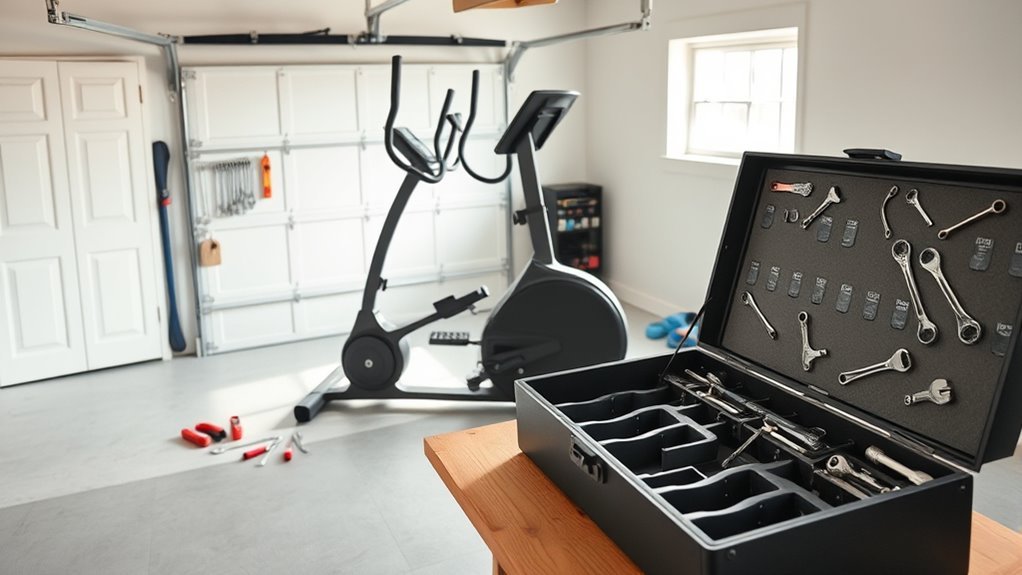
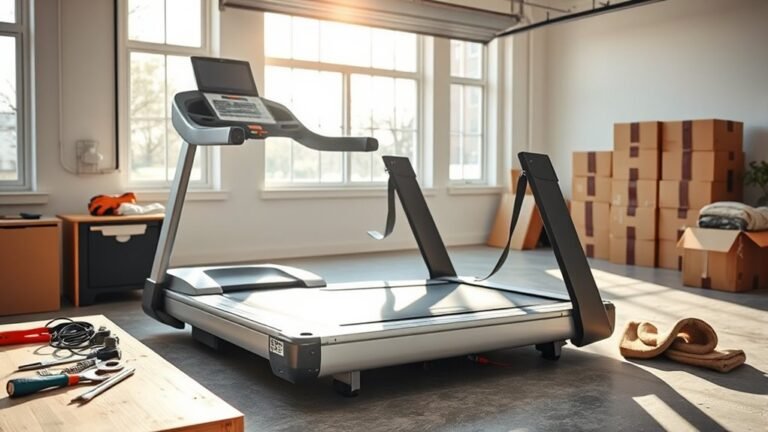
Before you begin disassembling your elliptical machine, make sure you have a clean, spacious area to work in and gather all necessary tools. Clear enough room to move around the machine comfortably and lay out parts as you remove them.
A well-lit space helps you see bolts and connectors clearly. Gather basic tools like screwdrivers, wrenches, and Allen keys, which are commonly needed. You might also want pliers and a socket set for stubborn bolts.
Have small containers or magnetic trays ready to hold screws and nuts to prevent losing them. Organize your tools and materials nearby so you can reach them easily. Taking these steps upfront saves time and frustration during the disassembly process, ensuring everything goes smoothly.
Disconnect Power and Remove Accessories

Since safety is essential, start by unplugging your elliptical machine to disconnect its power source. This step prevents accidental startups and electrical hazards while you work.
Prioritize safety by unplugging your elliptical to avoid accidental startups and electrical risks during maintenance.
Next, remove any accessories attached to the machine to simplify disassembly and avoid damage.
Follow these quick steps:
- Unplug the power cord from the wall outlet and the elliptical itself.
- Take off any removable components like water bottle holders, tablet stands, or heart rate sensors.
- Store all accessories safely in a box or container to keep them organized and prevent loss.
Detach the Pedals and Handlebars
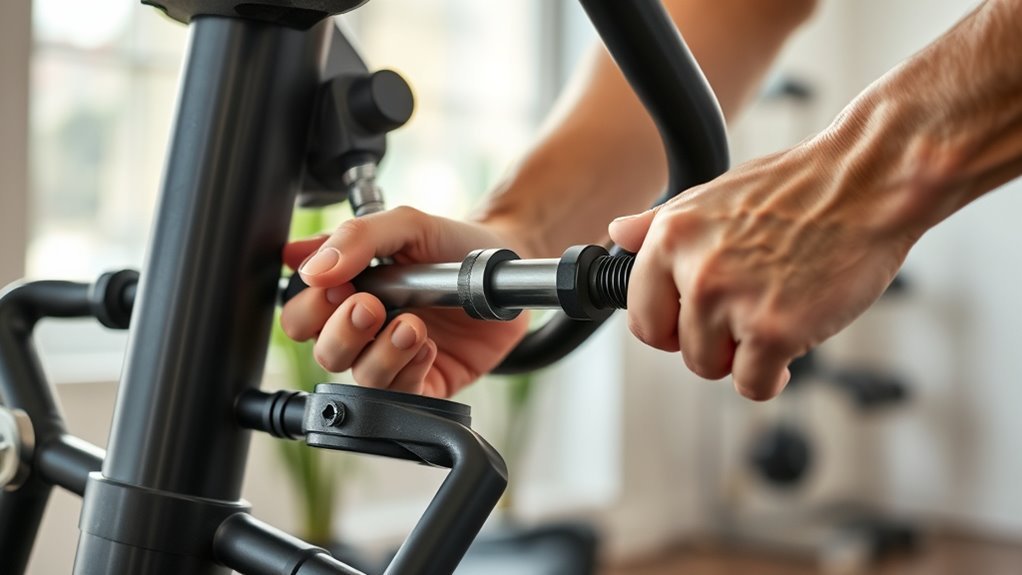
While the machine is unplugged and accessories are removed, you can now focus on detaching the pedals and handlebars. Start by locating the bolts or screws that secure the pedals to the crank arms. Use the appropriate wrench or Allen key to loosen and remove them.
Keep these fasteners in a safe place for reassembly. Next, turn your attention to the handlebars. Identify the mounting points, usually connected by bolts near the base or the central frame.
Loosen these bolts carefully, supporting the handlebars as you remove them to prevent any sudden drops or damage. Once detached, place the pedals and handlebars aside, making sure you don’t mix up any parts.
Doing this step right sets you up for the next phase of disassembly smoothly and safely.
Remove the Console and Control Panel
How do you safely remove the console and control panel without damaging the wiring? First, unplug the elliptical from the power source to avoid any electrical hazards.
Next, locate the screws or clips holding the console in place, usually at the back or bottom. Carefully remove these fasteners with the appropriate screwdriver.
Then, gently pull the console forward just enough to access the wiring harness behind it. Disconnect the wiring harness by pressing the release tabs and pulling the connectors apart without forcing them.
Keep track of all screws and parts for reassembly.
- Unplug the machine to ensure safety.
- Remove screws or clips securing the console.
- Disconnect wiring harness carefully to avoid damage.
Taking these steps will let you remove the console cleanly and prepare for further disassembly.
Separate the Frame Components for Storage or Transport
Where should you start when separating the frame components of your elliptical for storage or transport? Begin by locating the main bolts and screws that connect the base to the upright frame. Use the appropriate tools to loosen and remove these fasteners carefully.
Once detached, gently separate the base from the upright frame, making sure you don’t strain any cables or wires still connected. Next, disconnect the arms from the central frame, again removing their bolts and setting the parts aside.
Keep all hardware in a labeled bag so you don’t lose anything. By breaking down the elliptical into manageable parts—the base, upright frame, and arms—you’ll make storage or transport safer and more efficient.
Just handle each component carefully to prevent damage during the process. It’s easier than you think!
Frequently Asked Questions
How Do I Safely Dispose of Old Elliptical Machine Parts?
You should check local recycling centers for metal and plastic parts, donate usable components, or contact waste management for bulky item pickup.
Always remove batteries and fluids before disposal to stay safe and eco-friendly.
Handling these parts carefully helps protect the environment and keeps your space safe.
If you’re unsure where to start, many centers offer guidance on what they accept.
Can I Reuse Parts From My Elliptical on Another Machine?
Like a hero reusing a trusty sword, you can reuse parts from your elliptical on another machine if they fit and function well. Just double-check compatibility and wear to keep your new workout smooth and safe.
It’s kind of like swapping out pieces in a puzzle — if they match up, you’re good to go. But if not, it’s better to play it safe and get the right parts.
What Should I Do if Screws or Bolts Are Stripped?
If screws or bolts are stripped, you should use a rubber band for extra grip or try a screw extractor. These tricks often help you get a better hold and turn them without slipping.
If that fails, replace them with new ones of the same size to guarantee proper reassembly. It’s always best to have fresh screws or bolts to make sure everything fits securely and safely.
How Long Does the Entire Disassembly Process Usually Take?
Oh, disassembly takes just a blink—usually around one to two hours if you’re lucky and things don’t fight back.
Don’t rush; patience saves frustration and keeps all parts intact for reassembly later.
Are There Any Common Mistakes to Avoid During Disassembly?
Yes, don’t rush or skip labeling parts, or you’ll struggle during reassembly. Avoid forcing components apart to prevent damage.
Keep screws organized, and always follow the manual’s steps carefully to save time and frustration. It really helps to take your time and stay organized throughout the process.
Conclusion
By following these five simple steps, you’ll unravel your elliptical like peeling back the layers of a well-worn book, revealing its core piece by piece. With patience and care, disassembling becomes less a chore and more a dance—each bolt and panel falling into place like notes in a familiar melody.
Soon, your machine will be ready for storage or transport, giving you the freedom to move forward with ease and confidence. Taking the time to properly disassemble your elliptical not only protects its components but also makes reassembly smoother later on.
Remember, whether you’re moving, storing, or just upgrading your workout space, these easy steps ensure your elliptical machine stays in great shape. So, grab your tools, stay patient, and enjoy the process of breaking down your elliptical with confidence and care.