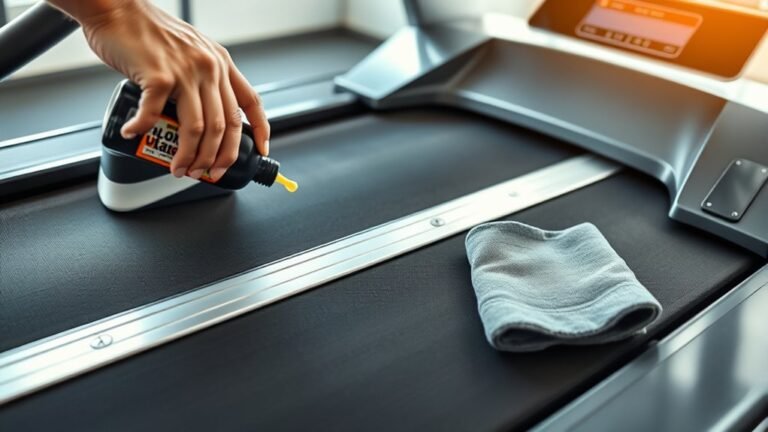

10 Essential Tips to Maintain Your Treadmill at Home
To maintain your treadmill at home effectively, it’s important to focus on regular cleaning and proper care. Keeping the belt and deck clean helps prevent wear and tear, while applying a silicone-based lubricant as recommended keeps everything running smoothly. These simple steps are key to extending the life of your treadmill and ensuring a safe workout environment.
Don’t forget to check and adjust the belt tension regularly to avoid slipping during your exercise sessions. Tightening all bolts and screws also helps prevent any wobbling or instability. It’s a good idea to keep your treadmill dust-free and place it on a flat, stable surface to avoid unnecessary damage.
Safety is critical, so make sure to verify that all electrical connections are secure and functioning properly. Calibrating the speed and incline settings accurately will help you get the most out of your workouts.
Lastly, scheduling professional maintenance from time to time will keep your machine in top shape. Following these tips will keep your treadmill running smoothly and safely for years to come.
Key Takeaways
- Regularly clean the belt and deck to remove dust, dirt, and sweat. This helps prevent friction and wear, keeping your treadmill running smoothly.
- Lubricate the belt with a silicone-based lubricant as per the manufacturer’s instructions. Doing this ensures smooth operation and extends the life of your machine.
- Check and adjust the belt tension to maintain proper lift. This prevents slipping during use, which can be annoying and unsafe.
- Inspect and tighten all bolts, screws, and hardware regularly. Keeping everything secure avoids instability and mechanical issues down the line.
- Calibrate the speed and incline regularly using the right tools. This way, your workout metrics stay accurate and your treadmill remains safe to use.
Clean the Treadmill Belt and Deck Regularly
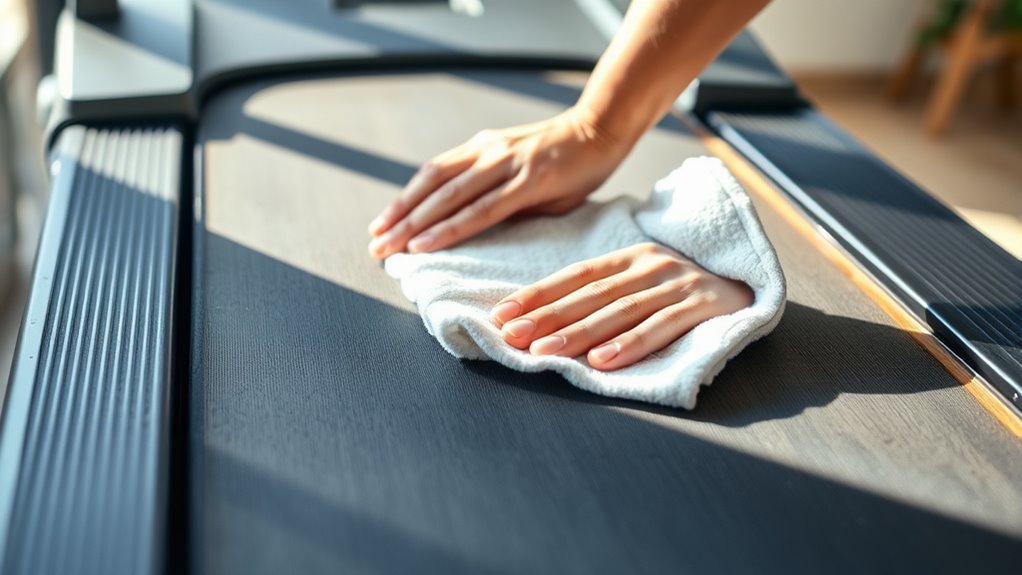
Although it might seem tedious, cleaning your treadmill belt and deck regularly is essential to keep your machine running smoothly and extend its lifespan. Dust, dirt, and sweat can accumulate under the belt, causing friction that wears down components faster.
Start by unplugging the treadmill for safety. Use a soft cloth or vacuum to remove debris from the belt’s surface and the deck underneath. Pay attention to the edges where dust tends to collect.
Avoid using harsh chemicals; a damp cloth with mild soap works best. Regular cleaning prevents unnecessary strain on the motor and reduces noise during workouts.
Lubricate the Treadmill Belt as Recommended

To keep your treadmill running smoothly, you need to choose the proper lubricant and apply it evenly under the belt. Make sure you follow the manufacturer’s guidelines closely to avoid damage.
Regular lubrication reduces friction and extends your treadmill’s lifespan. It’s a simple step, but doing it right makes a big difference!
Choose Proper Lubricant
How often you lubricate your treadmill belt can considerably impact its performance and lifespan. Choosing the proper lubricant is just as important.
Always use a silicone-based lubricant specifically designed for treadmills. These lubricants reduce friction effectively without damaging the belt or deck.
Avoid using WD-40, oil, or household lubricants, as they can degrade the belt material and void your warranty. Check your treadmill’s manual for recommended brands and types to ensure compatibility.
If you’re unsure, contact the manufacturer or a professional for advice. Using the right lubricant helps your treadmill run smoothly, reduces motor strain, and extends the machine’s life.
Don’t cut corners—proper lubrication is key to keeping your treadmill in top shape.
Apply Evenly Under Belt
Using the right lubricant sets the foundation for smooth treadmill operation, but applying it evenly under the belt is what keeps everything running without hiccups.
To do this, first turn off and unplug your treadmill. Carefully lift the belt on one side and apply the lubricant in a thin, continuous line along the deck. Repeat on the other side.
Avoid over-applying; too much lubricant can attract dust and cause slipping. Once applied, lower the belt and manually rotate it a few times to spread the lubricant evenly.
This ensures consistent friction reduction and protects the motor. Regular, even application prevents wear and extends your treadmill’s lifespan, keeping your workouts smooth and safe every time you step on.
Follow Manufacturer Guidelines
Although regular lubrication is essential, you should always follow the manufacturer’s guidelines for your treadmill belt. Each treadmill model has specific requirements for the type of lubricant, frequency, and application method.
Using the wrong lubricant or applying it too often can damage the belt and motor. Check your user manual or the manufacturer’s website for detailed instructions tailored to your machine.
If you can’t find the guidelines, contact customer support before proceeding. Sticking to these recommendations ensures maximum performance and extends your treadmill’s lifespan.
Check and Tighten Belt Tension
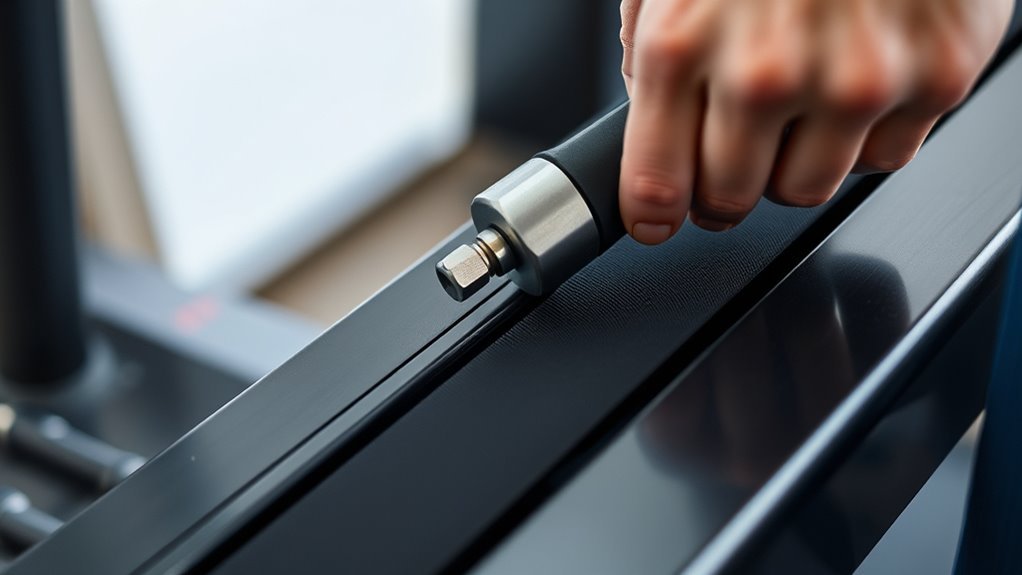
Since the belt is the treadmill’s main moving part, you need to regularly check its tension to guarantee smooth operation.
If the belt feels too loose or slips while you run, it’s time to tighten it. Start by unplugging your treadmill for safety.
Locate the adjustment bolts at the rear end of the treadmill deck. Use an appropriate wrench to turn each bolt clockwise in small increments, usually a quarter turn at a time.
After each adjustment, check the belt’s tension by lifting it; it should rise about 2-3 inches from the deck but not feel overly tight.
Run the treadmill briefly to ensure the belt moves smoothly without slipping. Repeat adjustments as needed, but avoid overtightening, which can cause premature wear.
Inspect and Tighten Bolts and Screws
Before you notice any unusual noises or wobbling, make it a habit to inspect and tighten all bolts and screws on your treadmill. Loose hardware can cause instability and damage over time.
Regularly inspect and tighten treadmill bolts to prevent instability and avoid damage before issues arise
Use the appropriate tools to check every bolt and screw, especially those around the frame, motor cover, and running deck. Tighten anything that feels loose but avoid over-tightening, which can strip the threads or crack plastic components.
Pay close attention to the bolts securing the console and handrails, as vibration during workouts can loosen them. Regularly doing this simple maintenance step will keep your treadmill running smoothly and safely.
It also helps reduce wear and prevents costly repairs down the line. Set a monthly reminder to perform this check so it becomes part of your routine.
Keep the Treadmill in a Dust-Free Environment
How often do you clean the area around your treadmill? Keeping it dust-free helps your machine run smoothly and extends its life.
Dust can clog the motor and affect performance, so vacuum or sweep regularly. Use a microfiber cloth to wipe down surfaces and prevent dust buildup.
Also, avoid placing the treadmill near open windows or vents where dust easily settles. It’s a simple step that can make a big difference.
| Action | Benefit |
|---|---|
| Vacuum underneath | Prevents dust from entering motor |
| Wipe surfaces weekly | Stops dust accumulation |
| Place away from vents | Reduces airborne dust exposure |
| Use a treadmill cover | Shields from dust when idle |
Monitor and Replace Worn Out Parts
Even if you keep your treadmill clean, parts will wear down over time and need attention. Regularly check the belt for signs of fraying or thinning, as this can affect your workout and damage the machine.
Also, inspect the deck beneath the belt for wear spots. These might cause uneven running surfaces, which can be annoying or even unsafe.
Listen for unusual noises from the motor or rollers. They could signal worn bearings or belts that need replacement.
Don’t forget to examine the power cord and console buttons for any damage or malfunction. Replacing worn parts promptly prevents further damage and keeps your treadmill running smoothly.
It’s a good idea to keep replacement parts handy or at least know where to order them. That way, you can avoid downtime and stay on track with your workouts.
Staying proactive really helps you maintain safety and performance during every workout session.
Calibrate the Treadmill Speed and Incline
You’ll want to calibrate your treadmill’s speed and incline to guarantee accurate workouts and prevent injury. The process usually involves adjusting settings with basic tools like a screwdriver and a level.
Taking the time to do this keeps your machine running smoothly and your exercise routine on track. It’s a simple step that really pays off in the long run.
Importance of Calibration Accuracy
Why does calibration accuracy matter when maintaining your treadmill? Because it guarantees the speed and incline settings you select match what the machine actually delivers. If these aren’t precise, your workouts won’t be as effective or safe.
When speed or incline readings are off, you might push yourself too hard or not enough, which can lead to injury or wasted effort. Accurate calibration also helps the treadmill’s tracking features, like distance and calories burned, stay reliable.
This way, you get honest feedback on your progress and can adjust your routine accordingly. By keeping calibration spot-on, you maintain your treadmill’s performance and protect your health, making every session count exactly as you planned.
Calibration Process Overview
Before you start calibrating your treadmill’s speed and incline, gather all necessary tools and make certain the machine is on a level surface.
Begin by turning on the treadmill and accessing the calibration settings via the console or user manual instructions.
For speed calibration, set a specific pace, then measure the actual belt speed over a fixed distance. Adjust the settings until the displayed speed matches your measurements.
Next, calibrate the incline by setting the treadmill to various incline levels and verifying the angle with a reliable tool. Adjust as needed to align with the displayed incline.
Take your time with each step to ensure accuracy. Proper calibration helps maintain workout consistency and prevents undue wear on your machine.
Tools Needed for Calibration
Accurate calibration depends on having the right tools at hand. To calibrate your treadmill’s speed and incline accurately, you’ll need a stopwatch or a reliable timer app to measure time precisely. A tape measure or ruler helps verify the belt’s distance traveled during speed calibration.
For incline adjustments, a digital inclinometer or angle finder ensures you set the incline angle correctly. You might also need a hex wrench or screwdriver, depending on your treadmill model, to access calibration settings or adjust hardware.
Ultimately, keep your treadmill’s user manual nearby; it often provides specific instructions and tool requirements for calibration. With these tools ready, you can confidently fine-tune your treadmill for an efficient and safe workout experience.
Ensure Proper Electrical Connections and Safety
When setting up your treadmill, make sure you plug it directly into a grounded outlet to prevent electrical hazards. Avoid using extension cords or power strips, as they can cause voltage drops or overheating.
Regularly inspect the power cord for any signs of wear, fraying, or damage; replace it immediately if you spot issues. Keep the treadmill’s electrical components dry, and never operate the machine if you notice sparks or unusual smells.
Turn off and unplug the treadmill before cleaning or performing maintenance to ensure your safety. Additionally, make sure the outlet you use matches the treadmill’s voltage requirements, which are usually stated in the manual.
Use the Treadmill on a Flat, Stable Surface
You should always place your treadmill on a flat, stable surface to keep it balanced and running smoothly. Uneven ground can cause unnecessary wear and affect the machine’s performance.
Try to avoid spots with any tilt or wobble. This will protect your investment and guarantee safe workouts.
Importance of Level Ground
Although it might seem minor, placing your treadmill on a flat, stable surface is essential for its performance and safety. When your treadmill sits evenly, it guarantees smooth belt movement and reduces wear on the motor and rollers.
Uneven placement can cause wobbling, which not only affects your workout quality but also increases the risk of injury. So, making sure your treadmill is level really pays off.
Here’s why level ground matters:
- Prevents excessive vibration that can damage internal parts
- Ensures accurate speed and incline settings
- Maintains proper belt alignment for consistent running
- Reduces noise for a quieter workout environment
Avoid Uneven Surfaces
Since uneven surfaces can cause instability, always place your treadmill on flat, stable ground to guarantee safe and effective workouts. Using your treadmill on an uneven floor increases wear on its components, leading to faster deterioration and potential damage.
It can also cause the machine to wobble or shift during use, risking your safety. To prevent these issues, choose a solid, level area free from vibrations or tilting.
If your floor isn’t perfectly flat, consider using adjustable treadmill feet or a sturdy mat designed to even out minor surface irregularities. By ensuring your treadmill sits firmly on a stable surface, you’ll protect the machine’s mechanics, enhance your workout experience, and reduce the chance of accidents or costly repairs down the line.
Schedule Periodic Professional Maintenance
While regular at-home care keeps your treadmill running smoothly, scheduling periodic professional maintenance guarantees it stays in peak condition. Professionals can spot issues you might miss and provide thorough cleaning, lubrication, and adjustments that extend your treadmill’s life.
Don’t wait for a problem to arise; proactive check-ups prevent costly repairs and downtime.
When arranging professional maintenance, make sure they:
- Inspect the motor and belt alignment
- Lubricate moving parts properly
- Test electrical components and safety features
- Tighten bolts and screws to avoid rattling
Frequently Asked Questions
How Often Should I Replace the Treadmill Belt?
You should replace your treadmill belt every 3 to 5 years, depending on usage.
If you notice slipping, fraying, or uneven wear, don’t wait—replace it sooner to keep your workouts safe and smooth. It’s better to be proactive with maintenance than to deal with accidents or damage later on.
Can I Use Household Oils for Lubrication?
You shouldn’t use household oils for treadmill lubrication—they can gum up like a Victorian clock.
Stick to silicone-based lubricants designed for treadmills to keep your machine running smoothly. This will help you avoid damaging its components over time.
What Is the Average Lifespan of a Home Treadmill?
You can expect your home treadmill to last about 7 to 12 years, depending on usage and maintenance.
Keeping it clean and lubricated regularly will help you get the most out of its lifespan.
How Do I Troubleshoot a Treadmill That Won’T Start?
Check if the treadmill’s power cord is plugged in and the outlet works. Make sure the safety key is in place.
Reset the circuit breaker, and inspect the motor and belt for any visible issues before contacting support.
If everything seems fine but it still won’t start, it might be time to reach out to a professional for help.
Is It Safe to Use a Treadmill During a Power Surge?
Using a treadmill during a power surge? That’s like dancing in a thunderstorm—risky and unsafe.
You really shouldn’t do it; power surges can damage the machine or even cause injury.
It’s best to always unplug your treadmill during electrical storms for safety.
Better safe than sorry, right?
Conclusion
By following these essential tips, you’ll keep your treadmill running smoothly and extend its lifespan. Don’t let your workout gear become a relic like a vintage typewriter—stay proactive with cleaning, lubricating, and checking all parts regularly.
Remember, a well-maintained treadmill means safer, more effective workouts every time you step on it. Keep it dust-free, stable, and properly connected, and you’ll enjoy many miles of hassle-free exercise right at home.
Taking care of your treadmill isn’t just about preserving your investment—it’s about ensuring every workout is safe and efficient. Regular maintenance like cleaning the belt, lubricating the deck, and inspecting the machine helps prevent breakdowns. Plus, a clean and well-tuned treadmill boosts your workout performance and keeps your home gym ready for action. So, stay consistent with these treadmill maintenance tips, and you’ll get the most out of your fitness equipment for years to come.