
How to Move a Treadmill in 3 Simple Steps
To move your treadmill safely and efficiently, follow these three simple steps. First, unplug the treadmill and remove any accessories like mats or clip-on fans. This helps prevent damage and makes the machine lighter to handle.
Next, secure any loose parts and, if your treadmill folds, fold it up to save space. When it’s time to lift, team up with a partner. Use proper lifting techniques—bend your knees, keep your back straight, and lift with your legs to avoid injury.
If you have straps, use them to keep the treadmill stable while moving.
Finally, transport the treadmill along a clear path to avoid tripping or bumping into things. Set it up on a flat, stable surface, then plug it back in and test all functions before using it. Stick around for more tips to make moving your treadmill even easier!
Key Takeaways
– Unplug the treadmill, remove any accessories, and fold or lock it as per the manual.
This makes moving it much easier and safer.
– Use proper lifting techniques. It’s best to get a partner to help lift and carry the treadmill safely.
Two people make the job lighter and reduce the risk of injury.
– Secure the treadmill with straps to keep it from shifting during transport.
This helps protect both the machine and your vehicle.
– Choose a clear path and either wheel or carefully carry the treadmill to your vehicle.
Make sure nothing is in the way to avoid tripping.
– Once you’ve moved it, set up the treadmill on a flat surface.
Plug it in and test all functions before you start using it again.
Prepare the Treadmill for Moving

Before you begin moving your treadmill, make sure to unplug it and secure any loose parts. Start by detaching accessories like safety keys, water bottle holders, or any clips.
Unplug your treadmill and remove accessories like safety keys and water bottle holders before moving it.
Next, clean the treadmill surface to prevent dirt from spreading during the move. Check the user manual for specific instructions on locking or folding your treadmill’s deck; many models have a folding feature that makes moving easier.
If your treadmill has a removable console, carefully detach it and set it aside. Also, tighten any screws or bolts to avoid parts shifting or falling off while you move it.
Finally, gather any tools you might need for disassembly or reassembly later. Taking these steps ensures your treadmill stays intact and ready for relocation without damage.
Lift and Secure the Treadmill Properly

When you lift your treadmill, make sure to bend your knees and keep your back straight to avoid injury. Grab the treadmill firmly at its base and handles.
If you can, coordinate with a partner to make lifting easier and safer. Secure the treadmill with straps or ropes to prevent shifting during the move.
| Step | Tip |
|---|---|
| Proper lifting | Use your legs, not your back |
| Secure the treadmill | Use ratchet straps for tight hold |
| Partner lift | Communicate clearly with your helper |
Transport and Set Up in the New Location
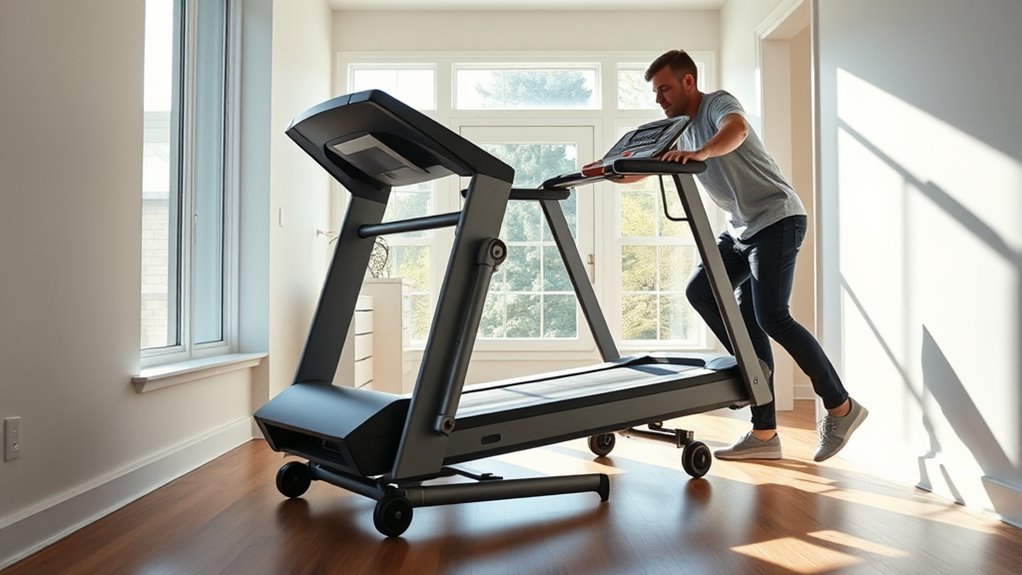
Although moving a treadmill can be challenging, you can transport it safely by securing it well and choosing a clear path. Begin by carefully wheeling or carrying the treadmill to your vehicle, avoiding obstacles and tight spaces.
Moving a treadmill requires careful securing and a clear path to ensure safe transport.
Once at your new location, unload it gently, ensuring you have help if needed. Position the treadmill where you want it, preferably on a flat, stable surface.
Plug it in and check that all parts are intact and functioning. Adjust the incline and speed settings to test its operation.
Finally, clean the area around the treadmill to prevent dust buildup, which can affect performance. By following these steps, you’ll have your treadmill set up smoothly and ready for your workouts in no time.
Frequently Asked Questions
Can I Disassemble the Treadmill for Easier Moving?
Yes, you can disassemble the treadmill to make moving easier. Just be sure to follow the manufacturer’s instructions carefully.
Keep all screws and parts organized, so nothing gets lost. Handle components gently to avoid damage during the move.
Taking your time with this will make the process smoother and help your treadmill stay in good shape.
How Do I Protect the Treadmill Belt During Transport?
You should clean the belt first, then cover it with a thick blanket or bubble wrap to prevent scratches and dirt.
Secure it tightly with straps or tape, ensuring it won’t shift during transport to protect the treadmill belt. This way, you keep everything safe and sound!
What Tools Are Needed to Move a Treadmill Safely?
Like gearing up for a quest, you’ll need a furniture dolly, moving straps, and gloves to move your treadmill safely.
These tools help you handle its weight and protect both you and the machine during transport.
Is It Better to Hire Professionals or Move It Myself?
It’s better to hire professionals if you want to avoid injury and damage.
But if you’re confident, have help, and use the right tools, you can move it yourself safely and save money.
How Do I Maintain the Treadmill After Moving It?
You should clean the treadmill, check for loose bolts, lubricate the belt, and guarantee it’s on a flat surface.
Plug it in, test it at low speed, and recalibrate if needed to keep it running smoothly.
Conclusion
Now that you’ve moved your treadmill safely, remember that “a journey of a thousand miles begins with a single step.” Taking it one step at a time, from prepping to lifting and setting up, makes the whole process manageable.
With careful handling and patience, you’ll have your treadmill ready to go in no time, letting you get back to your workouts without a hitch. Keep these tips in mind, and moving won’t feel like a marathon!
Moving a treadmill might seem tricky at first, but breaking it down into three simple steps really helps. Prepping your space, carefully lifting the treadmill, and setting it up properly are key.
By following these steps, you ensure your treadmill stays safe and functional during the move. So, whether you’re relocating rooms or a whole house, these tips make treadmill moving easy and stress-free. Just take it slow, stay organized, and you’ll be back to your fitness routine before you know it!