How to Replace Treadmill Belt in 3 Easy Steps
To replace your treadmill belt in three easy steps, start by unplugging the machine for safety.
Then, loosen the rear roller bolts to remove the old belt.
Next, place the new belt over the front roller. Slide it back evenly, making sure it’s centered and flat on the deck.
Finally, tighten the bolts again, and power on the treadmill to check the alignment.
Adjust if needed to ensure smooth operation.
Follow these steps carefully to get your treadmill running like new. You’ll also find additional tips to guarantee lasting performance and keep your workouts smooth.
Key Takeaways
- Unplug the treadmill and loosen the rear roller bolts to release tension before removing the old belt.
- Slide the old belt forward and lift it off the front roller carefully. Then, clean the deck and rollers.
- Position the new belt over the front roller, slide it back evenly, and keep it centered on the treadmill.
- Loosen rear roller bolts slightly and turn adjustment bolts to align the belt properly. Once aligned, tighten the bolts securely.
- Plug in the treadmill, run it at low speed to test the belt alignment, and make any final adjustments if the belt shifts.
Remove the Old Treadmill Belt

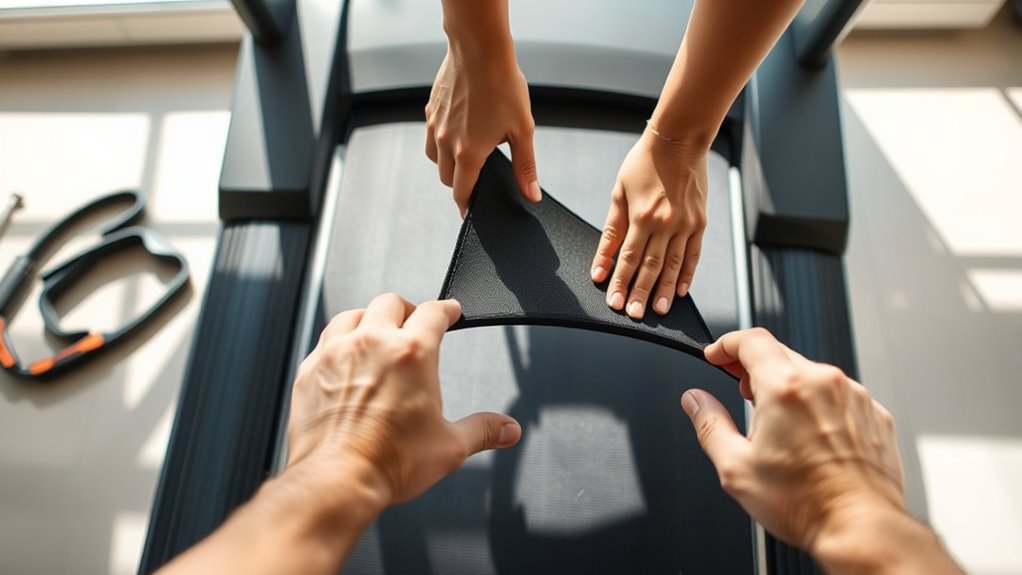
Before you can install a new belt, you’ll need to remove the old treadmill belt carefully. First, unplug the treadmill to guarantee safety.
Locate and loosen the rear roller bolts using an Allen wrench; this will reduce the belt’s tension. Slide the belt forward to expose the rear roller, then lift the belt off the front roller.
Take your time to avoid damaging the deck or rollers. If the belt resists, gently pry it loose without using excessive force.
Be patient and careful; gently loosen the belt to protect your treadmill’s deck and rollers.
Once the belt is free, inspect the deck and rollers for wear or debris and clean them thoroughly. Removing the old belt properly sets you up for a smooth installation of the new one.
Don’t rush this step—it’s vital for your treadmill’s performance.
Install the New Treadmill Belt
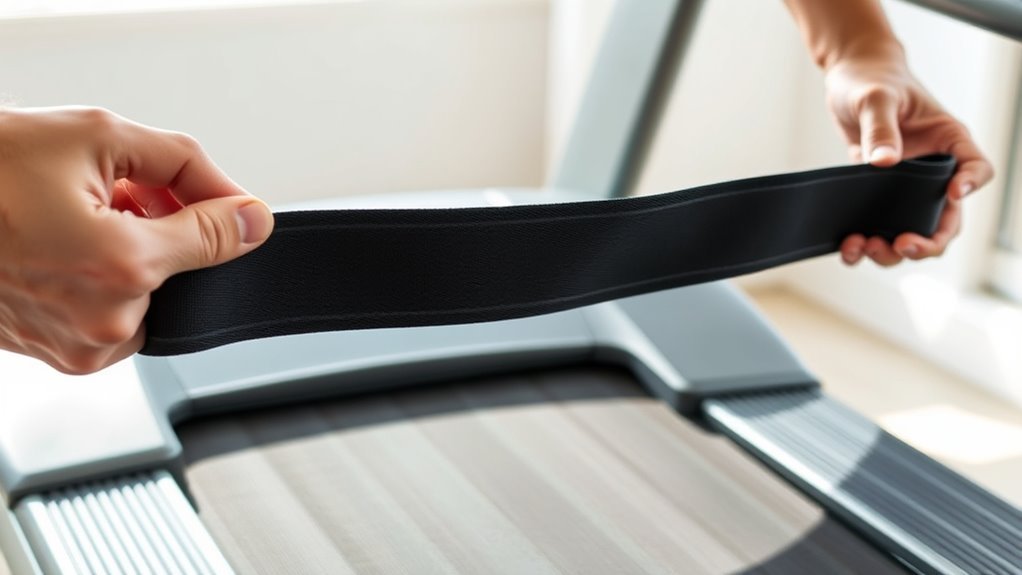
Once you’ve made certain the deck and rollers are clean and free of debris, you can begin installing the new treadmill belt by carefully positioning it over the front roller. Slide the belt slowly so it fits snugly around the roller.
Next, pull the belt towards the back roller, ensuring it lays flat and centered on the deck. Avoid twisting or folding the belt during this process.
Make sure the belt edges align evenly with the treadmill deck’s sides. After positioning, check that the belt moves smoothly when you manually rotate the rollers.
This step sets the foundation for proper treadmill operation. Remember, taking your time here prevents damage and ensures a longer-lasting belt.
Now, your new treadmill belt is in place, ready for the next step.
Adjust and Test the Belt Alignment
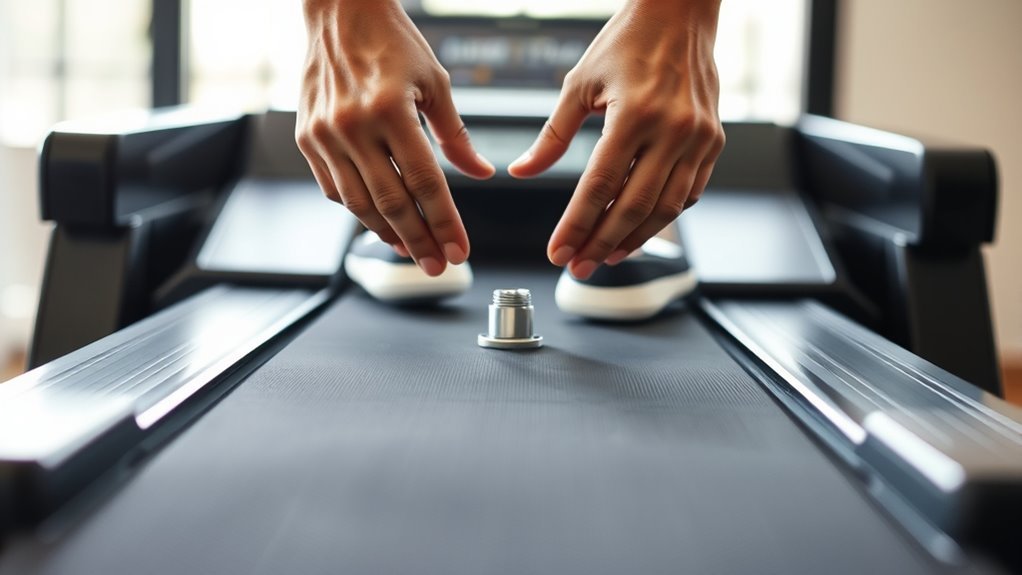
Although the new belt is in place, you’ll need to adjust its alignment to guarantee smooth operation. Start by unplugging the treadmill and loosening the rear roller bolts slightly.
Turn the adjustment bolts evenly on both sides, usually clockwise to tighten and counterclockwise to loosen. Watch the belt as you make small adjustments, ensuring it centers on the deck without rubbing the edges.
Once centered, tighten the bolts securely. Next, plug the treadmill back in and turn it on at a slow speed to test the belt’s movement.
Observe if it stays aligned and runs smoothly. If it shifts, just repeat the adjustment process. Proper alignment prevents premature wear and ensures a safe, comfortable workout every time.
Frequently Asked Questions
How Often Should I Replace My Treadmill Belt?
You should replace your treadmill belt every 3 to 5 years, depending on how often you use it and how much wear it shows.
If you start noticing slipping, fraying, or any unusual noises, it’s definitely time to change it.
Doing this will keep your workouts smooth and safe. Don’t wait too long to make the switch!
What Are Signs My Treadmill Belt Needs Replacement?
You’ll notice slipping, fraying edges, or unusual noises when your treadmill belt needs replacement.
If it’s hard to keep tension or shows visible wear, it’s time to swap it out for a smoother workout experience.
Can a Worn Belt Damage the Treadmill Motor?
Just like a car engine strains with worn tires, your treadmill motor can suffer if the belt’s worn. It’ll work harder, overheat, and eventually fail.
Are There Specific Belt Brands Recommended for All Treadmills?
You won’t find one belt brand that fits all treadmills perfectly. It’s best to check your treadmill’s manual or manufacturer’s recommendations to guarantee you get a compatible, high-quality belt that prolongs your machine’s life.
Every treadmill model can have different requirements, so a belt that works great for one might not fit another. Taking a little time to find the right belt pays off in the long run by keeping your machine running smoothly.
How Much Does Professional Treadmill Belt Replacement Cost?
You won’t believe it, but professional treadmill belt replacement usually costs between $150 and $300.
You’ll want to budget for parts and labor, which can vary based on your treadmill model and technician rates.
It might seem like a lot, but getting a pro to handle it ensures your treadmill runs smoothly again.
Conclusion
Replacing your treadmill belt is like tuning a guitar—you want every string perfectly aligned for the best sound. Just as a musician knows once a string is in tune, your workout feels smoother and more enjoyable.
By following these three simple steps, you’ll have your treadmill running like new in no time. Remember, a well-adjusted belt not only improves performance but can also extend your machine’s life, saving you money and frustration down the road.
So, when you replace your treadmill belt, you’re not just fixing a part—you’re enhancing your entire exercise experience. A properly installed treadmill belt ensures smooth operation, reduces wear and tear, and keeps your workouts safe and effective. Taking the time to replace the belt correctly means your treadmill will stay reliable for years, making each step count toward your fitness goals.