

How Often to Lubricate Your Treadmill With Step-By-Step Instructions
You should lubricate your treadmill every 3 to 6 months, depending on how often you use it—more frequent use means more frequent lubrication.
Regular treadmill lubrication is key to keeping your machine running smoothly and efficiently. It helps prevent noise, slipping, and excessive wear on the belt and deck, which can extend the life of your treadmill.
Start by unplugging the machine and cleaning the belt and deck. Lift the belt to apply a silicone-based lubricant evenly under it.
Then, slowly run the treadmill at a low speed to spread the lubricant thoroughly.
This simple maintenance step can save you from costly repairs down the line.
Keep going to discover detailed steps and extra maintenance tips that will help you get the most out of your treadmill and keep it in top shape!
Key Takeaways
- Lubricate your treadmill every 3 months if you use it often. For occasional use, every 6 months should be fine. Just make sure to follow the manufacturer’s guidelines.
- Use a silicone-based or treadmill-specific lubricant that matches your belt material. This helps reduce friction effectively.
- Before you lubricate, clean the belt and deck thoroughly. Then, lift the belt and apply the lubricant evenly underneath.
- Next, manually rotate the belt. You can also run the treadmill at a low speed to spread the lubricant evenly across the deck.
- After lubricating, check and adjust the belt tension if needed. Keep cleaning debris regularly, and watch out for any unusual noises to keep your treadmill running smoothly.
Understanding the Importance of Treadmill Lubrication
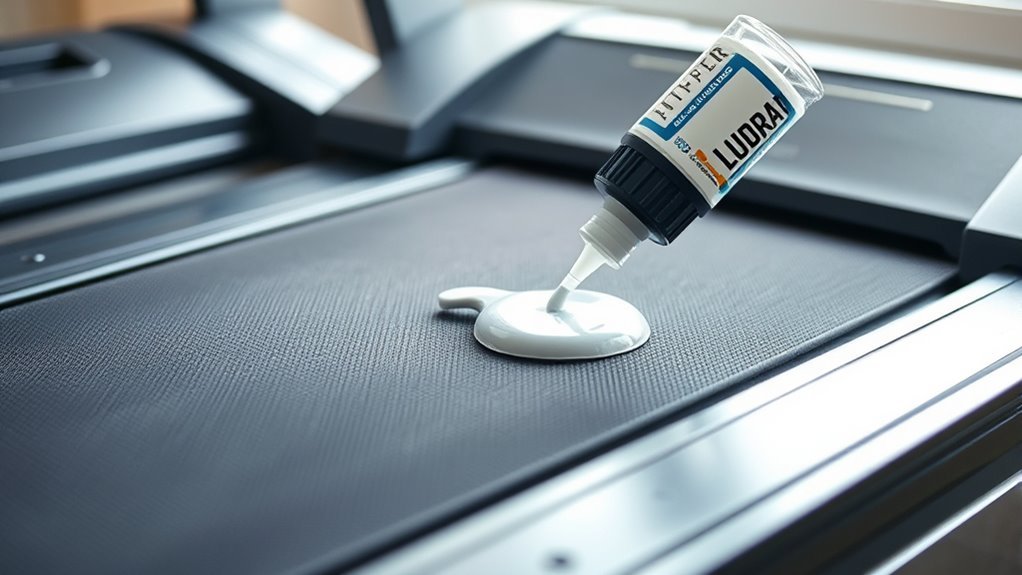
Although you might not notice it during your workout, lubricating your treadmill plays an essential role in keeping the machine running smoothly and extending its lifespan.
When you apply lubricant, you reduce friction between the belt and deck, which prevents excessive wear and tear. This means your treadmill won’t overheat or strain its motor as much, saving you from costly repairs.
Regular lubrication also ensures a quieter and more efficient operation, making your workouts more enjoyable. Neglecting this step can cause the belt to stick or slip, leading to uneven movement and potential damage.
Signs Your Treadmill Needs Lubrication
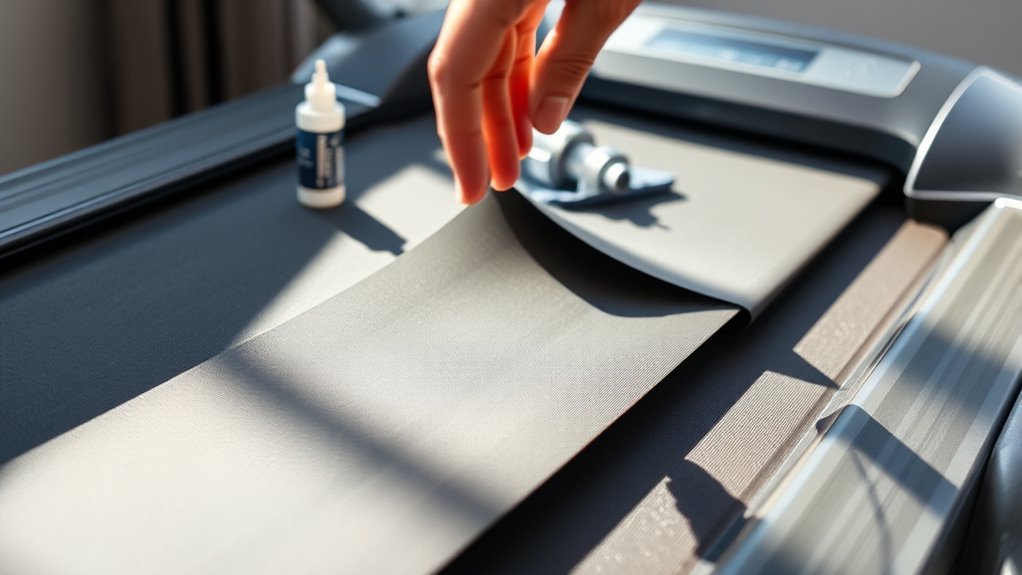
If you notice your treadmill making unusual noises or the belt feels less smooth, it probably needs lubrication. Ignoring these signs can lead to increased wear and tear, reducing your treadmill’s lifespan.
Here are three key signs your treadmill needs lubrication:
Watch for squeaks, belt slipping, or motor strain—these are clear signs your treadmill needs lubrication.
- Squeaking or grinding sounds: These noises often mean the belt and deck are rubbing without enough lubrication.
- Belt slipping or sticking: If the belt hesitates or slips during use, friction could be too high.
- Increased motor strain or overheating: The motor works harder when the belt isn’t sliding smoothly, causing extra heat.
How Often Should You Lubricate Your Treadmill?
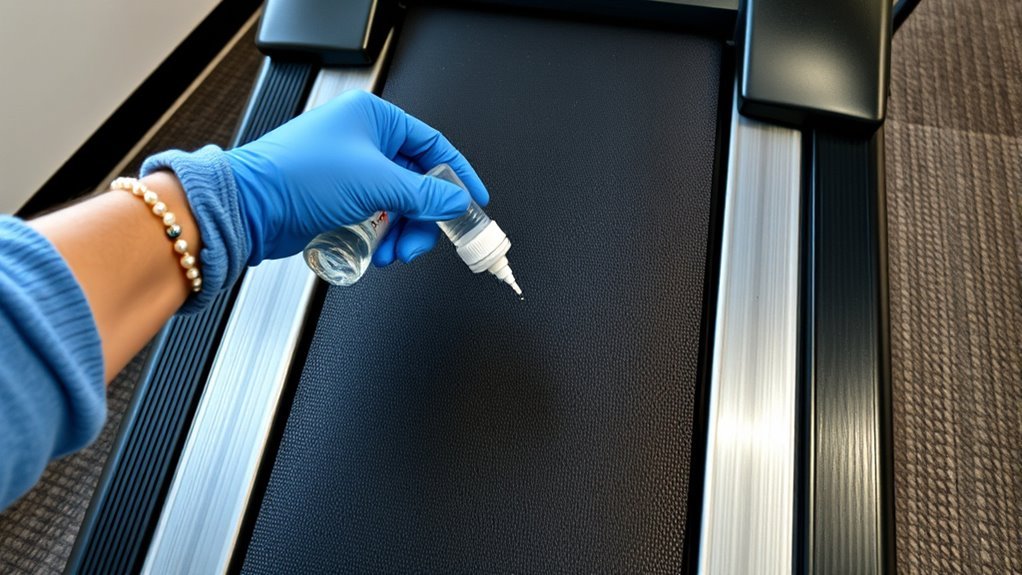
How often should you lubricate your treadmill to keep it running smoothly? Generally, you’ll want to lubricate your treadmill every three to six months, depending on how often you use it.
If you’re a daily user, aim for every three months; for occasional use, every six months should suffice. Also, check your treadmill’s manual for specific recommendations since some models may have unique requirements.
Keep an eye on signs like increased noise or belt sticking, which indicate it’s time to lubricate. Remember, regular lubrication reduces friction and extends your treadmill’s lifespan.
Types of Lubricants Suitable for Treadmills
When lubricating your treadmill, choosing the right lubricant is key to keeping it running smoothly.
You’ll mainly find silicone-based lubricants and treadmill-specific oils designed for this purpose.
Let’s look at how each type works and which one suits your machine best.
Silicone-Based Lubricants
Although various lubricants work on treadmills, silicone-based lubricants stand out for their durability and smooth performance. You’ll find they reduce friction effectively, extending your treadmill’s life and keeping its belt moving quietly.
When you choose silicone-based lubricants, here are three key benefits to keep in mind:
- Long-lasting protection – Silicone forms a stable layer that doesn’t wear off quickly, meaning fewer applications.
- Non-sticky texture – It won’t attract dust or dirt, so your treadmill stays cleaner.
- Safe for most belts – Silicone is compatible with rubber and synthetic materials commonly used in treadmill belts.
Treadmill-Specific Oils
Why choose treadmill-specific oils over general lubricants? These oils are specially formulated to reduce friction without damaging your treadmill’s belt or deck.
Unlike household oils, treadmill-specific lubricants won’t attract dust or cause buildup that can wear down components. When you pick a treadmill-specific oil, you guarantee smooth operation and extend your machine’s lifespan.
Most treadmill oils are silicone-based or contain a blend designed to penetrate the belt-deck interface efficiently. Always check your treadmill’s manual for recommended lubricants, since using the wrong type can void warranties or harm parts.
Applying a treadmill-specific oil means you’re giving your equipment the care it needs to perform efficiently and last longer. This saves you time and repair costs in the long run.
Tools and Materials Needed for Lubrication
To properly lubricate your treadmill, you’ll need a few essential tools and materials. Having the right items on hand makes the process smoother and guarantees your treadmill stays in top condition.
Here’s what you’ll need:
- Treadmill-specific silicone lubricant – This is vital because it’s designed to reduce friction without damaging the belt or deck.
- Clean cloth or paper towels – Use these to wipe off any dust or excess lubricant and keep the machine tidy.
- Flathead screwdriver or maintenance tool – Some models require you to loosen or adjust parts to access the belt area for lubrication.
Gathering these items before you start will help you work efficiently and protect your treadmill’s longevity. So, make sure you have everything ready to go before you dive in!
Preparing Your Treadmill for Lubrication
Before you start lubricating your treadmill, make sure it’s completely turned off and unplugged to avoid any accidents. Safety first, right?
Next, clean the treadmill belt and deck thoroughly. Use a damp cloth to wipe away dust, dirt, and sweat. These can interfere with the lubrication process, so you want the surface nice and clean.
If you’re unsure where to apply the lubricant, check the treadmill manual to locate the lubrication points. Removing the motor cover carefully will give you access to these areas.
While you’re at it, take a close look at the belt and deck for any signs of wear or damage. If you spot frayed edges or deep scratches, it might be a good idea to service or replace parts before lubricating.
Preparing your treadmill properly like this helps the lubricant work effectively. Plus, it extends your machine’s lifespan without causing any damage. Easy, right?
Step-by-Step Guide to Lubricating Your Treadmill
Now that your treadmill is prepped, let’s walk through the exact steps to apply the lubricant correctly.
You’ll learn how to prepare the surface, apply the lubricant evenly, and keep your machine running smoothly afterward.
Following these steps will help you extend your treadmill’s life and improve its performance.
Preparation Before Lubrication
Although lubricating your treadmill is essential for smooth operation, you’ll need to complete a few preparation steps first. Taking these steps ensures the lubricant applies evenly and helps prevent damage.
First up, turn off and unplug the treadmill. Safety comes first, right? Disconnecting it from power helps avoid any accidental starts or shocks while you’re working on it.
Next, give the belt and deck a good clean. Use a soft cloth to wipe away dust, dirt, and sweat buildup. A clean surface means the lubricant will soak in properly.
Also, don’t forget to check your treadmill manual. Find the recommended lubricant type and any specific instructions for your model. That way, you won’t end up using the wrong stuff or applying it the wrong way.
Following these steps sets you up for effective and safe lubrication. Easy, right?
Applying Treadmill Lubricant
With your treadmill powered down, cleaned, and ready, you can begin applying the lubricant. First, lift the treadmill belt slightly on one side to access the deck underneath.
Use the nozzle of your treadmill lubricant bottle to apply a thin, even line of lubricant along the deck’s surface, about 6 to 12 inches from the motor side. Repeat this process on the other side of the belt.
Avoid over-applying, as excess lubricant can attract dust or cause slipping. Next, gently lower the belt back into place and manually rotate it a few times to spread the lubricant evenly.
Finally, power your treadmill back on and walk on it at a slow speed for a couple of minutes to make sure the lubricant is well distributed under the belt.
Post-Lubrication Maintenance Tips
After applying lubricant, you’ll want to regularly check your treadmill to guarantee it stays in peak condition. Proper maintenance after lubrication helps extend your treadmill’s lifespan and ensures smooth operation.
Here are three key post-lubrication maintenance tips:
- Inspect the Belt Tension: Make sure the belt isn’t too tight or loose. Adjust it if you notice slipping or misalignment.
- Clean the Deck and Belt: Remove dust and debris around the deck and belt. This helps prevent buildup that could affect performance.
- Monitor for Unusual Noises: Listen for any squeaks or grinding sounds. These might mean you need more lubrication or some adjustments.
Following these steps keeps your treadmill running efficiently. Plus, it reduces the risk of damage.
Tips for Maintaining Your Treadmill After Lubrication
Keeping your treadmill in top shape goes beyond just lubrication; you’ll want to regularly verify the belt’s tension and alignment to ensure smooth operation. After lubricating, check the belt for any signs of slipping or uneven wear.
Adjust the tension if you notice the belt drifting to one side or if it feels loose. Clean the deck and belt surface to prevent dirt buildup, which can hinder performance.
Also, inspect the motor area for dust and debris, wiping it down gently to avoid overheating. Finally, run your treadmill at a low speed for a few minutes post-lubrication to evenly distribute the lubricant.
Following these steps will help you extend your treadmill’s lifespan and maintain a smooth, quiet workout experience. It’s all about keeping things running smoothly!
Frequently Asked Questions
Can Treadmill Lubrication Improve Workout Performance?
Yes, lubricating your treadmill reduces friction, helping it run smoothly and quietly. This means you’ll get a more consistent workout experience.
It also helps prevent wear and can potentially extend your treadmill’s lifespan. So, you can train effectively without interruptions.
Is It Safe to Use Silicone Spray on All Treadmill Models?
You shouldn’t use silicone spray on all treadmill models since some manufacturers advise specific lubricants.
Always check your treadmill’s manual first to avoid damaging the belt or motor. This way, you ensure safe and effective lubrication.
How Long Does Treadmill Lubrication Typically Last?
You’ll find treadmill lubrication typically lasts about 3 to 6 months, depending on usage.
If you run over 150 miles monthly, you’ll need to lubricate more often to keep your machine running smoothly and extend its lifespan.
It’s all about making sure your treadmill stays in good shape for the long haul. Regular lubrication helps prevent wear and tear, so don’t skip it!
Can Improper Lubrication Damage the Treadmill Motor?
Yes, improper lubrication can damage your treadmill motor by causing overheating and excessive wear.
You’ll want to apply the right amount and type of lubricant regularly to keep it running smoothly and extend its lifespan.
Taking care of this simple maintenance step can really make a big difference in how long your treadmill lasts.
Should I Lubricate My Treadmill if It’s Under Warranty?
Think of lubrication as the heartbeat of your treadmill. Yes, you should lubricate it even under warranty, but check your manual first.
Proper care keeps your machine running smoothly and protects your investment’s longevity. So, a little maintenance goes a long way!
Conclusion
Regular lubrication can extend your treadmill’s life by up to 10 years, saving you money and hassle. By lubricating every 3 to 6 months—or more often if you use it heavily—you keep your machine running smoothly and quietly.
Follow the step-by-step guide, and you’ll prevent wear and tear while boosting performance. Remember, a well-maintained treadmill means better workouts and fewer repairs down the road.
Don’t skip this simple but essential task! Proper treadmill lubrication is key to ensuring your equipment stays in top shape. Keeping your treadmill lubricated not only enhances its performance but also reduces friction and overheating. So, make it a habit to lubricate your treadmill regularly and enjoy a quieter, more efficient workout machine for years to come.