How Long Should You Stand on a Vibration Plate: A How-To Guide
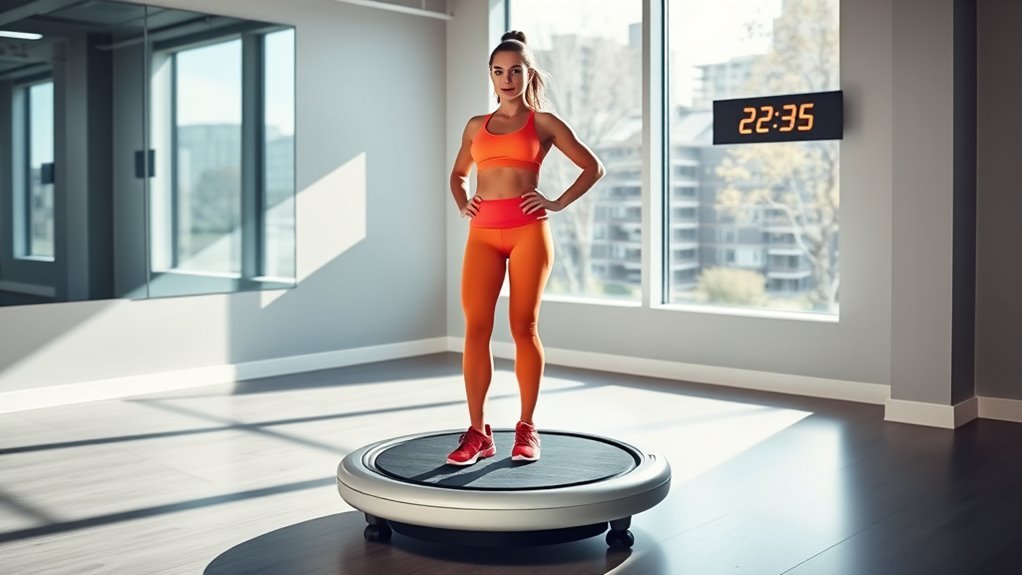
You should start standing on a vibration plate for about 5 minutes at a low intensity, especially if you’re a beginner. This helps your body get used to the vibrations without overdoing it.
As you build strength, gradually increase to 15–20 minutes while keeping your knees slightly bent and focusing on good posture. This way, you get the best benefits safely.
Advanced users can go up to 30 minutes but should vary their stances to avoid fatigue. Pay attention to your body and stop if you feel dizziness or pain.
To get the most from your sessions, here’s what else you need to know.
Key Takeaways
- Beginners should start with 5-minute sessions at low intensity. Gradually increase duration as comfort and strength improve.
- Intermediate users can stand 15-20 minutes per session. Focus on proper form and gradually raise vibration intensity.
- Advanced users may stand 15-30 minutes. Incorporate varied stances and light exercises to prevent fatigue and overuse.
- Aim for at least three sessions weekly. Maintain good posture with knees slightly bent and core engaged for balance.
- Stop immediately if experiencing dizziness, pain, numbness, or fatigue. And be sure to consult guidelines or professionals to ensure safe use.
Understanding Vibration Plate Technology
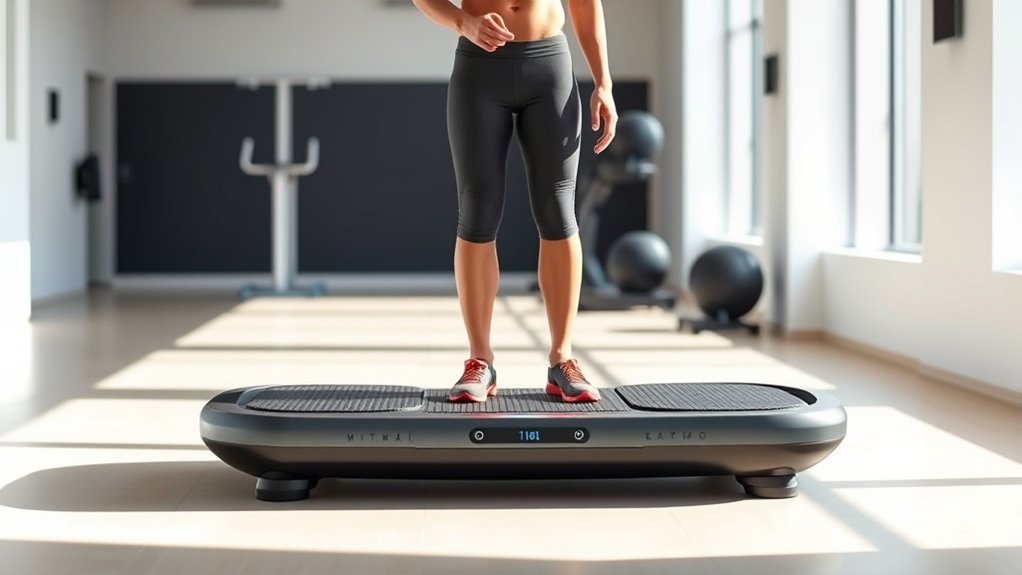
Although vibration plates might seem like simple exercise tools, they actually use advanced technology to stimulate your muscles through rapid vibrations. When you stand on the plate, it creates mechanical oscillations that cause your muscles to contract and relax multiple times per second.
This involuntary muscle activation helps improve strength, flexibility, and circulation. You’ll notice different plates offer varying vibration frequencies and amplitudes, which affect how intense your workout feels.
Some plates move side-to-side, others oscillate like a seesaw, and some vibrate vertically. Understanding these movements helps you choose the right vibration plate for your goals.
Factors Influencing Session Duration
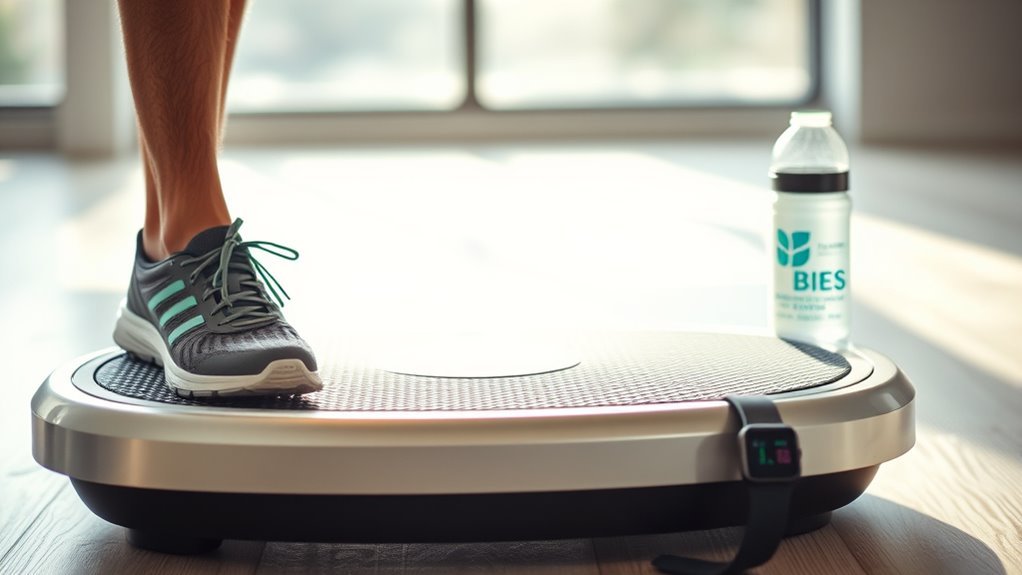
Your fitness level plays a big role in how long you should stand on a vibration plate. If you’re a beginner, shorter sessions at lower intensity settings work best.
As you get stronger, you can increase both the duration and vibration intensity for better results. It’s all about listening to your body and gradually pushing yourself.
User Fitness Level
Since everyone’s fitness level varies, you should tailor the time you spend on a vibration plate to match your current strength and endurance. If you’re new or less fit, shorter sessions help prevent overexertion.
As your fitness improves, you can gradually increase duration for better results. Consider these points:
- Beginners might start with 5-minute sessions to build tolerance.
- Intermediate users can aim for 10-15 minutes as stamina grows.
- Advanced users often handle 20-minute sessions comfortably.
Always listen to your body; stop if you feel dizzy or fatigued.
Adjusting your session length based on fitness guarantees safe, effective workouts and steady progress without risking injury or burnout.
Vibration Intensity Settings
Adjusting how long you stand on a vibration plate depends not only on your fitness level but also on the intensity settings you choose. Higher intensity means your muscles work harder, so you’ll need shorter sessions to avoid fatigue or injury.
If you set the vibration to a low or moderate level, you can comfortably extend your time up to 15-20 minutes. For intense settings, start with just 5 to 10 minutes and gradually increase as your body adapts.
Always listen to your body—if you feel dizzy or overly tired, reduce the intensity or take a break. By tailoring your session duration to the vibration intensity, you’ll maximize benefits while minimizing risks and discomfort.
Recommended Time for Beginners
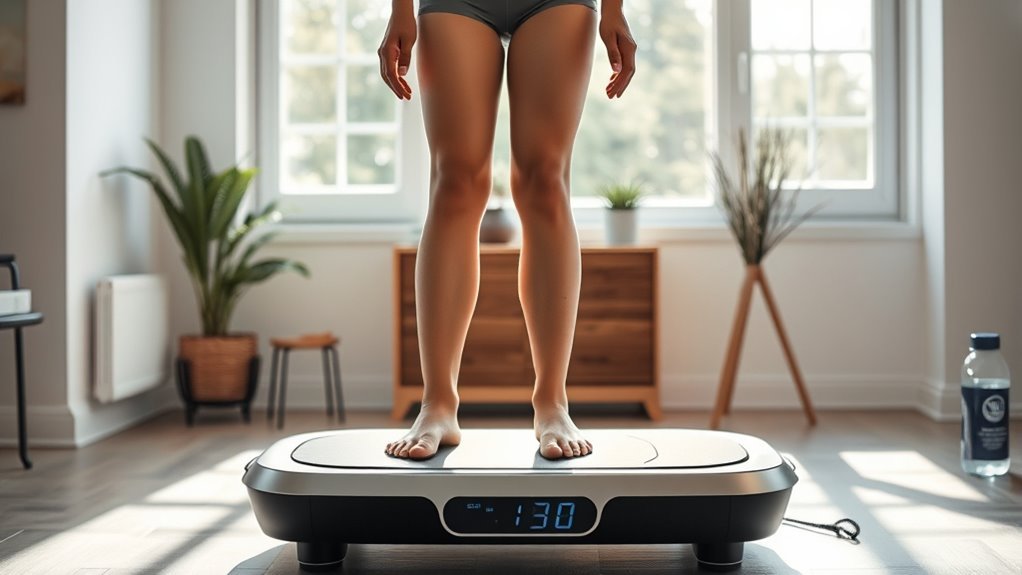
Although vibration plates offer numerous benefits, beginners should start with short sessions to allow their bodies to adapt. Jumping in too long can lead to muscle soreness or fatigue.
To ease into your routine, keep these tips in mind:
- Begin with 5-minute sessions to gauge your tolerance.
- Use a low intensity setting to avoid overstimulation.
Take breaks between sets if you plan multiple rounds. Focus on proper posture and controlled movements.
Starting slow really helps your body get used to the vibration without overdoing it. Just listen to how you feel and adjust as needed!
Ideal Duration for Intermediate Users
As an intermediate user, you’ll want to aim for 15 to 20 minutes on the vibration plate. Gradually increase your time to avoid overexertion and watch for any discomfort or dizziness.
If you notice any negative symptoms, it’s best to stop and rest. Taking it slow really helps you get the most out of your workout without pushing too hard.
Optimal Time Range
Once you’ve built a basic level of comfort and balance on the vibration plate, you can extend your sessions to maximize benefits without overdoing it. For intermediate users, the ideal time range is generally between 10 to 20 minutes per session.
This duration strikes a good balance between effectiveness and safety. Here’s how you can make the most of this time:
- Start with 10 minutes and listen to your body’s response.
- Include short breaks if needed during the session.
- Focus on maintaining proper posture throughout.
- Combine with light exercises for enhanced results.
Sticking within this prime time range helps improve muscle tone, circulation, and flexibility. Plus, it minimizes fatigue or strain, so you get the benefits without feeling wiped out.
Gradual Duration Increase
When you feel comfortable with shorter sessions, gradually increase your time on the vibration plate to enhance results without risking injury. Aim to add a minute or two each session, paying close attention to how your body responds.
For intermediate users, working up to 15-20 minutes per session is ideal. This duration allows your muscles to adapt and benefits to accumulate effectively.
Avoid jumping straight to longer times; instead, listen to your body’s signals and adjust accordingly. Maintain proper posture and stay hydrated throughout.
Consistency matters more than duration at this stage, so focus on regular use rather than pushing for extended sessions. This gradual approach ensures steady progress while minimizing fatigue and discomfort, setting a solid foundation for advanced vibration training.
Signs to Stop
Although you may feel enthusiastic to push through, recognizing signs that it’s time to stop on the vibration plate is crucial for your safety and progress. As an intermediate user, knowing when to pause prevents injury and helps your body recover effectively.
Pay attention to how you feel during your session. Stop immediately if you experience dizziness or lightheadedness, nausea or unusual discomfort, sharp or persistent muscle pain, or excessive fatigue or weakness.
These symptoms indicate your body needs a break. Pushing beyond these signs can lead to strain or injury, undermining your fitness goals.
Listen closely to your body’s signals, and remember, quality over quantity always wins. Stopping at the right time ensures you get the most benefit from your vibration plate workouts.
How Long Advanced Users Should Stand
Since you’ve built up a solid foundation with vibration plate workouts, you can increase your standing time to maximize benefits. As an advanced user, you might stand on the plate for 15 to 30 minutes per session.
This extended duration can enhance muscle strength, improve circulation, and boost overall endurance. However, it’s important to maintain proper posture and adjust your stance periodically to avoid fatigue.
You can also combine vibration training with light exercises like squats or calf raises to intensify your workout. Remember to listen to your body—if you feel discomfort or excessive fatigue, it’s wise to reduce your standing time.
Enhance your vibration workouts with light exercises, but always listen to your body to avoid overexertion.
With consistent practice, you’ll find the ideal balance that pushes your limits safely and effectively.
Signs You’re Standing Too Long
Pushing your limits on a vibration plate can bring great benefits, but standing too long may lead to discomfort or strain. It’s important to recognize when your body signals that you’ve exceeded a safe duration.
Watch out for these signs:
- Persistent muscle fatigue or soreness beyond normal workout tiredness
- Numbness or tingling sensations in your feet or legs
- Dizziness or lightheadedness during or after use
- Joint pain, especially in knees or ankles
If you notice any of these symptoms, it’s a clear indicator to reduce your session time or take breaks. Listening to your body helps prevent injury and ensures you get the most out of your vibration plate workouts safely.
Tips for Maximizing Effectiveness
To get the most from your vibration plate sessions, you’ll want to focus on proper form and gradual progression. Stand with your knees slightly bent and engage your core to maintain balance. Avoid locking your joints to reduce strain.
Start with shorter sessions and increase duration as your body adapts. Incorporate different stances—like squats or lunges—to target various muscle groups effectively.
Combine vibration plate workouts with strength training or stretching to enhance results. Stay consistent, aiming for at least three sessions per week.
Remember to adjust the vibration intensity to match your fitness level, increasing it over time to challenge your muscles. By following these tips, you’ll maximize muscle engagement and boost circulation, making your workouts more efficient and rewarding.
Safety Precautions During Use
Although vibration plates offer great benefits, you should take certain safety precautions to prevent injury. Using the machine incorrectly or for too long can cause muscle strain or dizziness.
To stay safe, follow these key guidelines: start with short sessions and gradually increase time as your body adapts. Keep your knees slightly bent to reduce joint stress during vibration.
Also, avoid using the plate if you have heart conditions, pregnancy, or recent surgeries without consulting a doctor. And always stand barefoot or wear non-slip shoes to maintain good balance and prevent slipping.
Frequently Asked Questions
Can Vibration Plates Help With Weight Loss?
Yes, vibration plates can help with weight loss by boosting your metabolism and muscle activity. They stimulate your muscles to contract more frequently, which can increase calorie burn.
If you combine their use with a healthy diet and regular exercise, you’ll see better results and shed pounds more effectively. It’s not just about standing on the plate; making lifestyle changes really makes a difference.
Do Vibration Plates Improve Bone Density?
You can improve bone density using vibration plates, as studies show a 2-3% increase in bone mineral density after consistent use.
Just make sure you stand properly and combine it with weight-bearing exercises for best results. It’s all about consistency and good form!
Are Vibration Plates Safe During Pregnancy?
You shouldn’t use vibration plates during pregnancy without consulting your doctor first. The vibrations might affect your baby or cause discomfort.
Always prioritize safety and get professional advice before trying any new exercise while pregnant. It’s better to be cautious and make sure what’s best for you and your little one.
Can Vibration Plates Replace Traditional Exercise?
No, vibration plates can’t fully replace traditional exercise. You’ll benefit most by combining them with cardio, strength training, and flexibility workouts for overall fitness.
They complement but don’t substitute a well-rounded exercise routine. So, think of them as a helpful addition rather than a complete swap.
How Often Should I Clean My Vibration Plate?
You should clean your vibration plate after every few uses or at least once a week to keep it hygienic and functioning well.
Wipe it down with a damp cloth and mild detergent, avoiding harsh chemicals.
This way, you’ll keep it in good shape and ready for your next workout!
Conclusion
Standing smartly on your vibration plate sparks stronger, safer sessions. Start slow, steadily stretching your standing span as you strengthen.
Stay sensitive to signs signaling strain, and stop to safeguard your stamina. By balancing bursts of buzzing with breaks, you’ll boost benefits without burdening your body.
So, step up, stay steady, and savor the satisfying shakes—your safe, successful session starts with smart standing! Remember, how long you stand on a vibration plate matters. Gradually increasing your time while listening to your body ensures you get the most out of each session without overdoing it.
Keep your posture right, take breaks when needed, and enjoy the enhanced circulation and muscle activation that comes with consistent vibration plate use. This way, you’ll maximize results safely and effectively every time.