How to Dismantle a Treadmill in 10 Easy Steps
Start by gathering tools like screwdrivers and an Allen wrench. Unplug your treadmill and remove the safety key to prevent accidents.
Next, take off the console panel by unplugging cables and unscrewing it. Then, detach the handrails to make it easier to handle the machine.
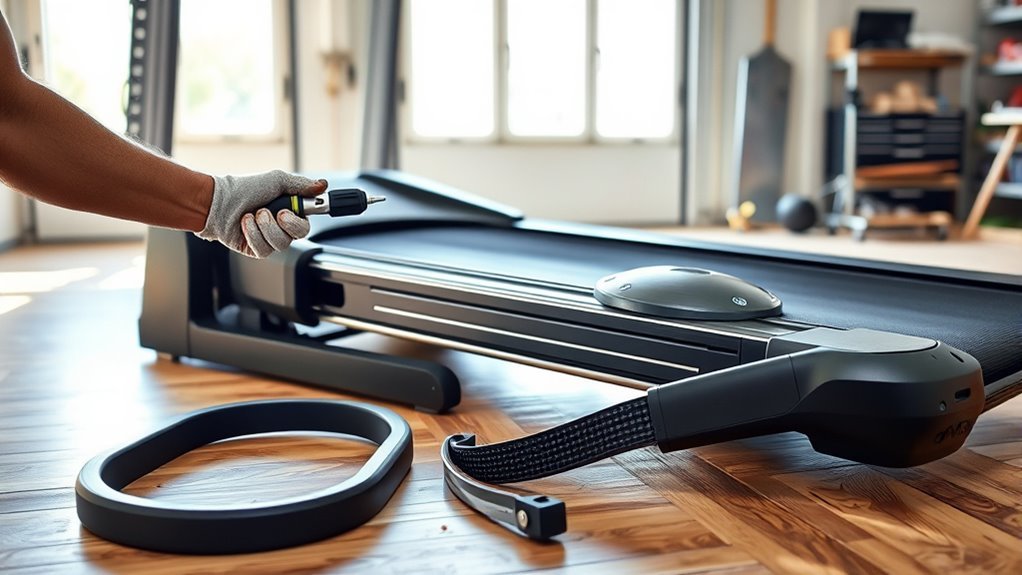
Remove the motor cover to access the internal parts. Loosen and take off the running belt, followed by the deck.
After that, detach the upright frame and separate the base.
Organize parts safely to avoid loss or damage.
Keep going to uncover detailed guidance for each step. This simple, step-by-step approach will help you dismantle your treadmill quickly and safely.
Key Takeaways
- Unplug the treadmill, remove the safety key, and wait a few minutes to ensure no electrical charge remains. This step is crucial for your safety, so don’t skip it.
- Use appropriate tools to remove the console panel screws and unplug all connected cables carefully. Take your time here to avoid damaging any wires or connectors.
- Loosen the running belt by turning rear roller adjustment bolts counterclockwise. Then, gently lift and remove the belt. This can be a bit tricky, so go slow and steady.
- Detach the upright frame by unscrewing bolts while supporting the frame. Also, disconnect any wiring attached to it to avoid pulling or breaking cables.
- Organize and store all screws, bolts, and parts in labeled containers. This makes reassembly or disposal much easier later on. Trust me, it saves a lot of headaches!
Gather the Necessary Tools
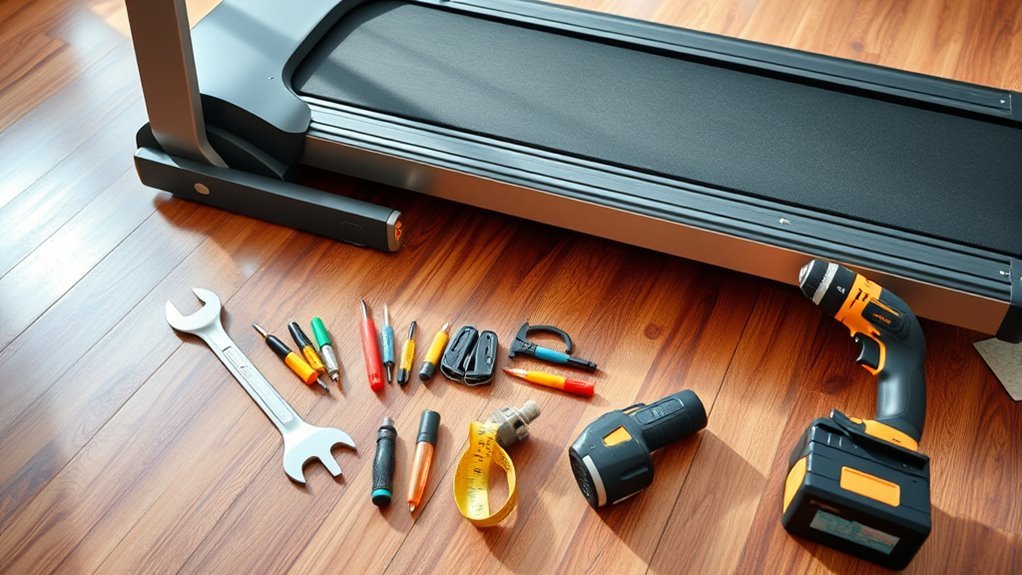
Before you begin dismantling your treadmill, make sure you have all the necessary tools on hand. You’ll typically need a set of screwdrivers—both Phillips and flathead—to remove screws and panels.
An adjustable wrench or socket set helps loosen bolts securing the frame and motor cover. Keep a pair of pliers nearby for gripping and pulling small parts or wires.
It’s also smart to have a small container or magnetic tray to hold screws and bolts so they don’t get lost. If your treadmill has Allen screws, grab an Allen wrench set.
Having these tools ready saves you time and frustration during the process. And hey, don’t forget to double-check the treadmill’s manual if you’re unsure about specific tools required for your model.
Unplug and Prepare the Treadmill
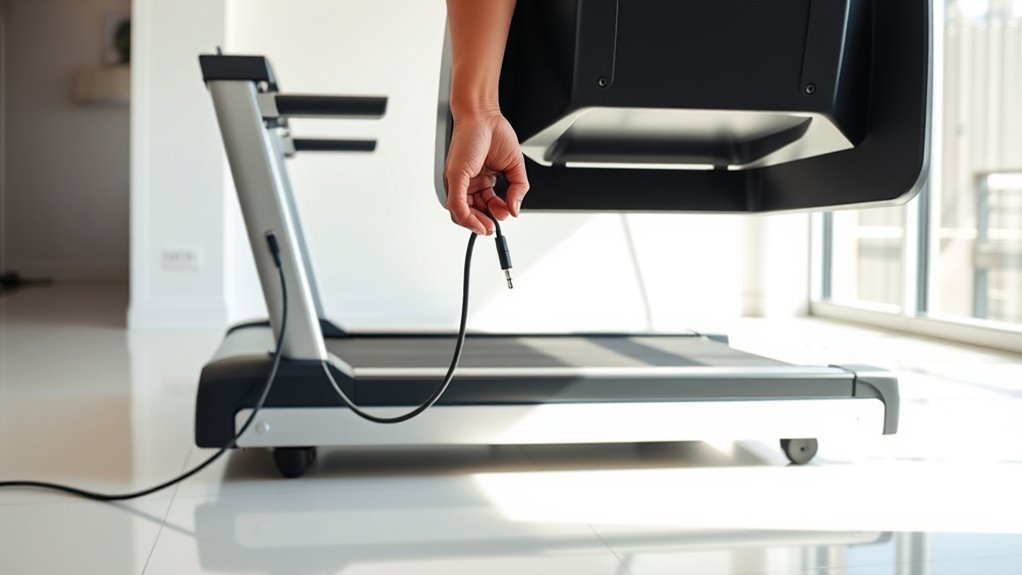
Before you start dismantling, make sure the treadmill is completely unplugged to avoid any electrical hazards.
Clear the area around the machine so you have enough space to work safely and comfortably. Also, have all your tools ready and within reach to keep the process smooth and efficient.
Ensure Power Disconnection
Although it might seem obvious, you’ll want to unplug the treadmill and confirm it’s completely powered off before starting any dismantling. First, disconnect the power cord from the wall outlet to eliminate any risk of electric shock.
Next, check the treadmill’s display panel to ensure it’s no longer lit or showing any signs of power. If your model has a detachable safety key, remove it to prevent accidental activation.
Don’t rely solely on turning off a power switch—unplugging is essential. Also, wait a few minutes after unplugging to let any stored electrical charge dissipate.
Taking these precautions keeps you safe and protects the treadmill’s electronics during dismantling. Once you’re sure the treadmill isn’t powered, you’re ready to proceed with disassembly confidently.
Clear Surrounding Area
Once you’ve confirmed the treadmill is unplugged and powered down, clear the area around it to give yourself enough room to work safely and efficiently. Move any furniture, rugs, or obstacles that might restrict your movement or cause tripping hazards.
Make sure the floor is clean and dry to prevent slips. Having ample space allows you to access all parts of the treadmill without strain. It also helps when you need to lay out components or tools during dismantling.
If possible, position the treadmill near a wall or corner to stabilize it during the process. Taking these steps now will streamline your work and reduce the risk of accidents, making the entire dismantling procedure smoother and safer.
Gather Necessary Tools
How do you guarantee a smooth dismantling process? Start by unplugging the treadmill to assure your safety. Never work on any electrical device while it’s connected to power.
Once unplugged, gather the necessary tools to make the job efficient and hassle-free. You’ll typically need a set of screwdrivers (both Phillips and flathead), an adjustable wrench, an Allen key set, and possibly pliers.
Having a flashlight handy can help you see screws or bolts in tight spots. Keep a container nearby to store small parts like screws and washers to avoid losing them.
Preparing the treadmill by wiping it down and checking the manual for any model-specific instructions also saves time. With these tools and precautions, you’re ready to proceed confidently.
Remove the Safety Key and Console Panel

Before you start dismantling the treadmill, make sure to remove the safety key to cut off power and prevent accidental starts. This step is vital for your safety and helps avoid any electrical issues.
Next, focus on the console panel, which houses the display and control buttons.
- Locate the safety key, usually attached to a clip or magnet, and pull it out.
- Unplug any cables connected to the back of the console panel.
- Use a screwdriver to remove screws securing the console panel to the treadmill frame.
- Gently lift and detach the console panel, setting it aside carefully to avoid damage.
Following these steps ensures the treadmill’s power is off and the console panel is safely removed. This gets you ready for the next dismantling stage.
Detach the Handrails
Start by locating the screws that hold the handrails in place, usually found underneath or along the sides. Grab the right tools, like a screwdriver or an Allen wrench, to avoid stripping the screws.
Carefully unscrew and lift the handrails off. Make sure to keep them steady as you remove them.
Locate Handrail Screws
Once you’ve powered off the treadmill, you’ll want to locate the screws securing the handrails. These screws hold the handrails firmly in place, so identifying them is essential before you proceed with removal.
Here’s how to find them:
- Stand at the side of the treadmill and look along the underside of each handrail.
- Check near the joints where the handrails connect to the treadmill frame.
Use a flashlight if necessary to spot any recessed or hidden screws. It can be tricky if they’re tucked away, so don’t hesitate to shine a light.
Make a note of the screw types and positions to prepare for removal. This little step can save you time later on.
Locating these screws carefully will help you detach the handrails smoothly and avoid damaging the treadmill’s frame or wiring underneath. It’s worth taking your time here!
Use Proper Tools
After locating the handrail screws, gather the proper tools to remove them safely. Using the right tools guarantees you don’t strip screws or damage the treadmill.
Typically, a Phillips screwdriver or Allen wrench works best. Be sure to check the screw type before you start. Having a magnetic screwdriver can help keep screws from falling and getting lost.
Here’s a quick reference for common tools you might need:
| Tool | Purpose | Tip |
|---|---|---|
| Phillips Screwdriver | Remove cross-head screws | Use correct size to avoid stripping |
| Allen Wrench | Remove hex screws | Try different sizes for fit |
| Magnetic Screwdriver | Hold screws securely | Great for tight spaces |
| Adjustable Wrench | Loosen bolts if needed | Adjust jaw size for grip |
Using these tools will make detaching handrails smoother and safer. Just take your time and you’ll be all set!
Safely Remove Handrails
How exactly do you detach the handrails without causing damage or injury? First, make sure the treadmill is unplugged to prevent any accidents.
Then, follow these steps carefully:
- Locate the screws or bolts securing the handrails to the frame.
- Use the appropriate tool, usually a screwdriver or Allen wrench, to loosen and remove them.
Hold the handrails firmly as you detach them to avoid sudden drops or strain.
Place the handrails on a soft surface to prevent scratches or dents.
Disconnect the Motor Cover
Before you can access the treadmill’s internal components, you’ll need to disconnect the motor cover carefully. First, unplug the treadmill from the power source to guarantee safety.
Locate the screws or bolts securing the motor cover, typically found at the base near the front. Use the appropriate screwdriver or wrench to remove these fasteners, keeping them in a safe place for reassembly.
Gently lift the motor cover off, avoiding any force that might damage wiring or connectors underneath. If the cover feels stuck, double-check for hidden screws or clips.
Once removed, you’ll have clear access to the motor and belt area. Remember to handle all parts delicately to avoid breaking plastic tabs or bending metal components during removal.
Loosen and Remove the Running Belt
Where do you start when it’s time to remove the running belt? First, you need to loosen it to avoid damage during removal. Follow these steps:
- Locate the adjustment bolts at the rear roller ends.
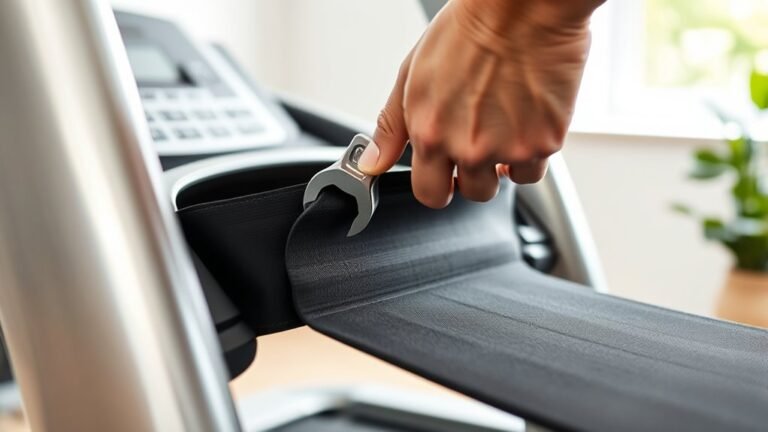
- Use an Allen wrench to turn each bolt counterclockwise, loosening the belt evenly.
Check the belt tension by pressing down in the center; it should feel slack. Once loosened, grip the belt edges and carefully pull it upward and away from the deck.
Loosening the belt evenly prevents misalignment or stretching. Take your time to avoid tearing the belt or damaging the rollers.
After loosening, the belt should slide off smoothly, setting you up perfectly for the next steps in dismantling. Easy, right? Just be patient and gentle.
Remove the Deck From the Frame
Before you remove the deck from the frame, identify how it’s attached—screws, bolts, or clips. Gather the right tools like wrenches or screwdrivers to make the process smoother.
Always wear gloves and work carefully to avoid injury during removal. Taking your time here really helps keep things safe and easy.
Deck Attachment Types
When you’re ready to remove the deck from the frame, understanding the type of attachment used is essential. Different treadmills use various methods to secure the deck, and knowing which one you have will make the process smoother.
- Bolted Attachment: The deck is held by bolts; you’ll need to unscrew each one carefully.
- Clipped or Snapped On: Some decks use clips that can be gently pried off without tools.
- Sliding Rails: The deck slides along rails and locks into place, requiring you to slide it out.
- Adhesive or Glue: Rare but tricky; you might need to soften the adhesive before detaching.
Identifying your deck’s attachment type helps you avoid damage and speeds up removal. So, take a moment to check before you start. It’ll save you some headaches!
Tools Needed
Although removing the deck might seem straightforward, having the right tools ready will make the job much easier and prevent damage.
You’ll need a set of hex wrenches or Allen keys, as most treadmill decks are secured with hex bolts. A socket wrench set will also come in handy for loosening nuts that hold the deck to the frame.
Don’t forget a flathead screwdriver to pry off any clips or guards carefully. A pair of pliers can help if you encounter stubborn pins or connectors.
Finally, keep a soft cloth nearby to protect the deck and frame surfaces while working. Having these tools organized before you start saves time and ensures a smooth removal process without risking scratches or stripped bolts.
Safety Precautions
Having the right tools ready sets you up for a safer process when removing the deck from the frame. Before you start, make sure you unplug the treadmill to avoid any electrical hazards.
Wear gloves to protect your hands from sharp edges and pinches. Use proper lifting techniques since the deck can be heavy and awkward to handle.
Clear your workspace to prevent trips or falls. Follow these safety steps:
- Disconnect the power supply and double-check it’s unplugged.
- Wear protective gloves and sturdy shoes.
- Use a helper when lifting the deck to avoid strain.
- Keep your work area clean and well-lit.
Detach the Upright Frame
Before you start detaching the upright frame, make sure the treadmill is unplugged and stable. Locate the bolts or screws securing the frame to the base.
You’ll typically find them near the console or at the bottom where the frame meets the deck. Use the appropriate tools, usually an Allen wrench or screwdriver, to remove these fasteners carefully.
Support the frame as you loosen the last bolts to prevent it from tipping or falling. Once all bolts are removed, gently lift the upright frame away from the base.
If the frame has any attached wiring for the console or safety key, disconnect those cables before fully removing the frame. Set the frame aside safely, so you can proceed with dismantling the next parts.
Separate the Base Frame
Once you’ve removed the upright frame, you can focus on separating the base frame from the treadmill deck. This step requires careful attention to avoid damaging the components. Here’s how to proceed:
- Locate and remove all bolts securing the base frame to the treadmill deck using the appropriate wrench or socket.
- Check for any hidden screws or brackets underneath; loosen or remove them to free the base frame completely.
- Gently lift one side of the base frame to ensure it’s detached and doesn’t catch on wiring or other parts.
- Carefully slide or lift the base frame away from the treadmill deck, setting it aside on a soft surface to prevent scratches.
Following these steps ensures you safely separate the base frame without harming any parts. Just take your time and be gentle with everything!
Organize and Store the Parts Safely
After you’ve separated the base frame from the treadmill deck, the next step is to keep all the parts organized and stored safely. Start by grouping similar components together—screws, bolts, washers—in clearly labeled containers or zip-top bags. This prevents you from losing small pieces and makes reassembly easier.
Wrap delicate parts like the motor and electronic components in bubble wrap or soft cloth to protect them from damage. Store larger parts, such as the deck and frame, in a dry, clutter-free area to avoid moisture and dust buildup.
If possible, keep an inventory list of all parts to track what you’ve stored. Taking these steps ensures you won’t waste time searching later and helps maintain the condition of every component.
Frequently Asked Questions
Can I Dismantle a Treadmill Alone or Do I Need Help?
You can dismantle a treadmill alone if you’re careful and have the right tools.
But having help makes the process safer and easier, especially when handling heavy parts or lifting the frame to avoid injury.
It’s always better to be safe than sorry!
How Do I Dispose of Treadmill Parts Responsibly?
You can recycle treadmill parts by taking metal and plastic components to local recycling centers. Donate usable parts or sell them online.
Avoid landfill disposal to reduce waste and protect the environment. It’s a simple way to do your bit for the planet!
What Should I Do if My Treadmill Is Still Under Warranty?
If your treadmill’s under warranty, don’t dismantle it yourself.
Contact the manufacturer or authorized service center first. They’ll guide you through repairs or replacement, ensuring you don’t void the warranty or cause further damage.
Are There Any Safety Hazards to Watch for During Dismantling?
You should watch for electrical hazards—over 70% of treadmill injuries involve electric shock or pinch points. Always unplug it before you start working on it.
Avoid sharp edges, and handle heavy parts carefully to keep yourself safe during dismantling. Taking your time can really help prevent accidents.
Can Dismantling Affect the Treadmill’s Resale Value?
Yes, dismantling can lower your treadmill’s resale value if parts get damaged or lost.
You should carefully label and store components to keep everything intact and guarantee potential buyers see it’s well-maintained and complete.
Conclusion
Now that you’ve unraveled your treadmill like a well-wound clock, you’re ready to conquer the next step with ease. Each bolt and panel you removed is a piece of the puzzle, falling perfectly into place.
With your tools laid down and parts neatly stored, you’ve turned a bulky beast into manageable treasure. Pat yourself on the back—you’ve just danced through dismantling with the grace of a pro!
Dismantling a treadmill might seem daunting, but breaking it down into simple steps makes the process smooth and satisfying. Whether you’re moving, repairing, or recycling, knowing how to dismantle a treadmill correctly saves time and effort.
So go ahead, tackle your treadmill dismantling project with confidence and enjoy the rewarding feeling of mastering this handy skill!