How to Grease a Treadmill in 5 Easy Steps
To grease your treadmill properly, start by unplugging it to ensure safety. Then, clean the treadmill surface to get it ready for maintenance. This simple step helps prevent dirt from mixing with the lubricant, which can cause wear.
Next, carefully remove the side panels to access the belt. Once you have access, lift the belt and clean the deck underneath thoroughly. This helps the lubricant stick better and keeps your treadmill running smoothly.
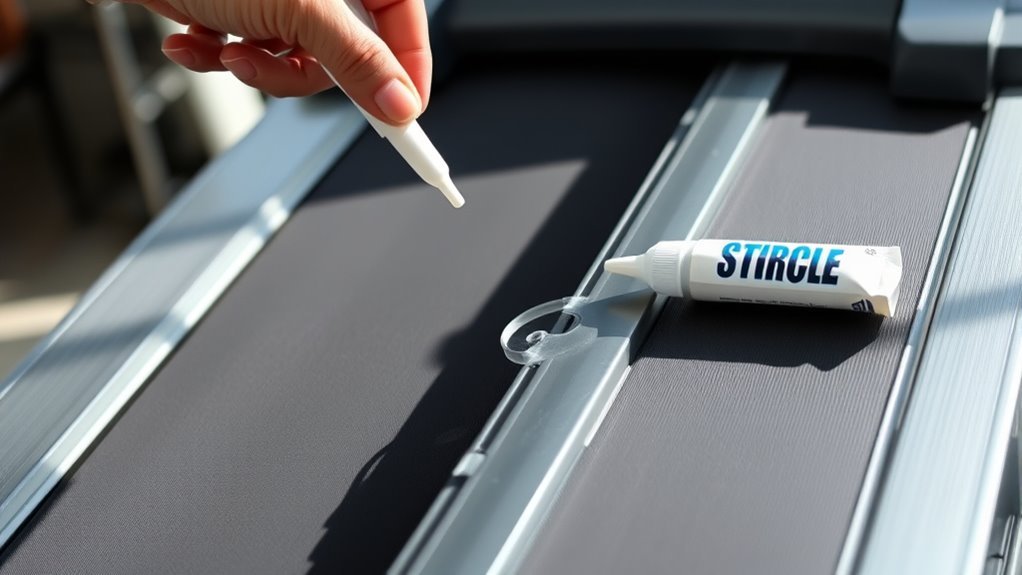
Now, apply a thin line of lubricant along the deck, focusing especially near the motor area. Be sure not to use too much — a little goes a long way! After that, lower the belt back down and turn the treadmill on at a slow speed.
Check the belt alignment and adjust it if necessary to keep it centered.
By following these easy steps, you can keep your treadmill in top shape and prevent unnecessary wear and tear. Regular greasing helps extend the life of your machine and ensures a smooth workout every time.
Key Takeaways
- Unplug the treadmill first. Then, clean its surface to get rid of any dust or sweat. Make sure you have your lubricant and tools ready before you start the maintenance.
- Next, carefully remove the side panels or the edges of the belt. This will give you access to the treadmill belt and deck underneath.
- Now, lift the belt gently. Clean the deck surface well to remove all dust and debris that might have collected there.
- Time to apply the lubricant! Put a thin, continuous line of it under the belt. Focus especially near the motor area where it’s most needed.
- Finally, test the belt at a low speed. If it feels off, adjust the alignment bolts a bit. Keep checking until the belt runs smoothly without any hiccups.
Prepare Your Treadmill for Maintenance
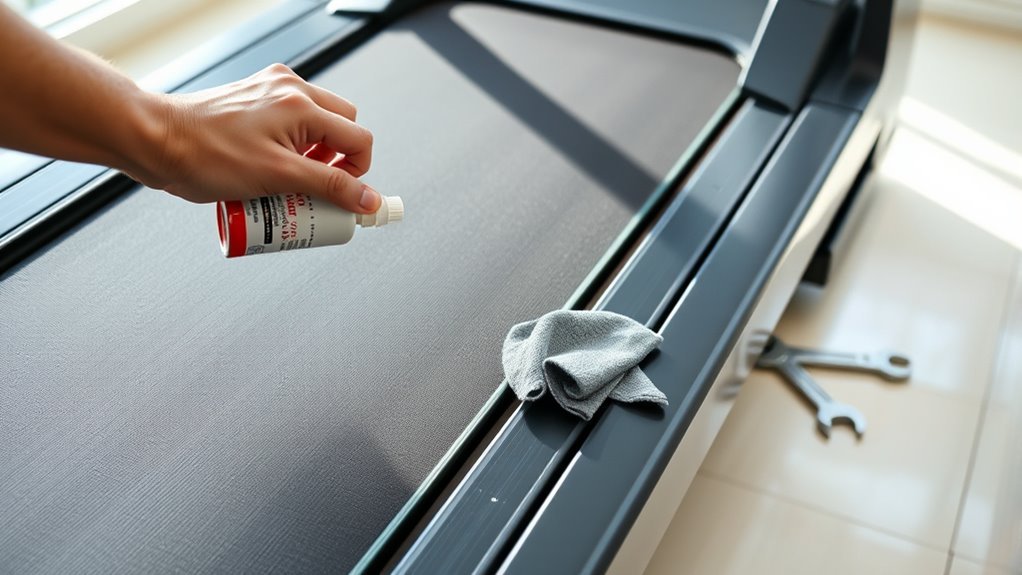
Before you begin greasing your treadmill, make sure to unplug it and move it to a well-lit, spacious area. This guarantees safety and gives you enough room to work comfortably.
Always unplug your treadmill and clear a bright, spacious workspace before starting lubrication.
Next, clean the treadmill thoroughly. Use a soft cloth to wipe down the belt, deck, and surrounding parts, removing dust and debris that could affect lubrication.
Check the user manual for any specific instructions or warnings related to your model. Gather all necessary tools and supplies, like lubricant, a screwdriver, and a cleaning cloth, before you start.
Finally, inspect the treadmill for any visible damage or wear. Addressing these issues beforehand prevents complications during maintenance and helps your treadmill run smoothly once you finish greasing.
Access the Treadmill Belt
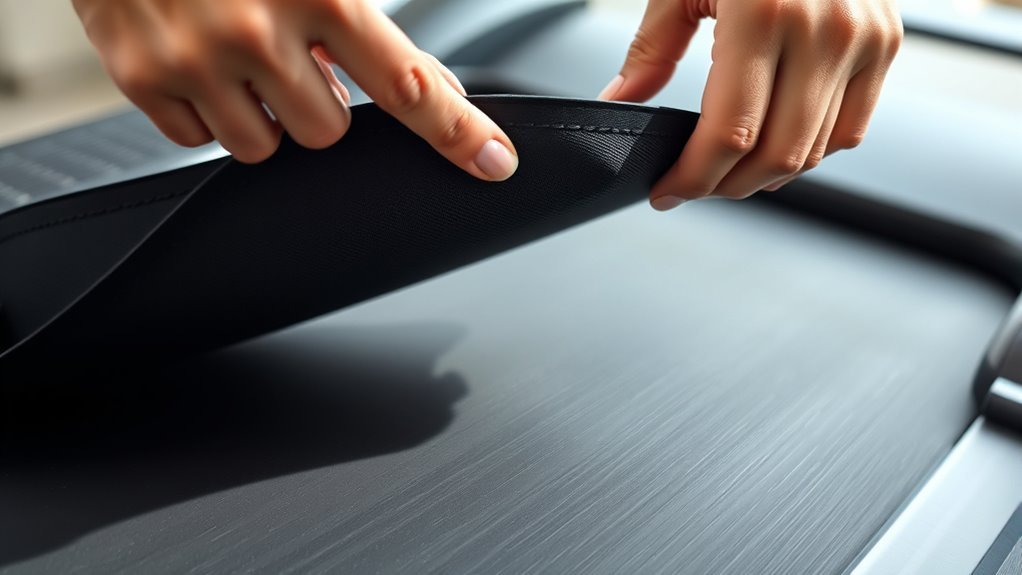
Once you’ve prepared your treadmill by unplugging it and cleaning the surface, the next step is to access the treadmill belt. Start by locating the treadmill deck, which is the flat surface beneath the belt.
Most treadmills have screws or bolts securing the belt edges or side panels. Use the appropriate screwdriver or wrench to carefully remove these fasteners.
Gently lift or slide the side panels away to reveal the belt’s edges and the deck underneath. Be cautious not to damage any wires or components while doing this.
If your treadmill model has a removable cover over the belt, detach it as instructed in the user manual. Once you have clear access to the belt edges and deck, you’re ready to proceed with the next maintenance steps.
Clean the Surface Under the Belt
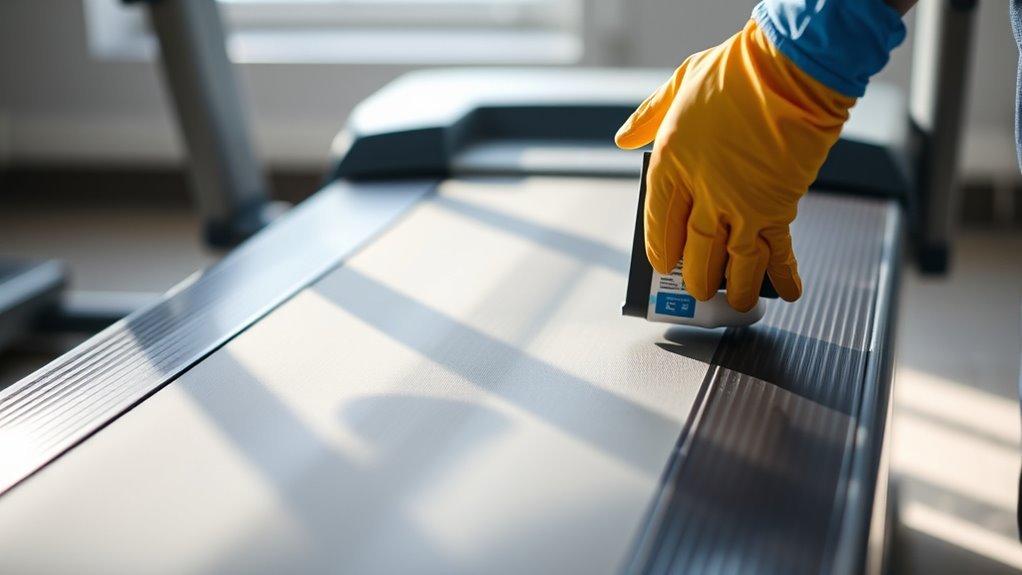
Although it may seem like a simple task, cleaning the surface under the belt is essential to keep your treadmill running smoothly. Dirt, dust, and debris can build up, causing friction and wear.
Here’s how to clean it effectively:
- Turn off and unplug your treadmill for safety.
- Lift the belt carefully to expose the deck.
- Use a soft cloth or vacuum to remove dust and particles.
- Check for any damage or uneven wear on the surface.
Apply the Lubricant Properly
Since proper lubrication reduces friction and extends your treadmill’s lifespan, you’ll want to apply the lubricant evenly beneath the belt. Start by lifting the treadmill belt slightly to expose the deck.
Proper lubrication reduces friction and extends your treadmill’s lifespan—start by lifting the belt to expose the deck.
Use the lubricant bottle’s nozzle to apply a thin, continuous line of lubricant across the deck’s surface. Focus on the area near the motor, where most friction occurs.
Avoid over-applying, as excess lubricant can attract dust and cause slipping. After applying, lower the belt carefully to its original position.
Make sure the lubricant spreads evenly by manually rotating the belt a few times if possible. This helps the lubricant cover the entire deck surface evenly, providing smooth operation and preventing premature belt wear.
Proper application keeps your treadmill running quietly and efficiently. It’s a simple step that really makes a difference!
Test and Adjust the Treadmill Belt
Before you start running on your treadmill, you’ll want to test the belt to make certain it moves smoothly and stays centered. Begin by turning the treadmill on at a slow speed and watch the belt carefully.
If it wobbles or drifts, you’ll need to adjust it. Here’s how to check and tweak the belt:
- Increase speed slightly to observe belt alignment.
- If the belt drifts right, tighten the right adjustment bolt.
- If it drifts left, tighten the left adjustment bolt.
- Make small adjustments, then retest until the belt stays centered.
Always unplug the treadmill before making adjustments to avoid injury. Testing and adjusting the belt after lubricating guarantees a smooth, safe workout and extends your treadmill’s life.
Frequently Asked Questions
How Often Should I Grease My Treadmill?
You should grease your treadmill every three to six months, depending on how often you use it.
If you run daily, aim for every three months. For lighter use, every six months will keep it running smoothly.
What Type of Lubricant Is Best for Treadmills?
You should use 100% silicone lubricant—it’s proven to extend treadmill belt life by up to 50%. This type reduces friction effectively, keeps your machine running smoothly, and prevents damage better than petroleum-based options.
It’s really the best choice for your treadmill. Plus, silicone lubricants are easy to apply and won’t attract dust or dirt like some other lubricants might. So, your treadmill stays cleaner and lasts longer.
Can I Use Household Oils to Grease My Treadmill?
You shouldn’t use household oils to grease your treadmill; they can damage the belt and motor.
Stick to silicone-based lubricants designed specifically for treadmills to guarantee smooth operation and avoid costly repairs down the line.
Using the right lubricant keeps everything running smoothly and extends the life of your machine. So, it’s definitely worth using the proper stuff!
What Are Signs My Treadmill Needs Lubrication?
You’ll notice your treadmill making squeaking or grinding noises, the belt slipping or sticking, or increased resistance while walking or running.
These signs mean it’s time to lubricate your treadmill to keep it running smoothly.
Is Professional Servicing Necessary After Greasing?
You don’t always need professional servicing after greasing—75% of treadmill owners maintain their machines themselves.
Just make sure you regularly inspect belts and motors. But if you notice strange noises or performance drops, calling a pro is wise.
Conclusion
Just like a well-oiled machine keeps the gears turning smoothly, greasing your treadmill guarantees it runs effortlessly for miles to come. By following these five simple steps, you’re giving your treadmill the care it deserves—like tuning a fine instrument before a concert.
Keep it slick, clean, and adjusted, and your workouts will flow as seamlessly as a calm river, helping you stay on track without a hitch. Regular treadmill maintenance, especially proper lubrication, extends the life of your equipment and ensures a smooth running surface.
So, don’t skip the greasing step. It’s an easy way to boost performance and avoid costly repairs. With a well-greased treadmill, your exercise sessions become more enjoyable, quieter, and safer. Taking these simple actions will keep your treadmill in top shape, making every run feel effortless and helping you stay consistent with your fitness goals.