How Do You Lubricate a Treadmill in 5 Easy Steps
First, gather a treadmill-specific silicone lubricant and any necessary tools. Make sure you have everything ready before you start.
Unplug your treadmill and remove the motor cover to access the belt. This step is important to keep you safe while working on the machine.
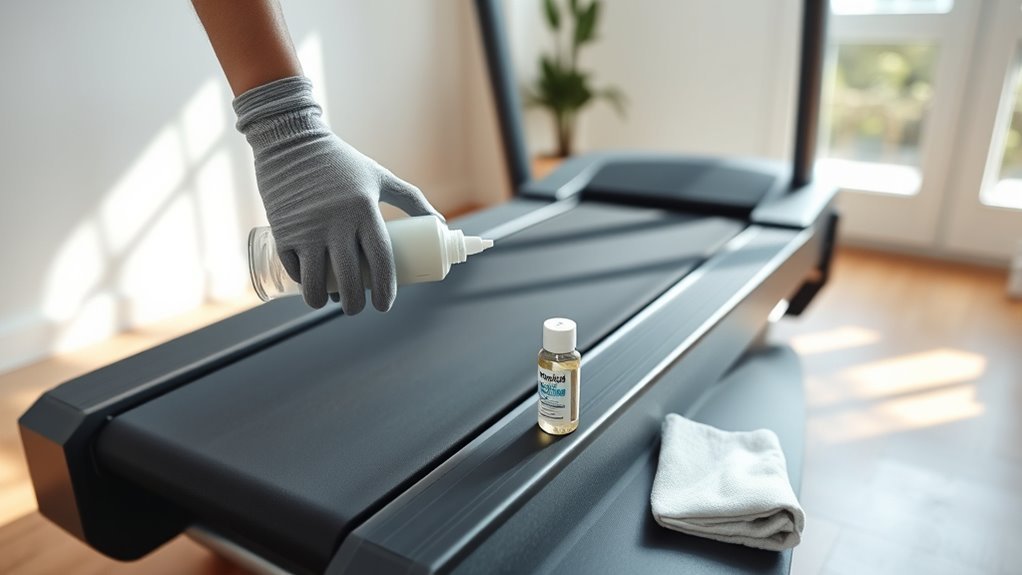
Apply small, even drops of lubricant under the belt near the center, avoiding the top surface. Be careful not to use too much—just enough to coat the area evenly.
Manually rotate the belt 10-15 times to spread the lubricant evenly across the surface. This helps the lubricant reach all the parts that need it.
Finally, power on your treadmill at a low speed to test the smoothness. If needed, adjust the belt tension to ensure everything runs perfectly.
Keep following these simple steps regularly to maintain your treadmill’s performance and extend its lifespan.
Key Takeaways
- Unplug the treadmill and remove the motor cover to access the belt safely.
- Use treadmill-specific silicone lubricant and avoid oils like WD-40 or cooking oils.
- Apply small drops of lubricant evenly under the center of the belt from front to back.
- Manually rotate the belt 10-15 full turns to spread the lubricant evenly across the deck.
- Power on the treadmill at low speed to test, listen for noises, and adjust belt tension if needed.
Gather the Necessary Tools and Lubricant
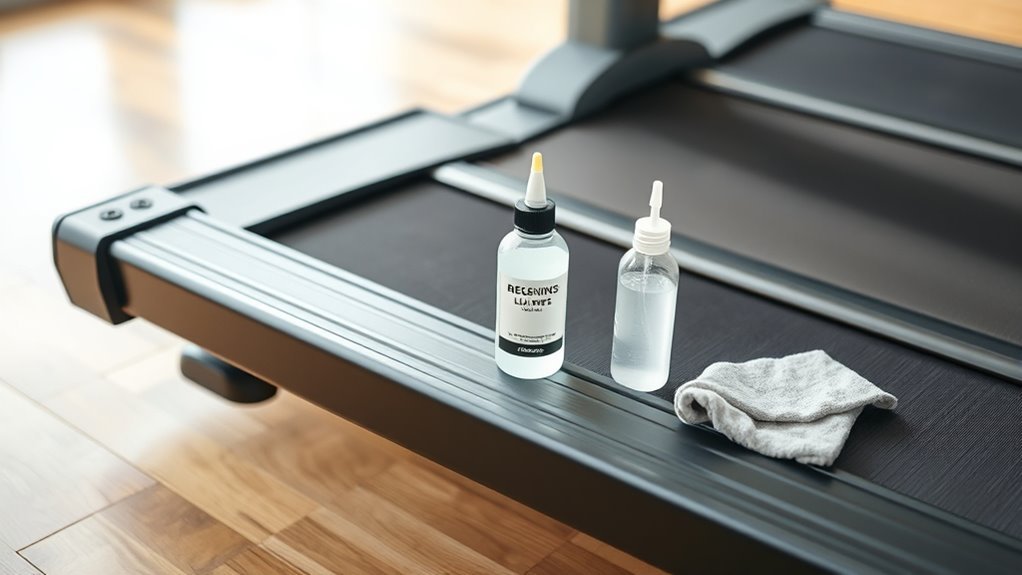
Before you begin lubricating your treadmill, make sure you have all the necessary tools and lubricant on hand. You’ll need a treadmill-specific silicone lubricant, as other oils can damage the belt or deck.
Avoid WD-40 or cooking oils; these aren’t designed for treadmill maintenance. Have a clean cloth ready to wipe off any excess lubricant.
Some models may require an Allen wrench or screwdriver to access the belt area, so check your treadmill’s manual first. It’s best to work in a well-lit area to see what you’re doing clearly.
Gathering these supplies beforehand saves time and prevents interruptions during the process. Once you’ve prepared everything, you’ll be ready to move on to safely accessing the treadmill belt for lubrication.
Unplug the Treadmill and Access the Belt
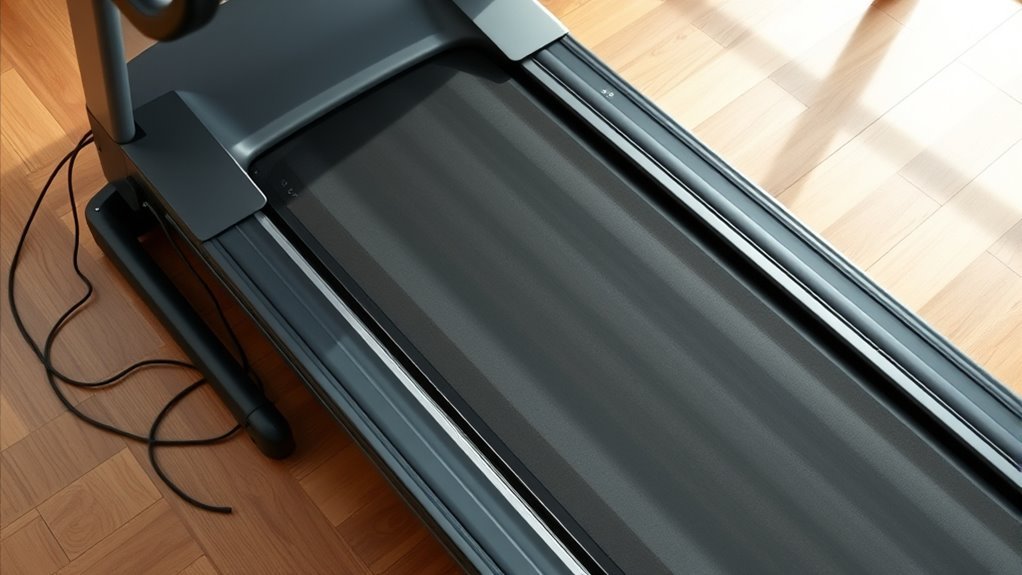
Since safety is essential, always unplug your treadmill before attempting to access the belt. This prevents any accidental starts that could cause injury.
Prioritize safety by unplugging your treadmill before accessing the belt to avoid accidental starts and injuries.
Once unplugged, locate the treadmill’s belt area by lifting the motor cover, usually found at the front end. Some models have screws or clips securing this cover; remove them carefully.
Next, inspect the belt for any debris or damage. To access underneath the belt, gently lift one side of the belt to expose the walking board beneath.
Make sure the belt is centered and not too tight before proceeding. If needed, consult your treadmill’s manual for specific instructions on accessing the belt, as designs may vary.
With the belt exposed and the treadmill unplugged, you’re ready for the next step.
Apply the Lubricant Evenly Under the Belt
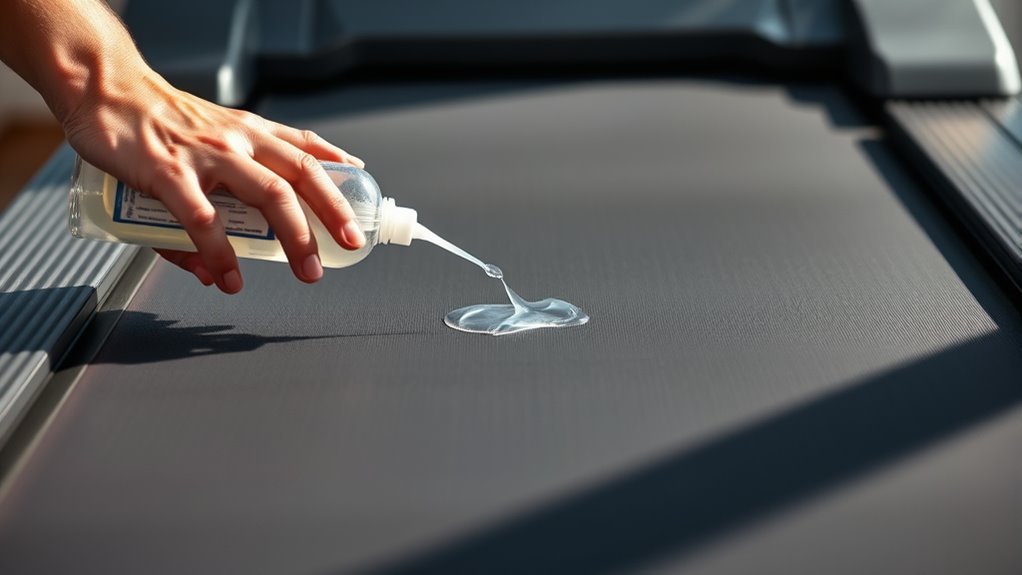
With the belt lifted and the treadmill safely unplugged, you can now apply the lubricant. Start by placing a few small drops of silicone-based lubricant along the underside of the belt, near the center to guarantee even coverage.
Avoid over-applying; a thin, consistent layer is all you need. Work your way from the front to the back, spacing the drops evenly across the width of the belt. This helps prevent uneven wear and keeps the belt running smoothly.
Be careful not to get lubricant on the top surface where you run, as this can be slippery and unsafe. Use the lubricant sparingly to protect your treadmill’s motor and belt, extending its lifespan while maintaining prime performance.
Manually Rotate the Belt to Distribute the Lubricant
After applying the lubricant, gently rotate the treadmill belt by hand to spread it evenly across the entire surface. This helps the lubricant coat every part of the underside where the belt contacts the deck.
First, make sure the treadmill is unplugged for safety. Then, lift the belt slightly and use your fingers to turn it slowly in the direction it normally moves.
Rotate it at least 10 to 15 full turns so the lubricant distributes thoroughly. Just be careful not to force the belt or spin it too quickly, as that can cause damage.
Doing this ensures the lubricant gets into the deck and belt interface, which helps reduce friction and wear during use. Once it’s evenly spread, you’re all set for the next step to keep your treadmill running smoothly.
Test the Treadmill and Make Adjustments if Needed
Before you plug in and power on your treadmill, double-check that the lubricant has been evenly distributed and the belt is properly aligned. Once you’re confident everything’s in place, turn the treadmill on at a low speed.
Listen carefully for any unusual noises or resistance. If the belt feels stiff or slips, it might need more lubricant or realignment.
Adjust the belt tension using the manufacturer’s instructions, usually by tightening or loosening the adjustment bolts at the rear. After making changes, test the treadmill again to ensure smooth operation.
Repeat this process until the belt runs quietly and smoothly without slipping. Regularly testing and adjusting your treadmill after lubrication helps maintain its performance and extends its lifespan.
Frequently Asked Questions
How Often Should I Lubricate My Treadmill?
You should lubricate your treadmill every three to six months, depending on usage.
If you use it daily, aim for every three months. Less frequent use means every six months works fine to keep it running smoothly.
What Type of Lubricant Is Best for Treadmills?
You should use a silicone-based lubricant designed specifically for treadmills. It reduces friction without damaging the belt or deck.
Avoid WD-40 or oil-based lubricants, as they can cause damage or attract dirt. That dirt buildup can really affect your treadmill’s performance.
Can I Use Household Oils to Lubricate the Treadmill?
Don’t put all your eggs in one basket—using household oils on your treadmill isn’t a good idea. They can gum up the belt or damage parts; stick to silicone-based lubricants designed specifically for treadmills.
Household oils might seem handy, but they often attract dirt and grime, which can wear down your machine faster. It’s better to use products made for treadmill maintenance to keep everything running smoothly.
What Are Signs My Treadmill Needs Lubrication?
You’ll notice your treadmill squeaking, slowing down, or the belt feels sticky.
If it’s overheating or the motor sounds strained, it’s time to lubricate.
Don’t wait—lubrication keeps your machine running smoothly.
Is Treadmill Lubrication Safe for All Belt Types?
Not all treadmill belts need lubrication, so it’s a good idea to check your manual first. Most treadmills that have rubber or PVC belts do well with silicone-based lubricants.
However, some belts, like certain walking belts, might not need lubrication at all or could even be damaged by it. So, always make sure you know what type of belt you have before applying anything.
Conclusion
Now that you’ve lubricated your treadmill, it should run as smoothly as a well-oiled machine. Remember, regular maintenance keeps it performing at its best and extends its lifespan.
Just like you wouldn’t skip oiling a car, don’t neglect this simple step for your treadmill. By following these easy steps, you’re ensuring every workout feels effortless and enjoyable.
Keep an eye on it, and your treadmill will thank you with reliable, quiet operation for miles to come. Proper treadmill lubrication is key to preventing wear and tear, so make it part of your routine maintenance. This way, your treadmill stays in top shape, ready for every run or walk ahead!