How to Build a Power Rack in 7 Easy Steps
To build a power rack in seven easy steps, start by gathering sturdy steel, bolts, and essential tools. Having the right materials is crucial for a safe and durable power rack.
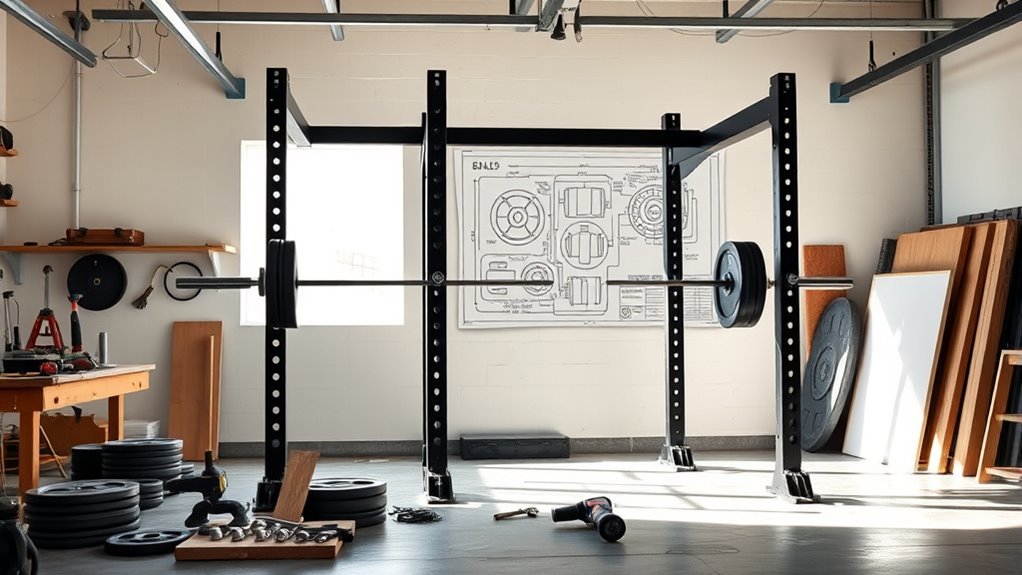
Next, design a detailed blueprint that fits your space perfectly.
Cut and prep steel components carefully, making sure everything matches your measurements.
Then, assemble the upright frames with precision.
Attach cross beams and safety bars securely to add strength and stability.
After that, install J-hooks and other accessories where you need them.
Finally, test the rack’s stability thoroughly.
Tighten bolts and make any necessary adjustments to ensure safety.
Stick around, and you’ll find tips on making your power rack both safe and durable for years to come.
Key Takeaways
– Gather sturdy steel or heavy-duty wood, bolts, nuts, washers, and essential tools like drill, wrench, and measuring tape before starting.
Make sure you have everything handy to keep the process smooth.
– Measure and design a detailed blueprint ensuring enough workout space and proper component sizes for a safe, stable power rack.
Planning well here saves a lot of trouble later on.
– Cut materials precisely with appropriate tools, deburr edges, and clean surfaces to prepare parts for accurate assembly.
Taking your time with this step really helps the final product look and feel professional.
– Assemble the frame by securing bolts tightly, aligning components carefully, and using washers, ensuring the structure is level and stable.
Double-checking alignment now prevents wobbles when you start lifting.
– Attach accessories securely, finalize all fittings, test stability by shaking and loading weight, then make necessary adjustments for safety.
Better to catch any issues now than during your workout!
Gather Your Materials and Tools
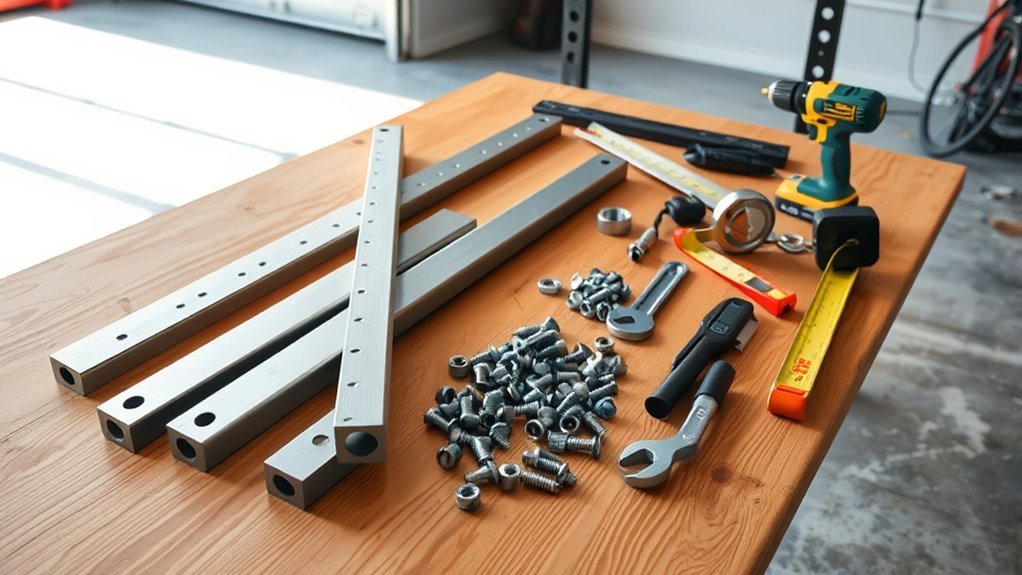
Before you begin building your power rack, make sure you have all the necessary materials and tools on hand. You’ll need sturdy steel or heavy-duty wood for the frame, bolts, nuts, washers, and safety pins to secure the structure.
Ensure you have sturdy materials and all essential hardware before starting your power rack build.
Don’t forget the barbell holders and adjustable J-hooks for versatility. A drill with various bits, a wrench set, a measuring tape, and a level are essential for precise assembly.
It’s also helpful to have a saw if you need to cut materials to size. Gathering these items beforehand prevents interruptions and keeps your workflow smooth.
Having everything ready guarantees you can focus on building a safe, solid power rack without scrambling for missing parts or tools.
Design Your Power Rack Blueprint

Before you start building, make sure you know how much space your power rack will need and choose materials that are strong and durable.
You’ll want to create a detailed sketch with exact measurements to guide your construction. Taking the time to plan carefully will save you headaches later.
Assess Space Requirements
Although building a power rack may seem straightforward, you’ll need to carefully assess your available space to guarantee it fits comfortably and functions safely. Start by measuring the exact dimensions of your workout area, including ceiling height, floor space, and clearance around the rack.
Remember to leave enough room for movement, exercises, and any additional equipment like barbells or weight plates. Consider doorways and pathways to ensure you can bring materials in and out easily.
Also, check the floor’s stability and surface type to support your rack securely. Taking these factors into account now prevents inconvenient adjustments later and keeps your workout safe and effective.
A well-planned space assessment sets a solid foundation for your power rack project. So, take your time with this step—it’ll save you headaches down the road!
Select Materials Wisely
When you design your power rack blueprint, choosing the right materials guarantees your structure stays strong and safe under heavy use. Opt for high-quality steel tubing, ideally 11 or 12 gauge, to ensure durability and stability.
Avoid flimsy or thin metals that could bend or break under pressure. Look for materials with a powder-coated finish to resist rust and wear over time.
Don’t forget to select heavy-duty bolts and welds rated to handle substantial weight. Using reliable materials not only supports your safety but also extends the lifespan of your rack.
Investing in quality components now saves you from costly repairs or replacements later. Always prioritize strength and endurance to build a rack that performs well for years.
Sketch Detailed Measurements
Choosing strong, reliable materials sets the foundation, but you’ll need precise measurements to bring your power rack to life. Start by sketching a detailed blueprint that includes height, width, and depth.
Measure the upright posts to ensure they accommodate your tallest lifts comfortably. Include spacing for safety bars, pull-up bars, and weight storage.
Use a ruler or measuring tape and note every dimension clearly on your sketch. Double-check your numbers to avoid costly mistakes during assembly.
Label each part and indicate where bolts and joints will go. This detailed plan helps you visualize the final product and guides your cutting and drilling.
A well-drawn blueprint saves time, guarantees accuracy, and guarantees your power rack is both sturdy and functional.
Cut and Prepare the Steel Components
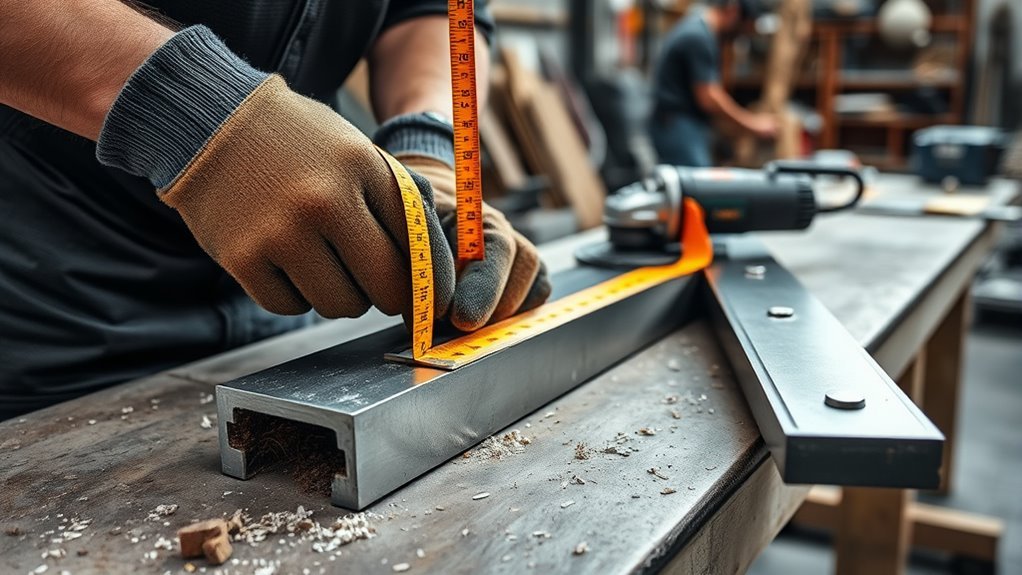
Before assembling your power rack, you’ll need to cut and prepare all the steel components accurately to guarantee a strong and stable structure. Start by measuring each steel piece twice to match your detailed sketch perfectly.
Use a metal cutting saw or angle grinder with a cutting blade for precise cuts. After cutting, deburr each edge to remove sharp metal fragments that could cause injury or interfere with assembly.
Finally, clean all surfaces to eliminate dust and grease, ensuring a good fit and strong welds or bolts.
- Measure twice, cut once for accuracy
- Use appropriate cutting tools for clean edges
- Deburr edges to ensure safety and fit
- Clean components before assembly for better bonding
Assemble the Upright Frames
With your steel components cut, deburred, and cleaned, you can start assembling the upright frames. Begin by laying out the vertical posts and cross braces on a flat surface.
Make sure to align the holes on the posts with the braces, so everything matches the design. Use bolts and nuts to loosely fasten the parts, allowing some movement for adjustments.
Once everything is aligned, go ahead and tighten all fasteners securely to ensure stability.
| Component | Quantity | Notes |
|---|---|---|
| Vertical Posts | 2 | Main support structure |
| Cross Braces | 2 | Provides lateral stability |
| Bolts & Nuts | 12 | Use grade 8 for strength |
| Washers | 12 | Prevents bolt loosening |
Before you fully tighten, double-check the frame for square corners. This step really helps make sure everything fits perfectly.
Attach the Cross Beams and Safety Bars
Once you’ve secured the upright frames, you can move on to attaching the cross beams and safety bars. These parts add essential stability and protection to your power rack.
Start by aligning the cross beams at the top and middle sections of the uprights. Secure them tightly with bolts to prevent any wobbling during use.
Next, position the safety bars at your desired height. Make sure they can catch the barbell safely if you fail a lift.
Double-check all connections for firmness. Remember to use a level to keep cross beams perfectly horizontal.
Also, tighten bolts evenly to avoid frame distortion. Adjust safety bars according to your workout needs.
Finally, inspect all attachments before every session. This step ensures your power rack is both sturdy and safe.
Install the J-Hooks and Accessories
Now it’s time to position the J-hooks securely at the right height for your lifts. Make sure they’re locked tightly to prevent any movement during use.
Once that’s done, you can add optional attachments like dip bars or band pegs to customize your rack. It’s super easy and really lets you tailor the setup to your workouts.
Positioning J-Hooks Securely
Where should you place the J-hooks to guarantee both safety and convenience during your workouts? Position them at a height that matches your lifting routine—usually around chest or shoulder level for bench presses and squats. Make sure they’re evenly aligned to keep the barbell stable.
Tighten them securely to prevent any movement during lifts. It’s super important for your safety!
Keep these tips in mind:
- Attach J-hooks to the power rack’s designated holes for a snug fit.
- Check that the hooks face inward to hold the barbell firmly.
Also, use locking pins or bolts to prevent accidental slipping. Before loading weights, test the hook’s stability by applying slight pressure. That way, you know everything’s solid and ready to go!
Adding Optional Attachments
Before you start attaching optional accessories to your power rack, make sure you’ve securely installed the main components like the J-hooks. Once those are in place, you can add attachments such as dip bars, pull-up bars, or weight plate holders.
These extras enhance functionality and tailor the rack to your workout needs. Begin by identifying the correct mounting points specified in your rack’s manual. Align each accessory carefully and use the provided bolts and washers to fasten them tightly.
Don’t overtighten, but ensure everything feels stable. Double-check that moving parts, if any, operate smoothly without obstruction.
Adding these attachments not only expands your exercise options but also maximizes your space efficiency. Take your time, and enjoy customizing your power rack to fit your fitness goals perfectly.
Test Stability and Make Final Adjustments
Although you’ve assembled the power rack carefully, you still need to test its stability to guarantee safety during use. Start by giving the rack a good shake to check for any wobbling or loose bolts.
Next, double-check all nuts and bolts to ensure they’re tightened securely. Place the rack on a level surface to avoid uneven weight distribution.
Finally, try adding some weight gradually to see if the rack holds steady without shifting or creaking.
Here’s a quick checklist to follow:
- Shake the rack to detect wobbling
- Tighten all bolts and nuts firmly
- Verify the rack is on a flat, stable surface
- Load weight incrementally to test strength
Frequently Asked Questions
Can I Paint the Power Rack for Rust Protection?
Yes, you can paint your power rack to protect it from rust. Just make sure to clean and sand the surface first.
Then, apply a rust-inhibiting primer before painting. Use durable, outdoor-grade paint for the best results.
This way, your power rack will stay in great shape and resist rust longer!
What Weight Capacity Should a Home Power Rack Have?
You should get a home power rack with at least a 700-pound weight capacity since 85% of home lifters don’t exceed this.
That way, you’re safe, flexible, and ready to progress without limits.
How Do I Maintain and Clean My Power Rack?
You should wipe down your power rack regularly with a damp cloth to remove sweat and dust. This helps keep it clean and looking new.
Make sure to tighten bolts monthly. It’s a simple step but important for safety.
If your power rack has moving parts, lubricate them when needed to keep everything running smoothly. Also, check for rust or any damage regularly.
Taking these small steps will keep your power rack safe and sturdy for all your workouts!
Are There Safety Certifications for Homemade Power Racks?
No, homemade power racks don’t have official safety certifications. You should carefully follow guidelines, use quality materials, and regularly inspect your rack to guarantee safety.
If you’re unsure about your design or build, consider consulting a professional. It’s always better to be safe than sorry when it comes to your equipment!
Can a Power Rack Be Used Outdoors Safely?
Yes, you can use a power rack outdoors safely if you protect it from the weather and choose rust-resistant materials.
It’s also important to make sure it’s placed on a stable surface. This helps keep everything secure while you work out.
Just keep an eye on any signs of wear and maintain it regularly to stay safe. That way, your equipment will last longer and stay reliable.
Conclusion
Now that you’ve built your power rack, you’ve crafted the backbone of your strength journey—a steel fortress ready to support every lift and challenge. Like a sculptor shaping raw stone, you’ve transformed materials into muscle-building magic.
Keep tuning and testing your creation, ensuring it stands as steady as your determination. With this rack by your side, you’re not just lifting weights—you’re lifting yourself toward new heights.
Your fitness fortress awaits; it’s time to conquer! Building a power rack is more than just assembling parts—it’s creating a reliable, safe space for your workouts. This DIY power rack will help you push your limits, boost your strength, and stay motivated every step of the way. So, get ready to power up your training with your very own power rack!